This post covers a few setups to experiment with if you have a DreamCheeky USB missile launcher and a Raspberry Pi.
A newer version is being sold on ThinkGeek, but the one I used looks like this:
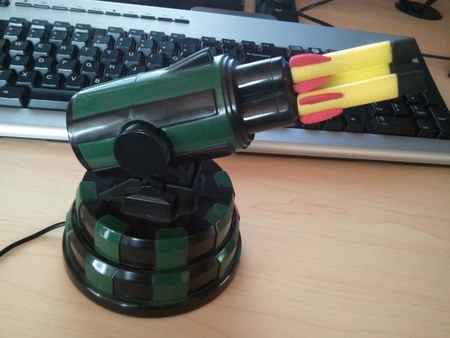
Setup 1: Direct to PC
The launcher comes with some software to let you connect it straight to a computer. Of course, USB can only go 5 metres, which is not much fun for cubicle warfare:

I included this setup because it is the easiest way for Debian/Ubuntu users to test that they can use this driver, which is needed for the other setups.
Setup 2: Networked with Raspberry Pi
So for this setup, you need a Raspberry Pi Model B. They look like this:
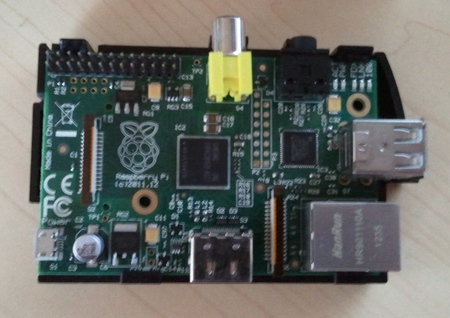
Running Raspbian, upgrade to Debian Jessie, and compile the code:
apt-get install git libusb-1.0-0-dev libncurses-dev gcc g++
git clone --recursive https://github.com/mike42/missile
cd missile
make
You can then place the pi anywhere with network and power:
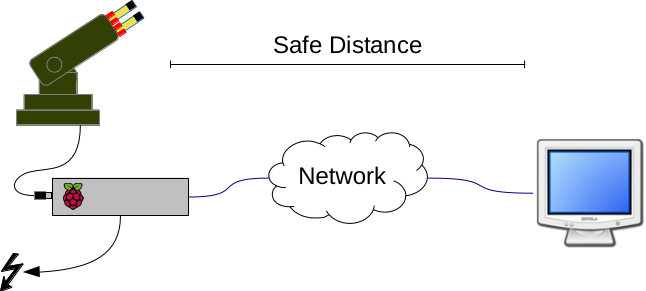
To operate the launcher remotely, use SSH to log in, and run missile/bin/keyboard-ctl.
Setup 3: Wireless with Raspberry Pi and Battery
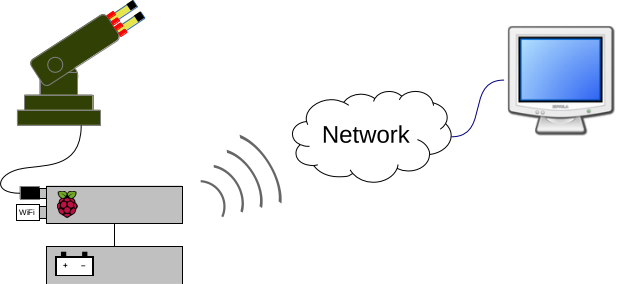
Of course, network and power can be provided with a power bank and Wi-Fi adapter:
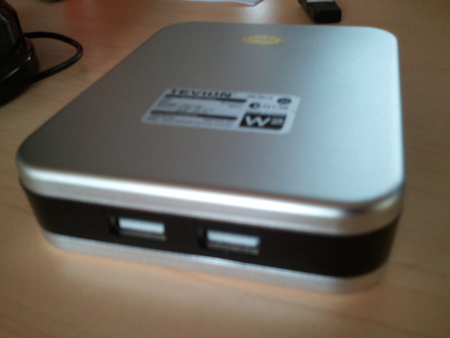
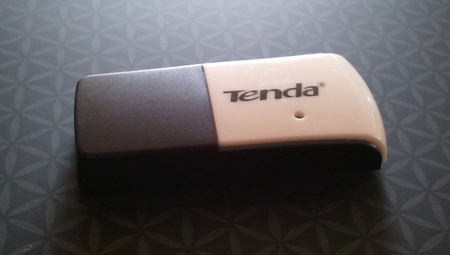
The Wi-Fi adapter will take some work to set up (see Debian Wiki), so I won’t document that here. You will need a power bank that has enough power for the Raspberry Pi with launcher and wifi. Mine had to be close to fully charged to work.
A diagram of this setup:
Wrap-up
The reason this helps with cubicle warfare is simple: The launcher, Raspberry Pi and battery can be fitted into a tissue box or other small space. Proof:
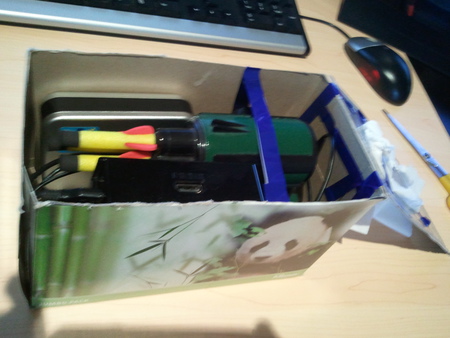
On a desk you would see this as:


And a quick demo for completeness:
For this demo, the Pi is connected to DC power, because the battery didn’t quite have enough juice to power everything.