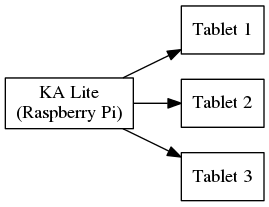
KA Lite is an open source, web-based learning package. Today I’ll run through a simple setup which will allow a Raspberry Pi to provide a wireless learning resource server for a classroom, without the Internet.
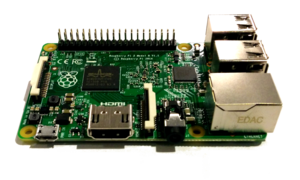
The Raspberry Pi 2 is a surprisingly powerful single-board computer. You can use it for anything which a computer can do, in a relatively cheap circuit board the size of a credit card:
This setup takes around two hours.
Materials
You will need:
- Raspberry Pi (The Raspberry Pi 2 Model B was used here), with micro SD card, mouse, keyboard, monitor with HDMI.
- A good Micro USB power supply - Many Android phone chargers will be suitable.
- A computer which can write to micro SD cards. If your computer has an SD card slot, get an SD-to-Micro-SD adapter for it.
- A wired network with Internet for the setup
- A USB wireless network adapter such as WiPi for deployment.
- Any WiFi-enabled device for testing.
Install Raspbian
Raspbian is an operating system for the Pi, and is the perfect choice for embedded server setups like this. You need to write the image to the Micro SD card.
- Obtain the image from https://www.raspberrypi.org/downloads/
- This is zipped, so extract it to get the real image file.
- Write the disk image to the SD
- Windows: Fetch a copy of “Win32 Disk Imager” to write this file to the SD card.
- Linux or Mac: Use
dd(found in the terminal) to write to the card — guide available here
- Boot the Pi, with mouse, keyboard, HDMI, and wired network. If it doesn’t work, remove any cable converters (use HDMI direct to monitor), and if it still doesn’t work, then the SD card was not correctly imaged.
- Expand root filesystem, set your password, and enable “boot to desktop”.
- After reboot, you should have a desktop. Click the black terminal icon to get to work.
Install some things
From the terminal, run these commands:
sudo apt-get update
sudo apt-get dist-upgrade
sudo apt-get install chromium python-m2crypto
This checks for new software (update), upgrades anything necessary (dist-upgrade), and then installs two packages:
python-m2crypto— this will help speed up KA Lite a bit by helping out with encryption.chromium— this is the open source upstream of Google Chrome, and it’s worth installing so that you can look things up as you go, and test things locally.
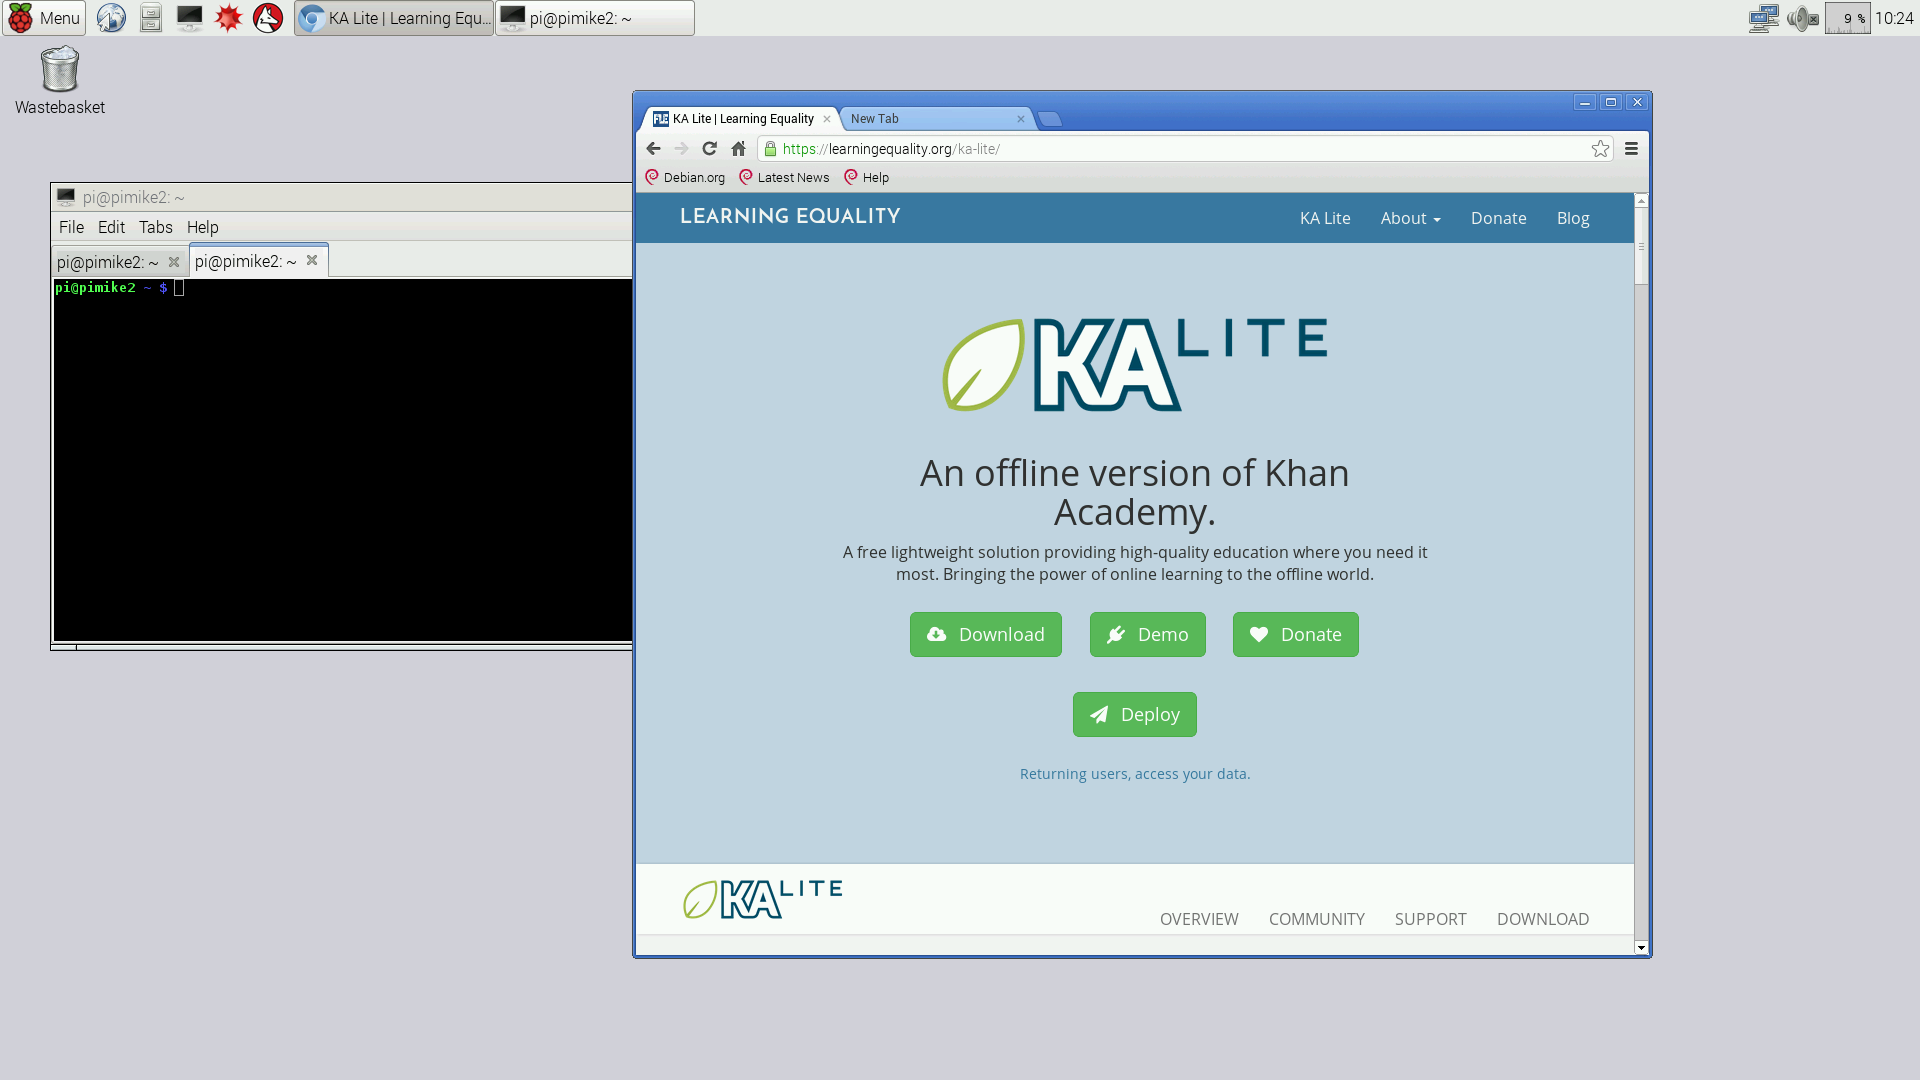
If everything goes to plan, you should now be able to find Chrome on the menu and navigate the web.
Install KA Lite
These steps are a shortened version of the official guide
Once Raspbian is running, these commands will download & install KA Lite:
git clone https://github.com/learningequality/ka-lite.git
cd ka-lite/
./setup_unix.sh
The download is 150MB, so allow a few minutes. The installer then prompts for a few questions, like:
- “Do you wish to download the assessment package now?” — Say yes, it fetches another 500MB.
- “Do you wish to set the KA Lite server to run in the background automatically when you start this computer?” — say “y”.
At the end, you will be given a command to start the server, which you should type in as well:
/home/pi/ka-lite/bin/kalite start
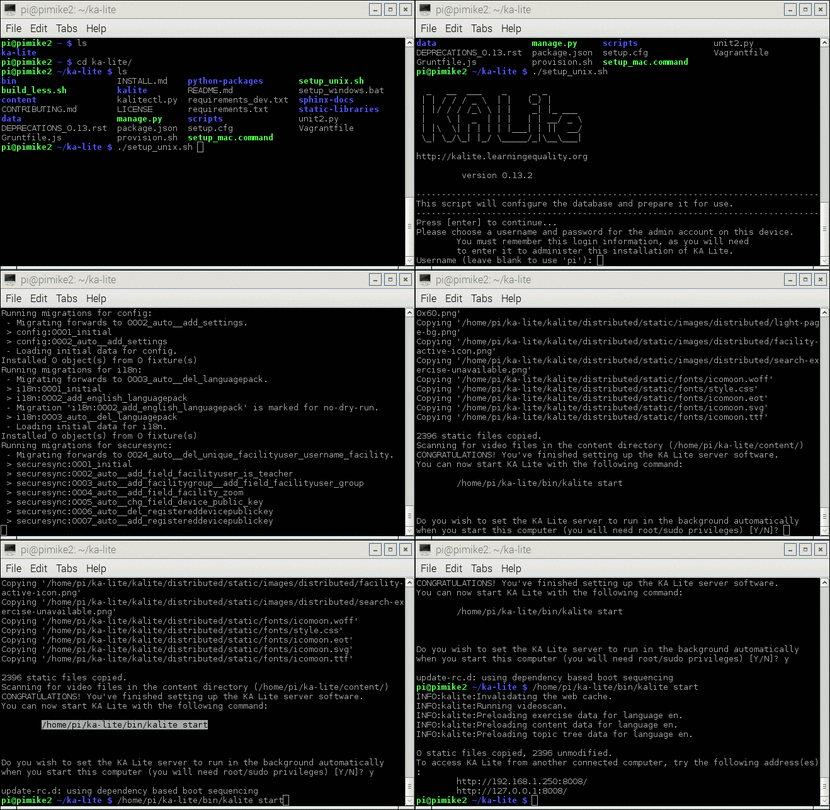
Once it starts (it will take a while!), it will give you two web addresses. One of them is local to the computer (127.x), and the other will work from other computers on the network. Write both of them down!
The install & start-up together will look like this:
Test it out locally
Open up Chromium, and navigate to one of the addresses that the installer suggested.
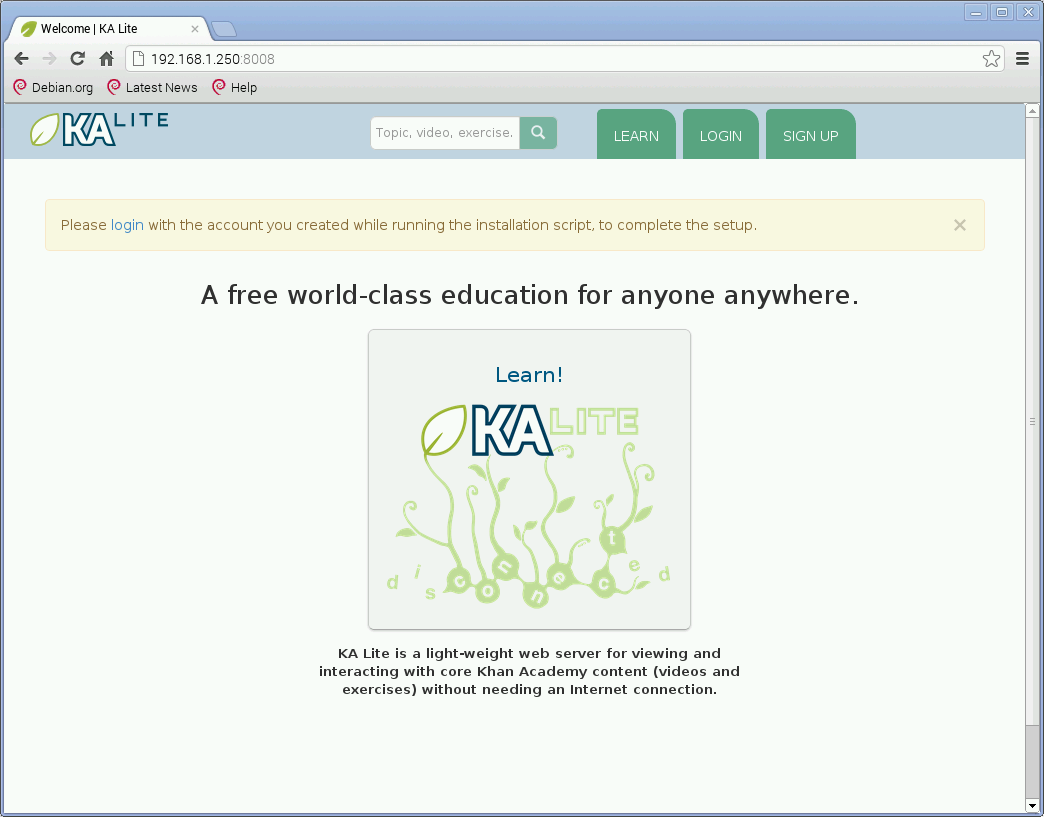
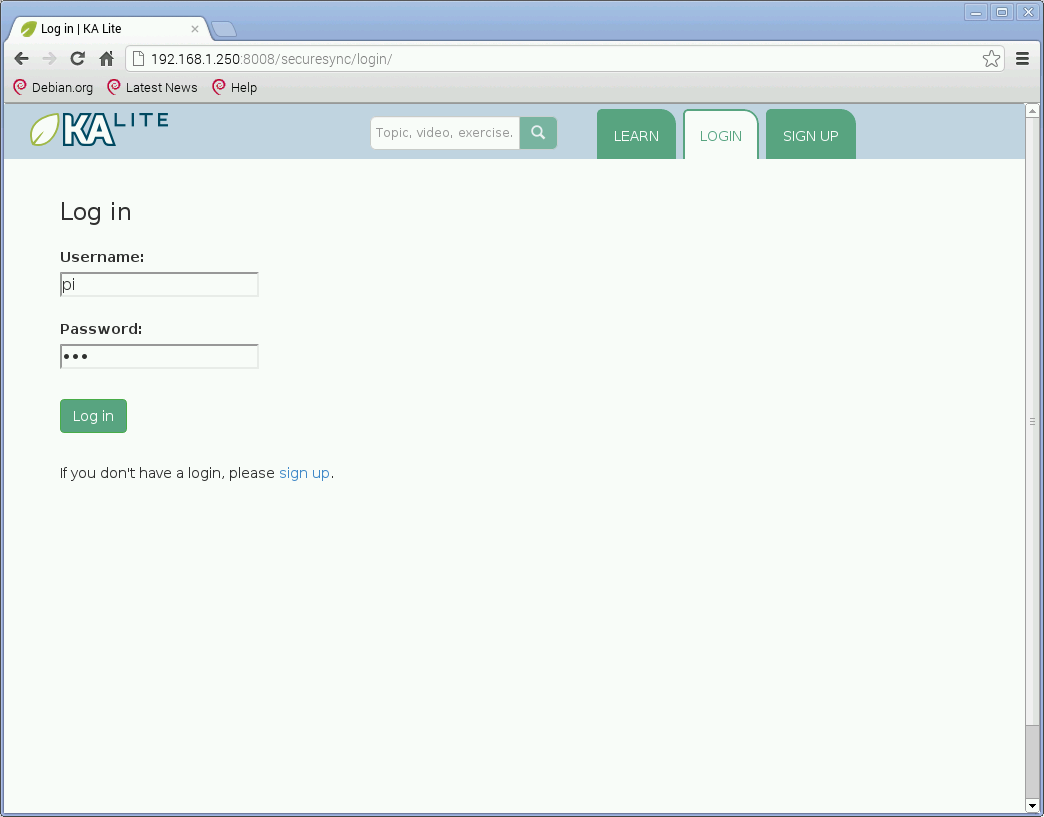
Log in, using the details provided during the installation.
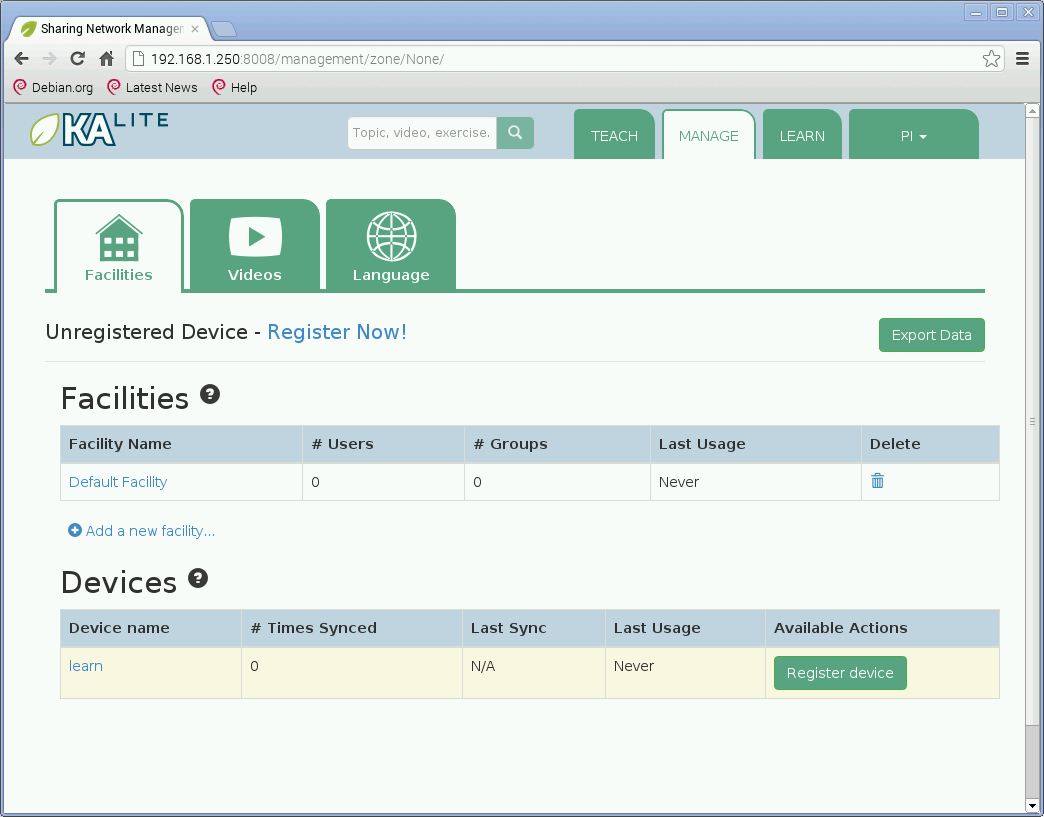
Click on “Manage”, then “Videos”
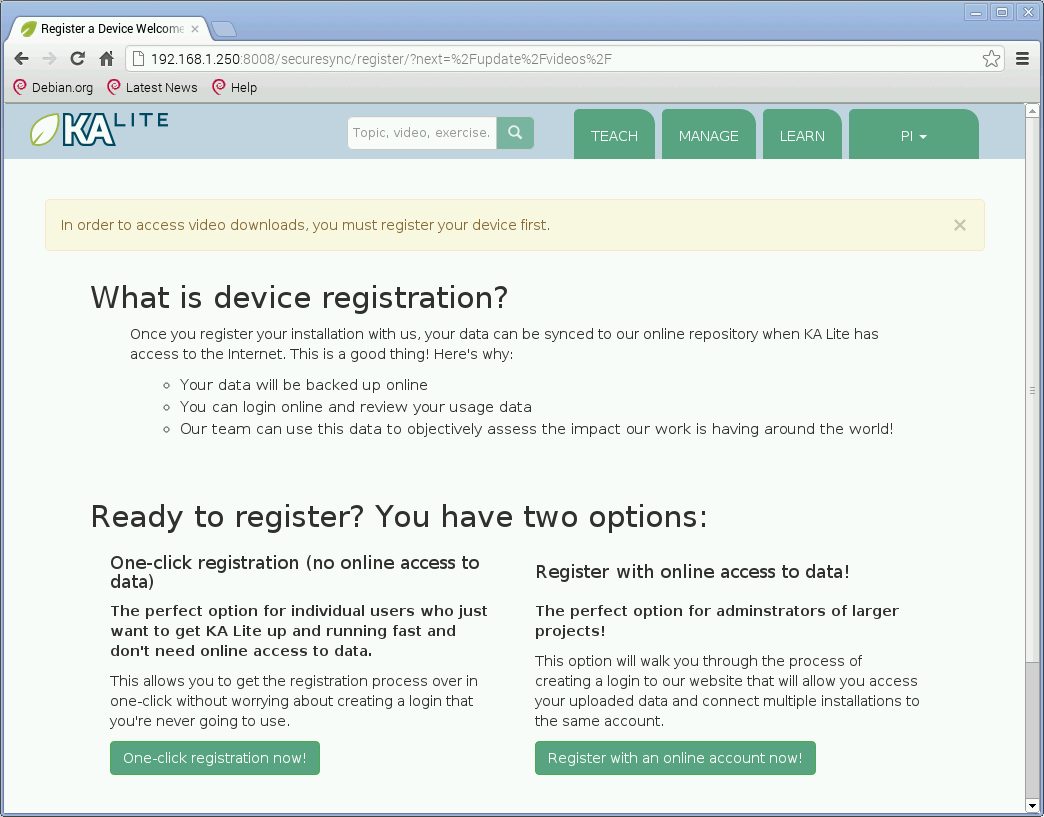
KA Lite will prompt for registration, which lets you download content. Use the “One click registration” on the left, then wait for it to connect.
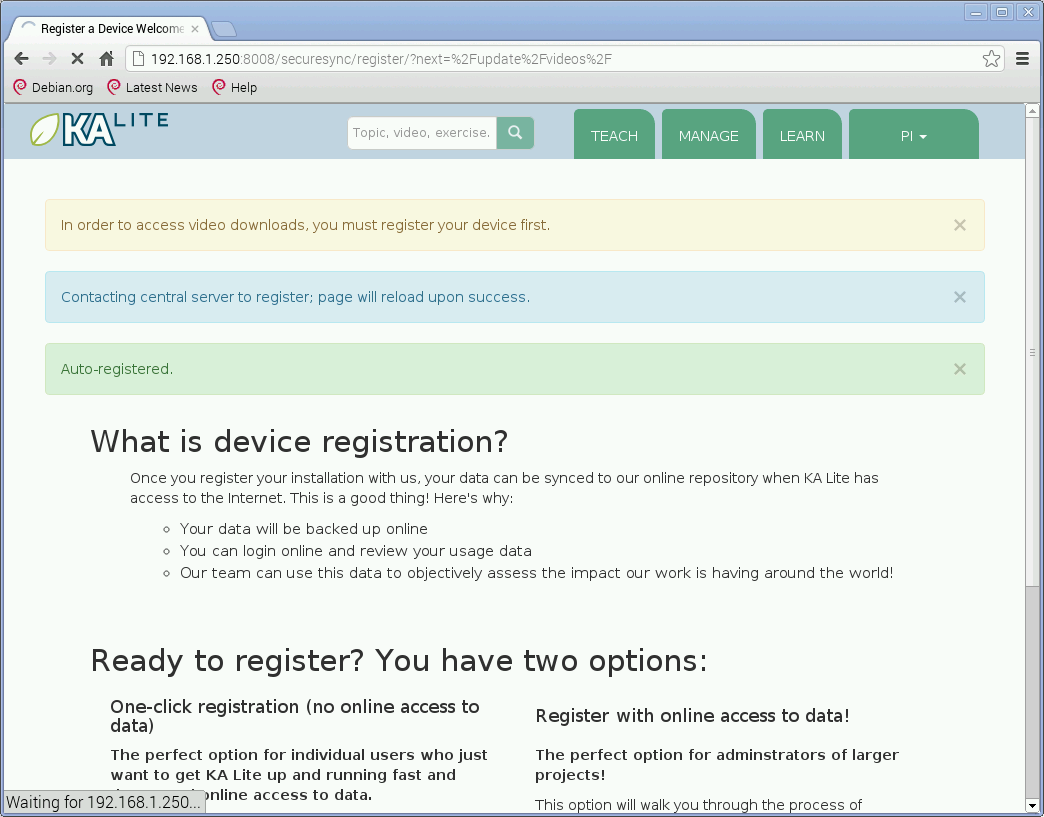
Use the Videos section to fetch something. Here we fetch something from the ancient art & culture section:
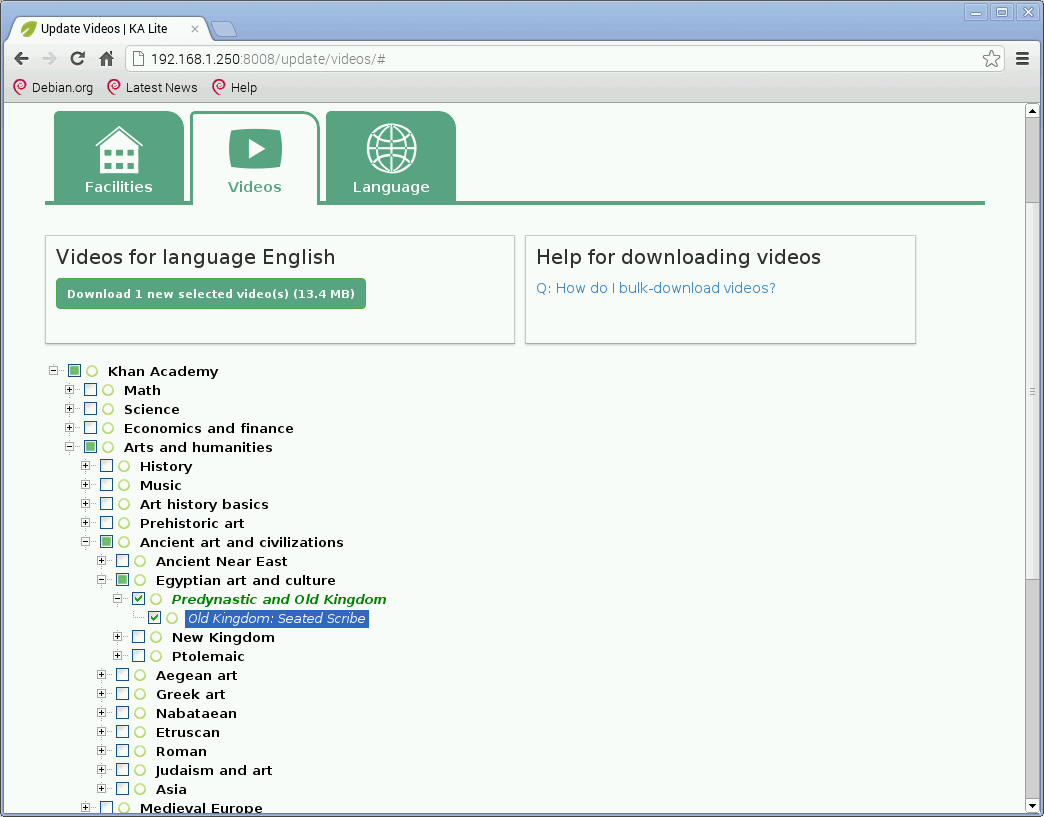
Wait a few minutes before moving to the next section: The video downloads in the background.
Access over the network
From some other device which is on the same network, enter the web address that was given at the end of the installer (ignore the address which starts with 127.x — it won’t work between two computers):
http://(IP address):8008/
From the browser, let’s test it out. Click over to Learn, and navigate to the video you just downloaded. It should display, so we can learn about those Egyptian artifacts:
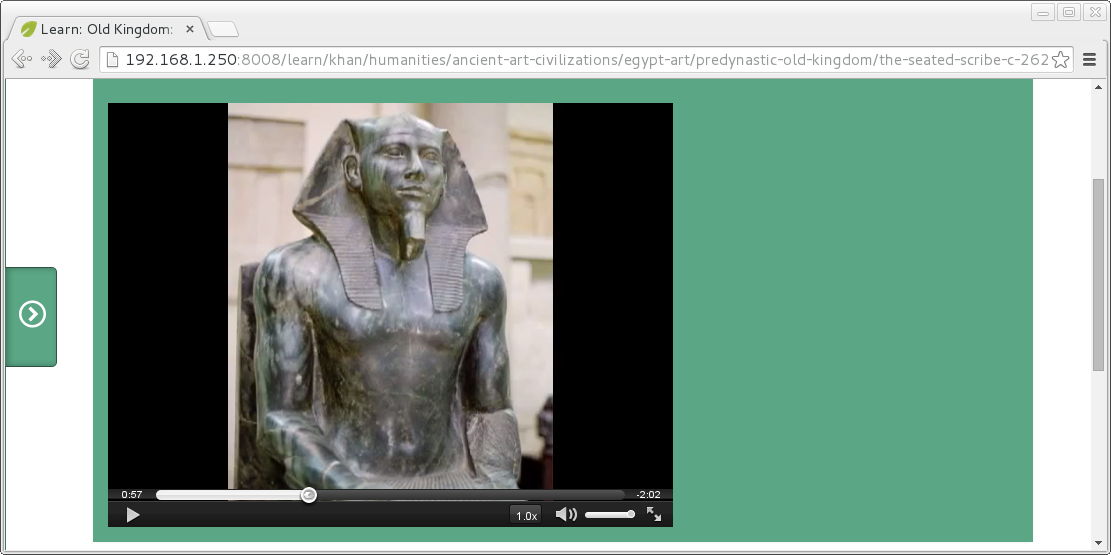
This setup would be complete if you want to run on a wired network - you can simply bookmark this address on each computer which needs to use it, and manage it through the web.
Next post in this series: Raspberry Pi KA Lite wireless deployment