This post covers some LaTeX examples that I recently assembled for print-outs where multiple pages per sheet will be printed for cutting.
First up, an example file. This is a document filled with random text, on C6 paper.
1
2
3
4
5
6
7
8
9
|
\documentclass{article}

\usepackage[c6paper]{geometry}
\usepackage{lipsum}

\begin{document}
\section*{Lorem Ipsum}
\lipsum[1-11]
\end{document}
|
It renders like so:
For the same example output in PDF format, see book-pages.pdf.
1x1 arrangement
Using the crop package, you can wrap the output pages of your document in larger pages. Using the \includepdf macro, these pages can be sourced from our example document.
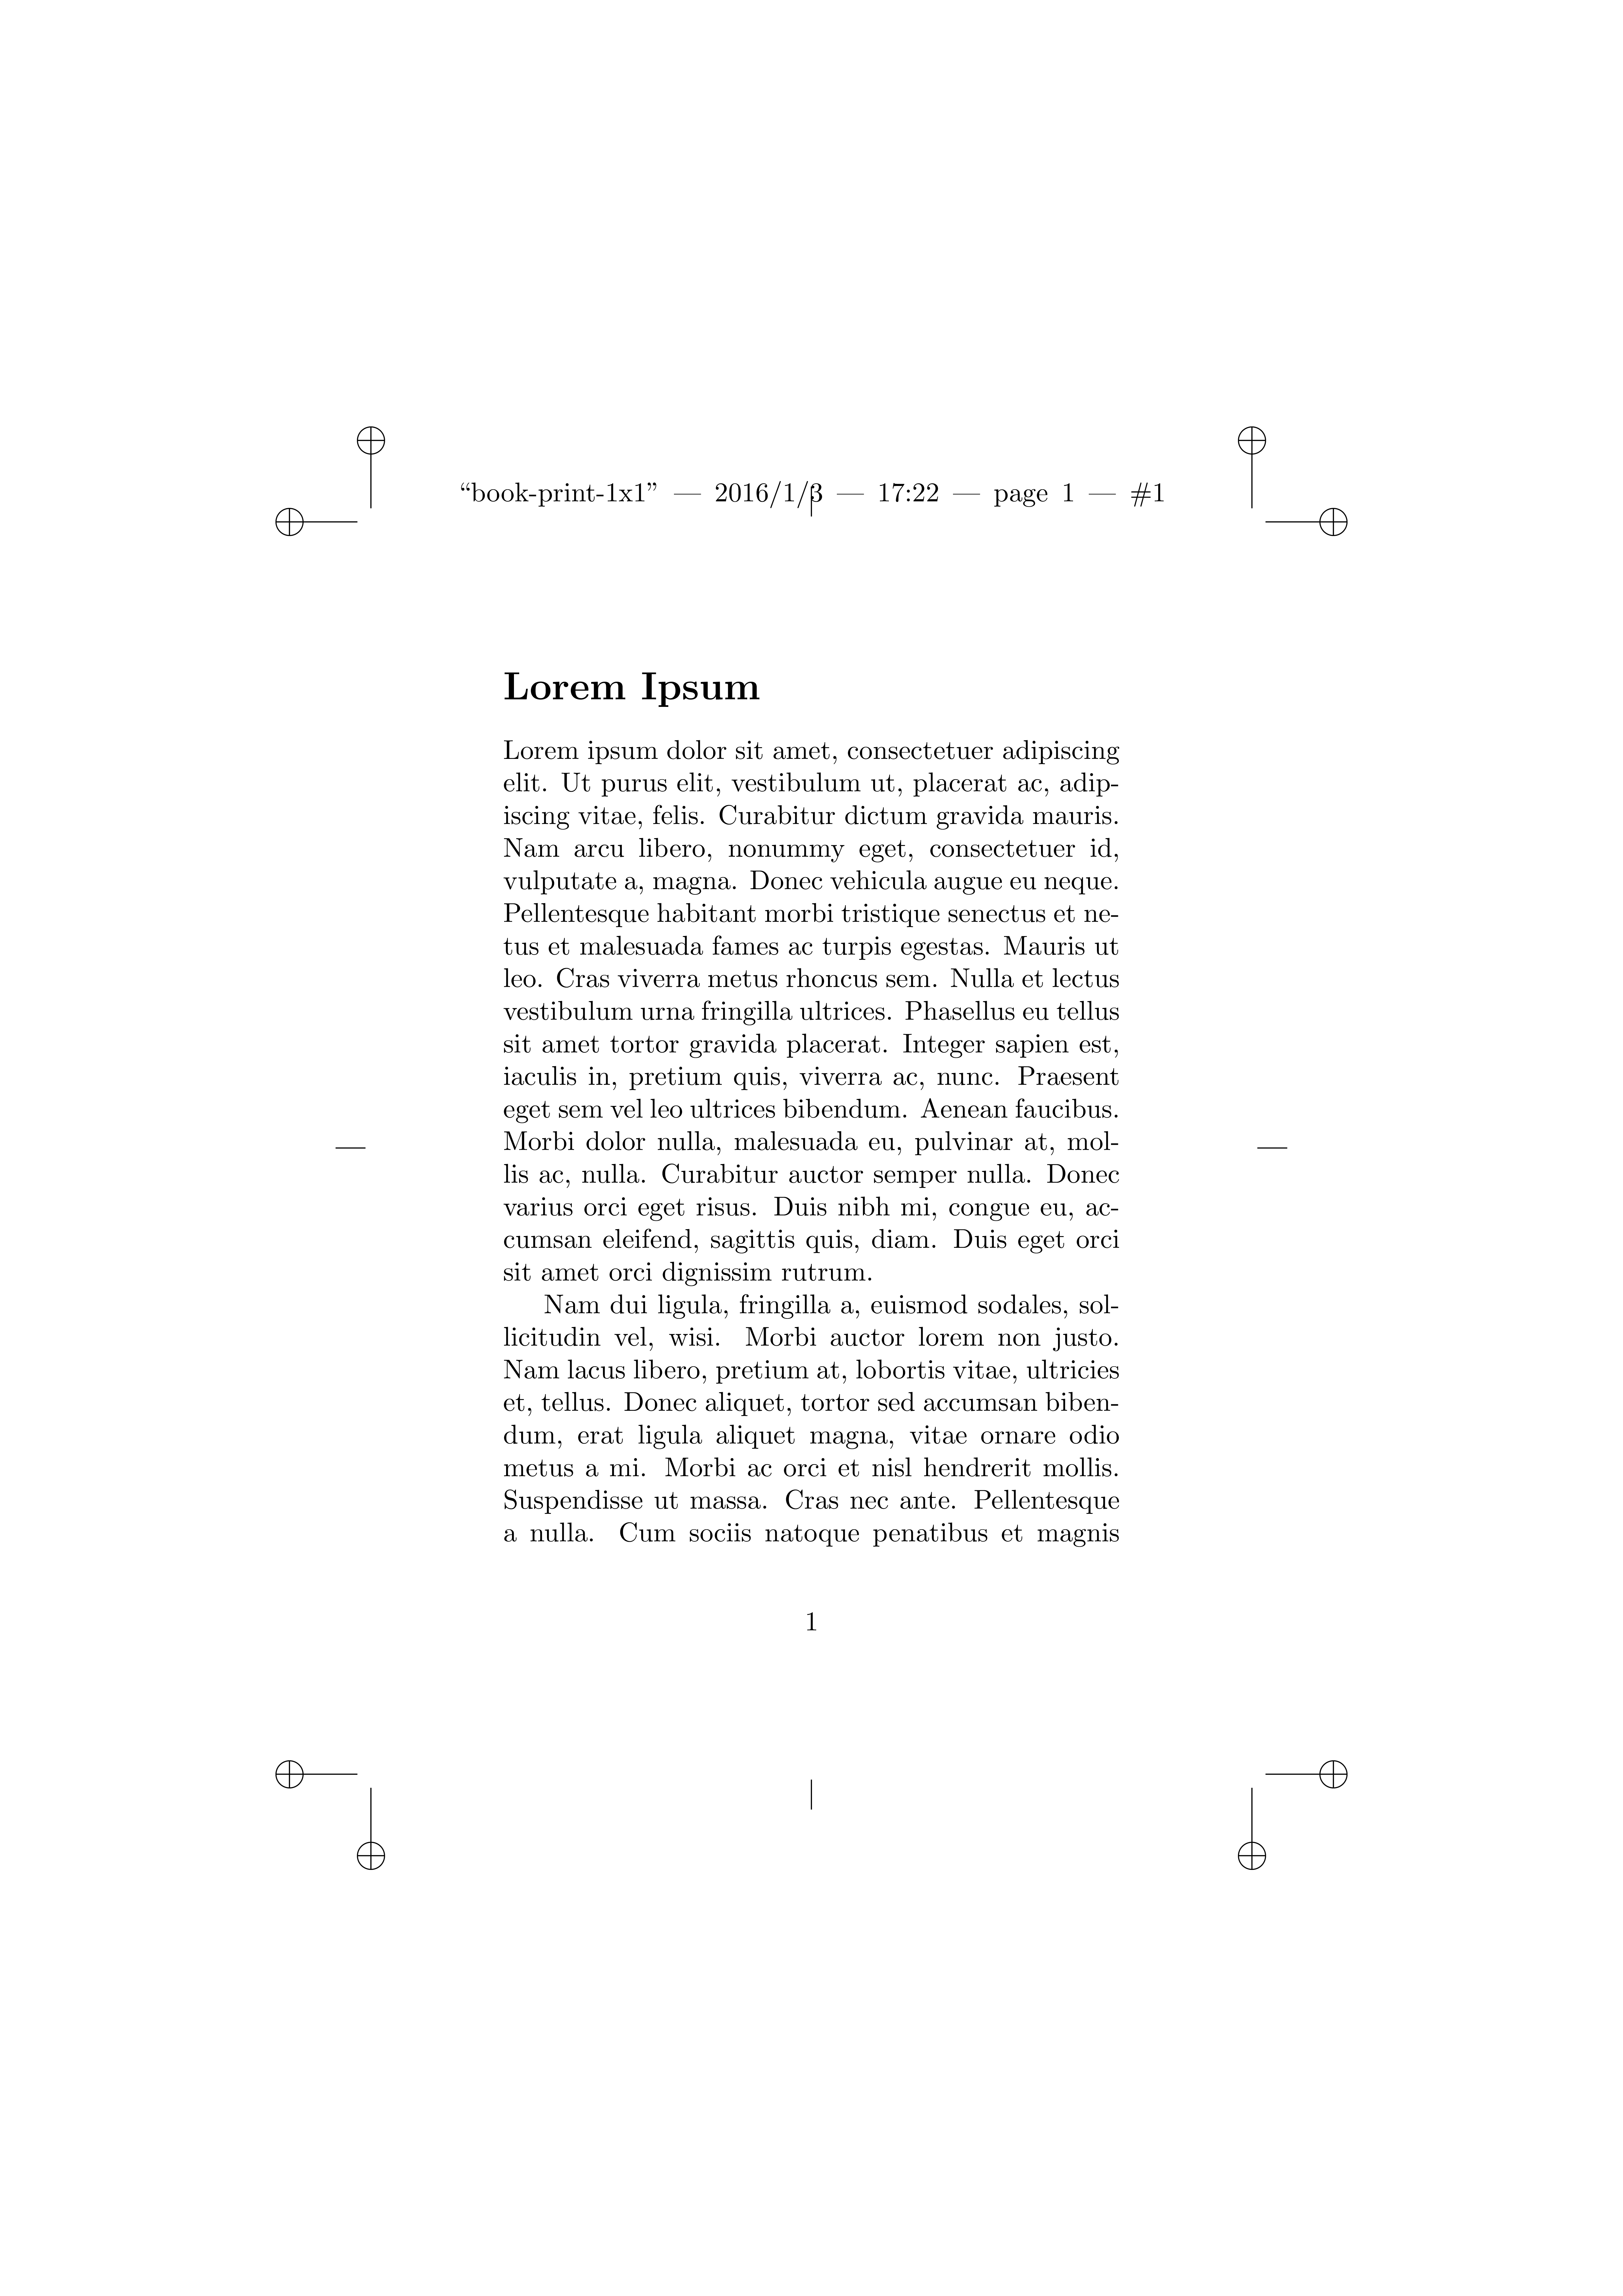
This example simply renders the document on larger pages, with crop marks displayed at the document edges.
 1
 2
 3
 4
 5
 6
 7
 8
 9
10
11
12
13
14
|
\documentclass{article}
\usepackage{pdfpages}
% Sum of dimensions of the pages. We are displaying 1x1 C6 (114 mm x 162mm) pages, which is where 114x162 comes from.
\usepackage[paperheight=162mm,paperwidth=114mm]{geometry}

% Include print/output paper size and orientation here, A4 portrait in this example (use 'landscape' option for landscape)
\usepackage[axes,cam,a4,pdftex,center]{crop}

\begin{document}

% Restrict page range, and set arrangement of pages per sheet here.
\includepdf[pages=-,nup=1x1,noautoscale]{book-pages.pdf}

\end{document}
|
This renders a single C6 page on A4, as below:
Alternatively see book-print-1x1.pdf for this output in PDF format.
2x1 arrangement
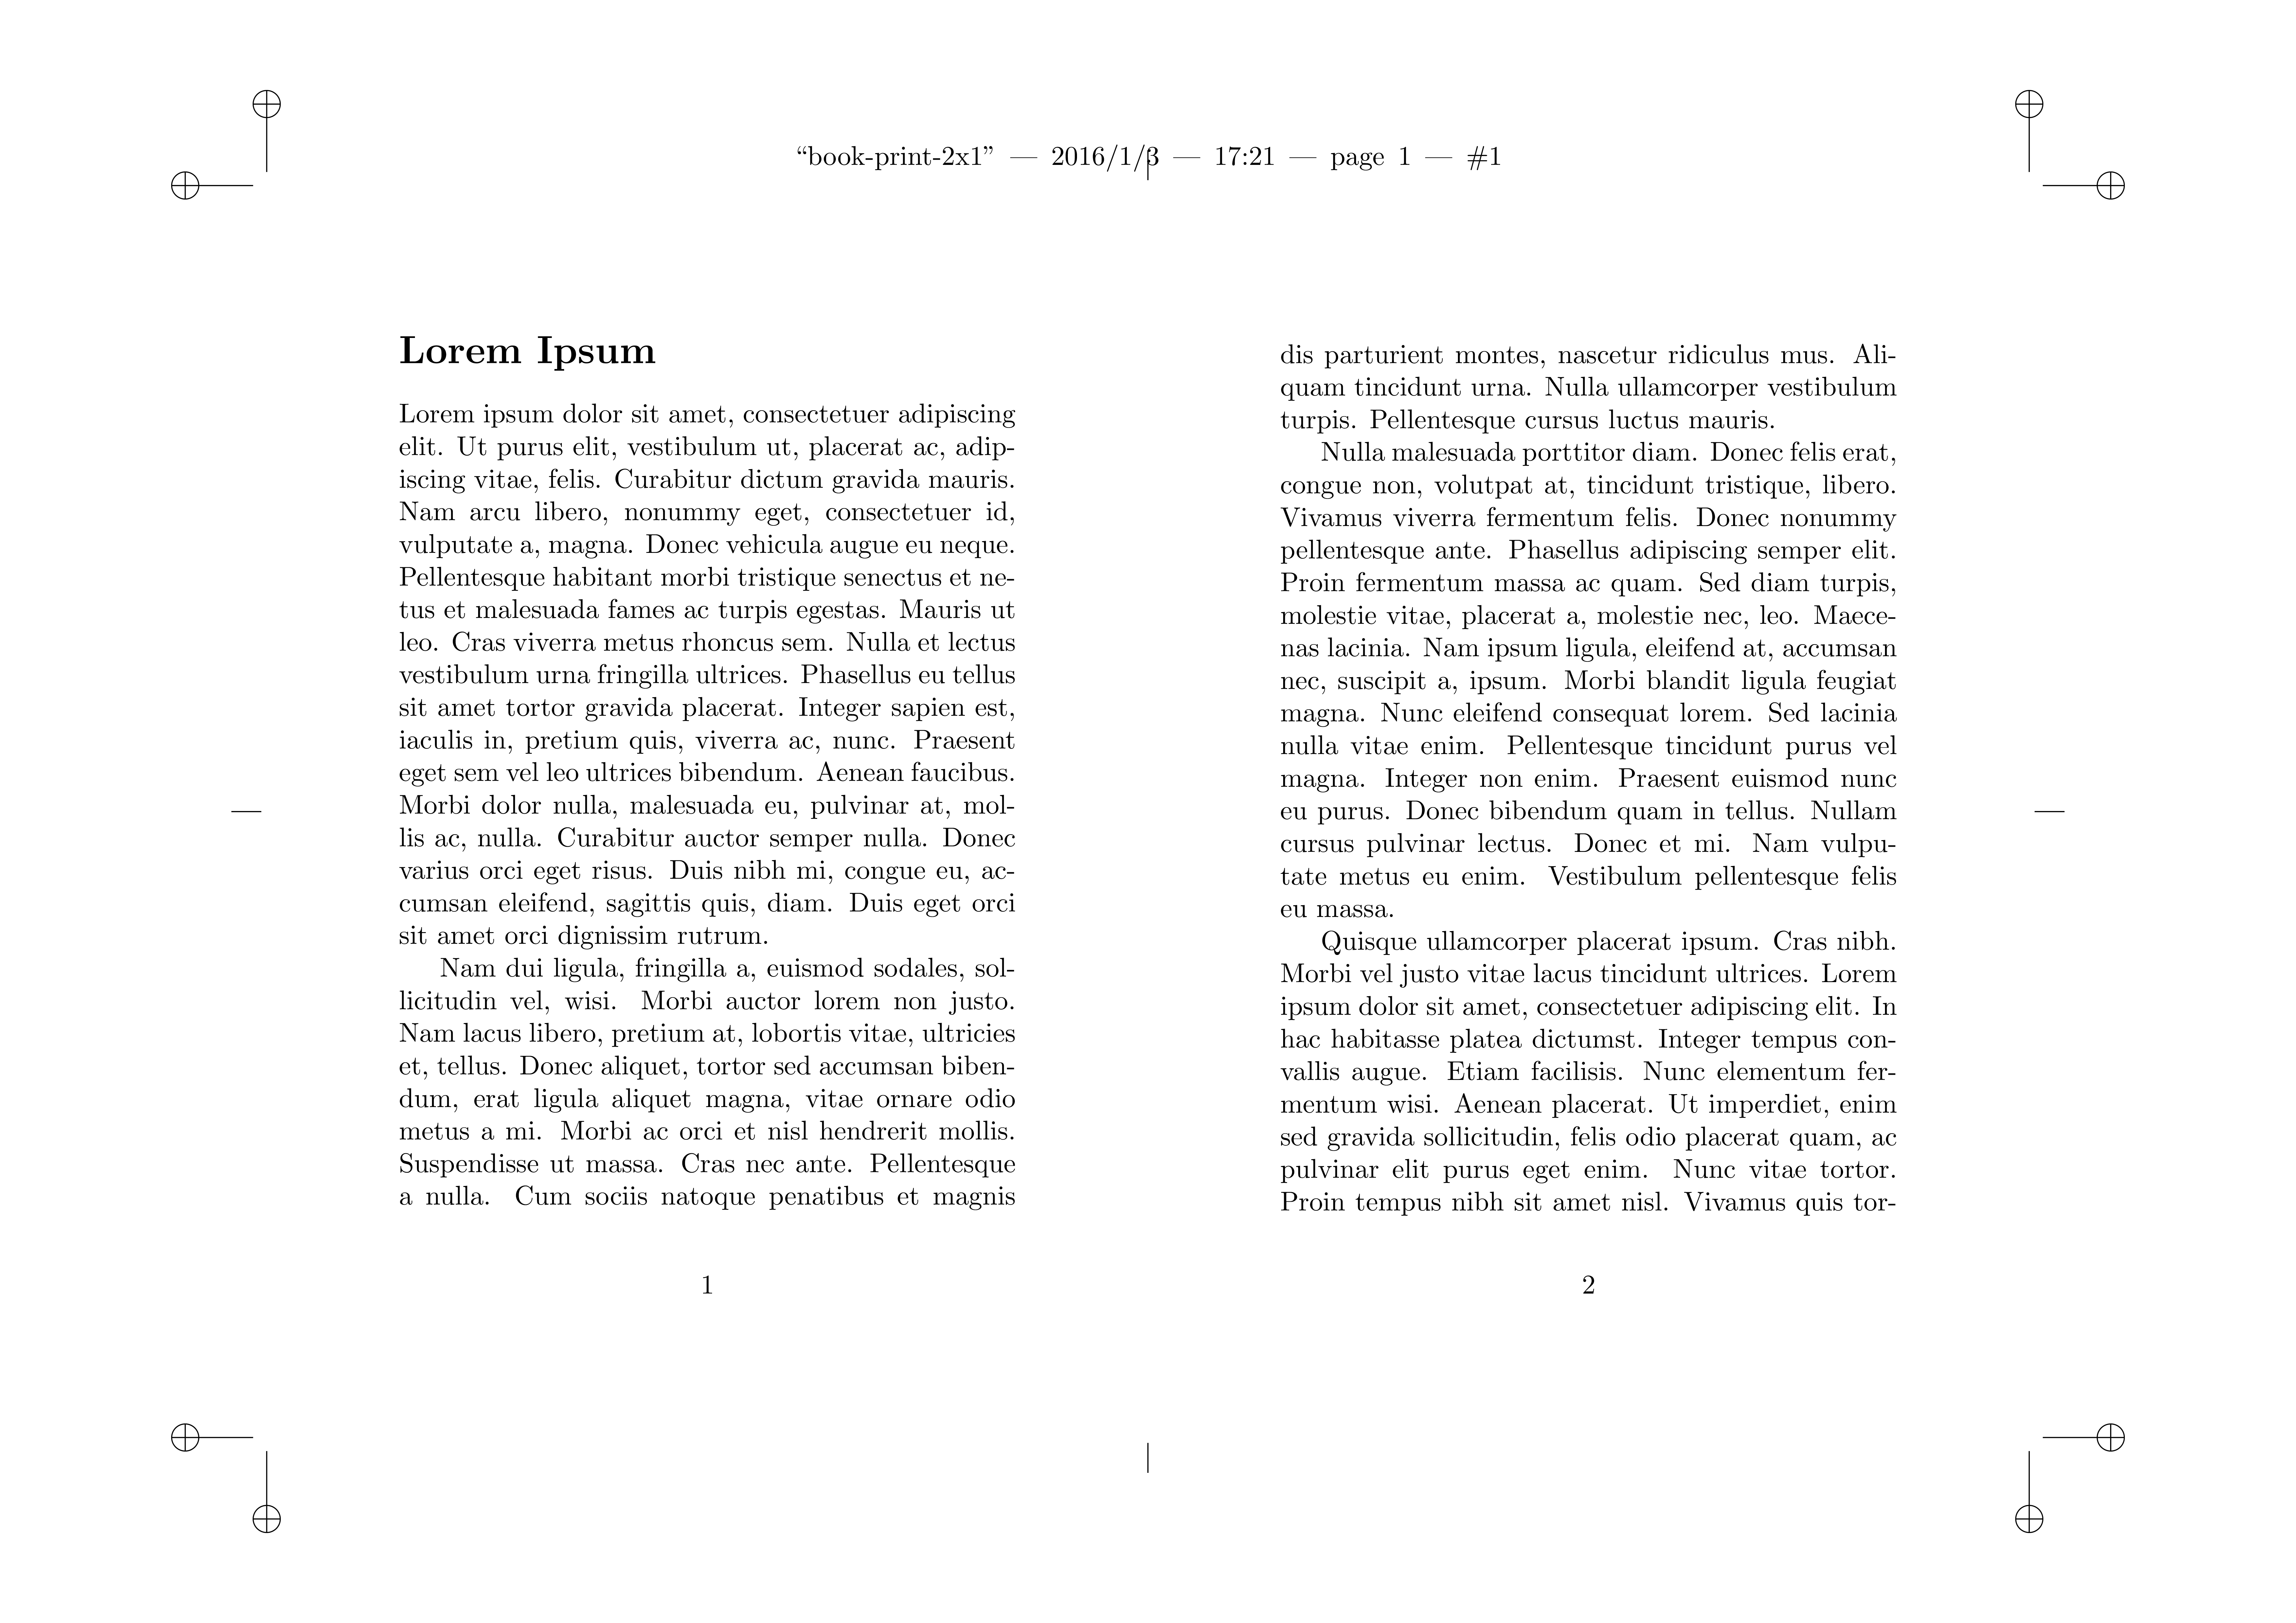
To lay out two images side-by-side, we need to specify the size of the document we’re wrapping (which will be twice as wide as a single C6 page, and the height of a single C6 page), and also change the orientation of the outer paper to Landscape.
The LaTeX code is:
 1
 2
 3
 4
 5
 6
 7
 8
 9
10
11
12
13
14
|
\documentclass{article}
\usepackage{pdfpages}
% Sum of dimensions of the pages. We are displaying 2x1 C6 (114 mm x 162mm) pages, which is where 228x162 comes from.
\usepackage[paperheight=162mm,paperwidth=228mm]{geometry}

% Include print/output paper size and orientation here, A4 landscape in this example.
\usepackage[axes,cam,a4,landscape,pdftex,center]{crop}

\begin{document}

% Restrict page range, and set arrangement of pages per sheet here.
\includepdf[pages=-,nup=2x1,noautoscale]{book-pages.pdf}

\end{document}
|
Which renders like this (click here for PDF):
2x2 arrangement
In a similar way, we can slot four portrait C6 pages on to a piece of A4 portrait paper like so:
 1
 2
 3
 4
 5
 6
 7
 8
 9
10
11
12
13
14
|
\documentclass{article}
\usepackage{pdfpages}
% Sum of dimensions of the pages. We are displaying 2x2 C6 (114 mm x 162mm) pages, which is where 228x324 comes from.
\usepackage[paperheight=324mm,paperwidth=228mm]{geometry}

% Include print/output paper size and orientation here, A3 portrait in this example (use 'landscape' option for landscape)
\usepackage[axes,cam,a3,pdftex,center]{crop}

\begin{document}

% Restrict page range, and set arrangement of pages per sheet here.
\includepdf[pages=-,nup=2x2,noautoscale]{book-pages.pdf}

\end{document}
|
Which renders as (click here for PDF):

All of the above setups share one thing in common: they have 2 or fewer items on each side, meaning that the half-way axis lines could be used to show where each page ends.
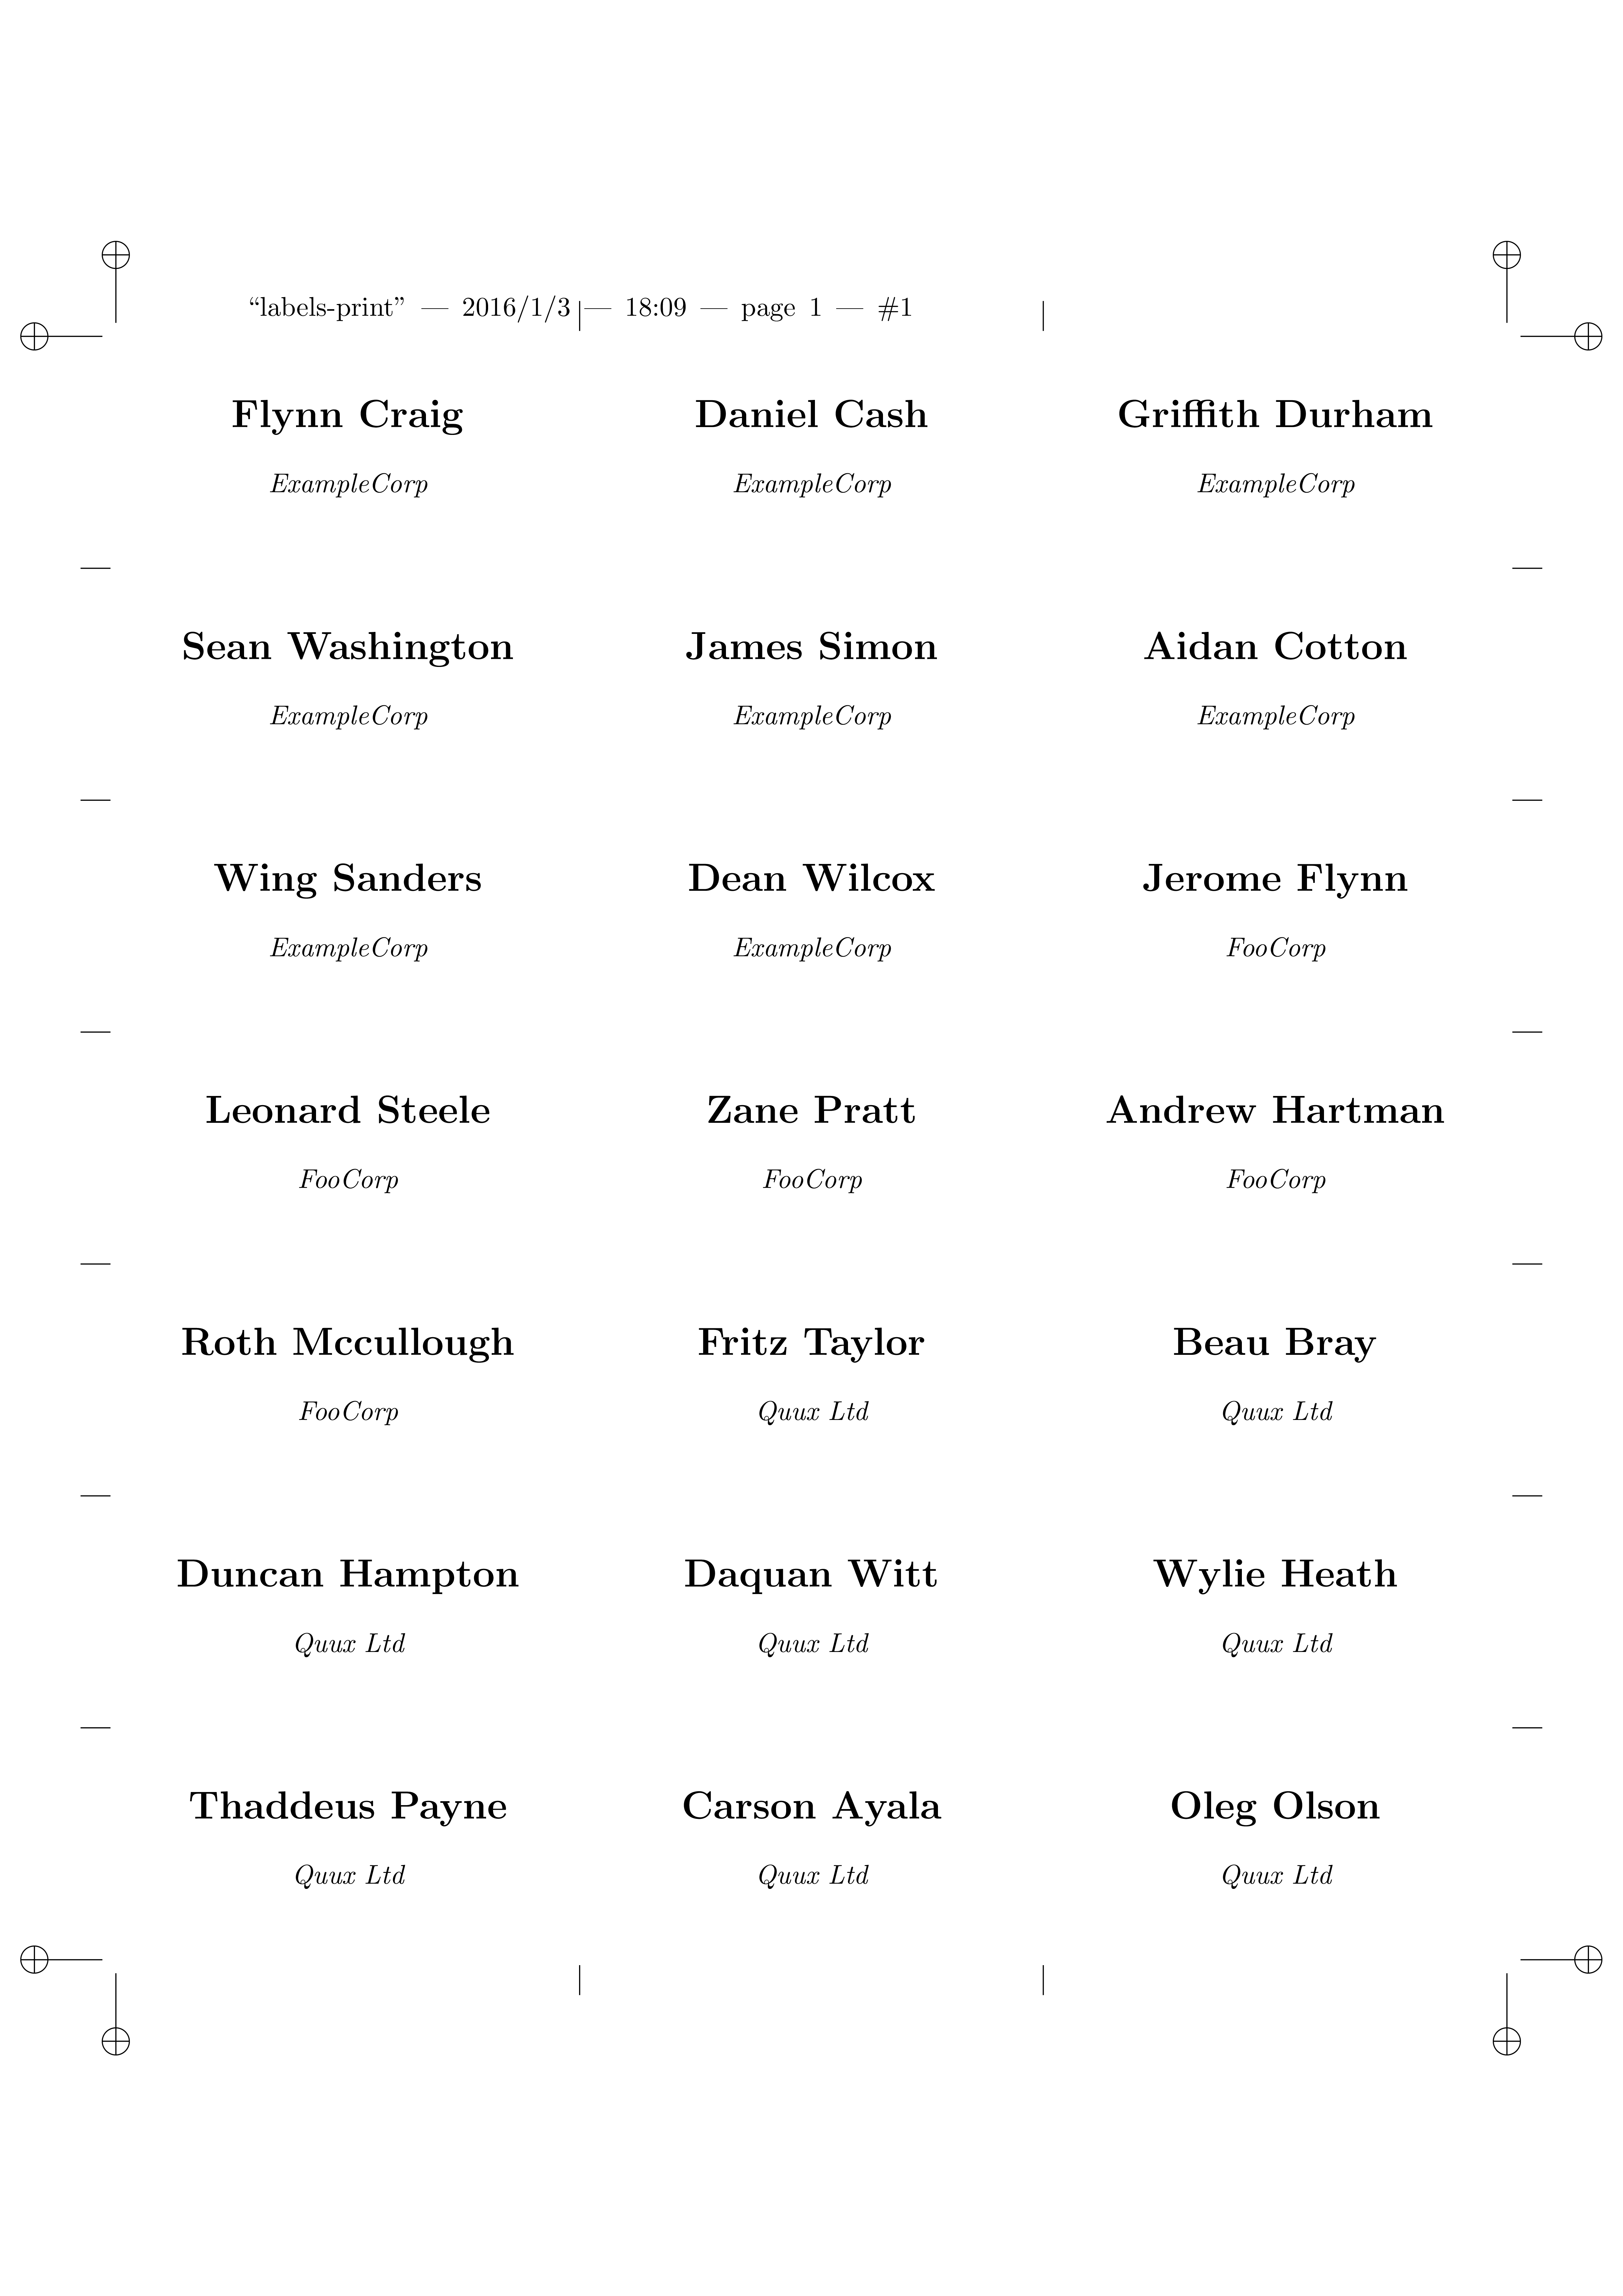
If you are printing many small items, you might fit more than two in a direction, and need to add more axis lines so that you know where to cut!
Here is an example PDF which creates tiny name tags. All names here are randomly generated.
 1
 2
 3
 4
 5
 6
 7
 8
 9
10
11
12
13
14
15
16
17
18
19
20
21
22
23
24
25
26
27
28
29
30
31
32
33
34
35
36
37
38
39
40
41
42
43
44
|
\documentclass{article}
% Custom page size
\usepackage[margin=4mm,paperheight=30mm,paperwidth=60mm]{geometry}

% Macro for a name tag
\newcommand{\tag}[2]{\begin{center}~\\\textbf{\Large#1}\\~\\\em{#2}\end{center}\clearpage}

\begin{document}

% Make some name tags for a conference
% Names generated via www.generatedata.com/
\tag{Flynn Craig}{ExampleCorp}
\tag{Daniel Cash}{ExampleCorp}
\tag{Griffith Durham}{ExampleCorp}
\tag{Sean Washington}{ExampleCorp}
\tag{James Simon}{ExampleCorp}
\tag{Aidan Cotton}{ExampleCorp}
\tag{Wing Sanders}{ExampleCorp}
\tag{Dean Wilcox}{ExampleCorp}
\tag{Jerome Flynn}{FooCorp}
\tag{Leonard Steele}{FooCorp}
\tag{Zane Pratt}{FooCorp}
\tag{Andrew Hartman}{FooCorp}
\tag{Roth Mccullough}{FooCorp}
\tag{Fritz Taylor}{Quux Ltd}
\tag{Beau Bray}{Quux Ltd}
\tag{Duncan Hampton}{Quux Ltd}
\tag{Daquan Witt}{Quux Ltd}
\tag{Wylie Heath}{Quux Ltd}
\tag{Thaddeus Payne}{Quux Ltd}
\tag{Carson Ayala}{Quux Ltd}
\tag{Oleg Olson}{Quux Ltd}
\tag{Herrod Gillespie}{Bar University}
\tag{Jonas Wyatt}{Bar University}
\tag{Mannix Patrick}{Bar University}
\tag{Cain Ferguson}{Bar University}
\tag{Nasim Mendez}{Bar University}
\tag{Emery Bennett}{Bar University}
\tag{Oscar Bennett}{Bar University}
\tag{William Neal}{Bar University}
\tag{Dieter Cochran}{Bar University}
\tag{Bert Schultz}{Bar University}

\end{document}
|
The above example renders a single name tag per page like this (click here for PDF):

Now, the trick is that crop is hard-coded to show axis lines only at the half-way points, so take a copy of crop.sty called crop-3x7.sty and find this block:
1
2
3
4
5
6
7
8
9
|
\newcommand*\CROP@marks{%
    \CROP@setmarkcolor
    \CROP@user@b
    \CROP@ulc\null\hfill\CROP@@@info\CROP@upedge\hfill\null\CROP@urc
    \vfill
    \CROP@ledge\hfill\CROP@redge
    \vfill
    \CROP@llc\null\hfill\CROP@loedge\hfill\null\CROP@lrc
}
|
The block uses \vfill and \hfill to make even spaces.
Edit the file to include more axis lines, like so:
 1
 2
 3
 4
 5
 6
 7
 8
 9
10
11
12
13
14
15
16
17
18
19
20
21
22
23
24
25
26
27
28
|
%% 'crop-3x7' is not a real package for general use, it is an example only!
%%
%% It is a modified version of the 'crop' package, for rendering
%% additonal axis marks as cutting aids.
...
% Changed package name here-
\ProvidesPackage{crop-3x7}[2016/01/03 v2.0 crop marks 3x7 (mf)]
...
\newcommand*\CROP@marks{%
    % Changed from one axis on each side to 2 axes on top/lower edge, 6 on each side, for printing 3x7 panels per this example.
    \CROP@setmarkcolor
    \CROP@user@b
    \CROP@ulc\null\hfill\CROP@@@info\CROP@upedge\hfill\CROP@upedge\hfill\null\CROP@urc
    \vfill
    \CROP@ledge\hfill\CROP@redge
    \vfill
    \CROP@ledge\hfill\CROP@redge
    \vfill
    \CROP@ledge\hfill\CROP@redge
    \vfill
    \CROP@ledge\hfill\CROP@redge
    \vfill
    \CROP@ledge\hfill\CROP@redge
    \vfill
    \CROP@ledge\hfill\CROP@redge
    \vfill
    \CROP@llc\null\hfill\CROP@loedge\hfill\CROP@loedge\hfill\null\CROP@lrc
}
|
Now simply prepare a page which shows a 3x7 grid of tags, using the same rules as before, and our modified crop-3x7.sty:
 1
 2
 3
 4
 5
 6
 7
 8
 9
10
11
12
13
14
15
16
|
\documentclass{article}
% This file demonstrates the use of a customisation to the 'crop' package to render additional axes for cutting up small name labels.

\usepackage{pdfpages}
% Sum of dimensions of the pages. We are displaying 3x7 small tags (60 x 30 mm) to a page, which is where 180x210 comes from.
\usepackage[paperheight=210mm,paperwidth=180mm]{geometry}

% Include print/output paper size and orientation here, A3 portrait in this example (use 'landscape' option for landscape)
\usepackage[axes,cam,a4,pdftex,center]{crop-3x7}

\begin{document}

% Restrict page range, and set arrangement of pages per sheet here.
\includepdf[pages=-,nup=3x7,noautoscale]{labels.pdf}

\end{document}
|
Render the document, and see the small dashes on the sides which will show you where to cut (again, click here for PDF):
Wrap-up
Full source for the linked files can be found in my mike42/tex-examples repository on GitHub.