I recently converted an old workstation to run as a home-theatre PC (HTPC). I’ve noted down the setup here for others who are making an installation like this. Some steps depend on using a radeon chipset, and will need to be adjusted for your computer.
Hardware
First up, Desktop ’towers’ are not a good form-factor for sitting in TV cabinets. If your PC is this sort of size, then source a small form-factor case and power supply, and load the computer’s components into it:
I also used a Logitech k400r keyboard and mouse for wireless input.
Install Debian and apps
Write the latest copy of Debian Stable to a CD or flash drive (this is version 8.3 at time of writing), and install it on the computer. Check “Debian Desktop environment” / GNOME during setup.
After installation, open a terminal, and type “su” to get root privileges.
su
Edit the software sources.
nano /etc/apt/sources.list
Update this to include ‘contrib’ and ’non-free’, as well as ‘jessie-backports’
deb http://ftp.us.debian.org/debian/ jessie main contrib non-free
deb-src http://ftp.us.debian.org/debian/ jessie main contrib non-free

deb http://security.debian.org/ jessie/updates main contrib non-free
deb-src http://security.debian.org/ jessie/updates main contrib non-free

# jessie-updates, previously known as 'volatile'
deb http://ftp.us.debian.org/debian/ jessie-updates main contrib non-free
deb-src http://ftp.us.debian.org/debian/ jessie-updates main contrib non-free

# jessie-backports
deb http://ftp.us.debian.org/debian/ jessie-backports main contrib non-free
deb-src http://ftp.us.debian.org/debian/ jessie-backports main contrib non-free
Update sources and install Kodi:
apt-get install --install-suggests kodi
Also install the firmware packages that you may need.
apt-get install firmware-linux-free firmware-amd-graphics
Tweaks
Sudo
sudo allows you to run commands as root from your regular user account. Install the package and add yourself to the sudo group:
apt-get install sudo
usermod -a -G sudo mike
To apply the change, log out and back in again. The rest of this guide assumes you are logged in as yourself, and will use sudo where necessary.
Auto-start Kodi
Open the tweak tool, and locate the list of startup programs.
gnome-tweak-tool
Add Kodi to the list, log out, log in, and Kodi will launch automatically.
Auto-login
For a PC attached to a TV, user permissions are not so importnat, so set the user to log in automatically.
sudo nano /etc/gdm3/daemon.conf
Un-comment this block and enter your username:
# Enabling automatic login
#  AutomaticLoginEnable = true
#  AutomaticLogin = user1
Plymouth start-up screen
Install plymouth and configure grub to change the Debian boot sequence (a menu with timeout, followed by lots of text) into a graphical splash screen. This takes a bit of configuration.
sudo apt-get install plymouth
Set it up according to these instructions:
sudo nano /etc/initramfs-tools/modules
Set drm correctly for your chipset:
# KMS
drm
radeon modeset=1
Configure grub.
sudo nano /etc/default/grub
Set these options.
...
GRUB_TIMEOUT=0
...
GRUB_CMDLINE_LINUX_DEFAULT="quiet splash"
...
GRUB_GFXMODE=1920x1080
...
Update grub, set the theme in Plymouth:
sudo update-grub2
sudo /usr/sbin/plymouth-set-default-theme --list
sudo /usr/sbin/plymouth-set-default-theme joy
Run update-initramfs to apply the changes
sudo update-initramfs -u
Samba
Samba will let you share folders over your network. A basic folder with guest read/write is simple to set up:
sudo apt-get install nautilus-share samba libpam-smbpass winbind
sudo usermod -a -G sambashare mike
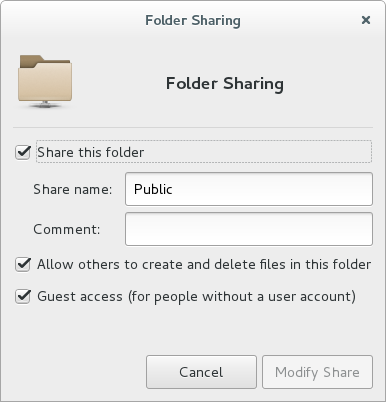
Log out, and back in to apply the group change, and then share the Public folder over the network by right-clicking on it and opening the “Sharing Options”:
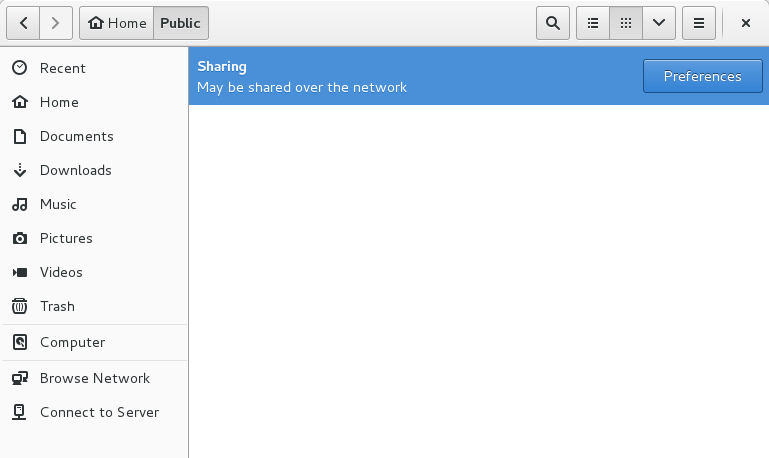
Gnome will warn that the folder as shared if you open it:
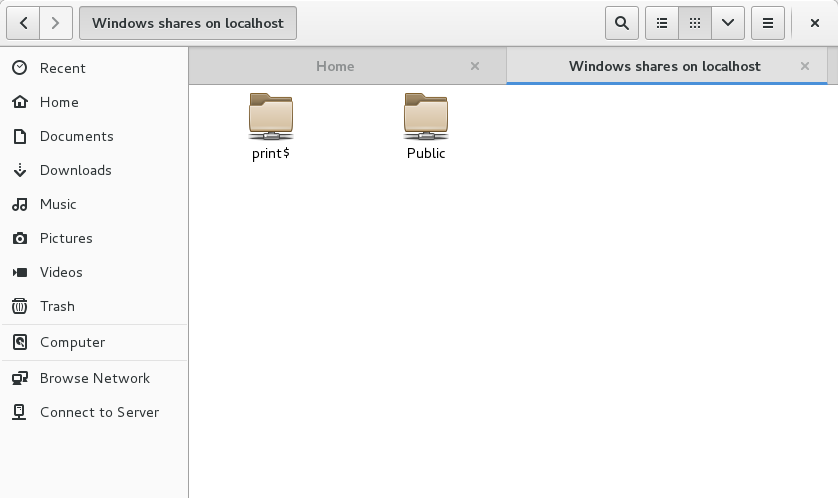
Test the setup by typing smb://localhost into the address bar:
Overscan correction
In my case, I was able to set the TV to treat the input as a “PC” input. If that doesn’t work for you, then use xrandr in a login script:
Find the name of your input:
xrandr --query
Set underscan (get the horizontal and vertical values by trial and error):
xrandr --output HDMI-0 --set underscan on
xrandr --output HDMI-0 --set "underscan hborder" 32 --set "underscan vborder" 16
Kodi plugins
Add these as needed. The Australian catchup TV plugins repository from GitHub worked well.
Kodi RSS
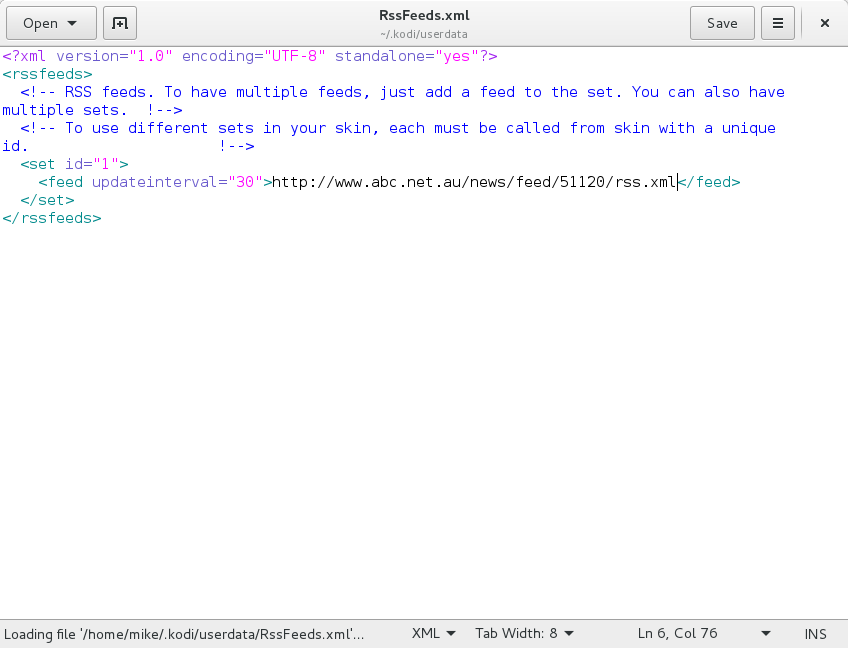
The RSS feed shows Kodi updates by default, and is part of your user profile.
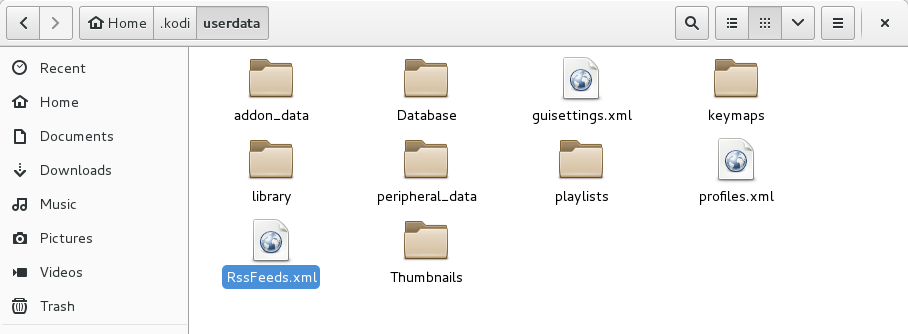
Edit the configuration file, and adjust the paths to your news sources of choice.
Boot speed
Readahead is the tool of choice for boot speed optimisation. Install it, and reboot.
sudo apt-get install readahead
sudo touch  /.readahead_collect
sudo reboot
Desktop Apps
If you quit Kodi, you are dropped back to the GNOME desktop. These apps are simply to improve the desktop user experience.
Google Chrome
Download the .deb file for Chrome from Google, install with dpkg, and then clean up dependencies:
dpkg -i google-chrome-stable_current_amd64.deb
apt-get -f install
Firefox
Download and extract the Firefox for Linux tarball from Mozilla.
Move it to /usr/share, and change the owner to match other applications there.
mv firefox /usr/share/
cd /usr/share/
ls -Ahl
chown root:root firefox
chown -R root:root firefox
Find the main menu editor, and add Firefox to the menu.
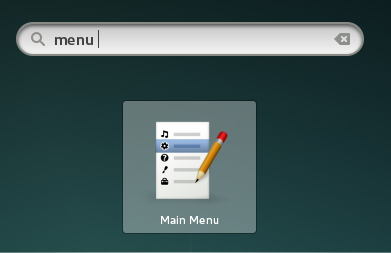
- Name: Firefox Web Browser
- Command: /usr/share/firefox/firefox-bin
- Icon: /usr/share/firefox/browser/icons/mozicon128.png
![]()
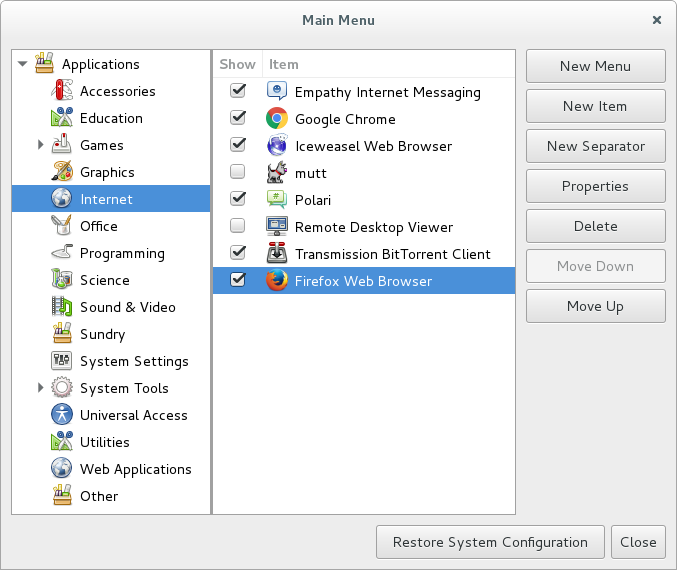
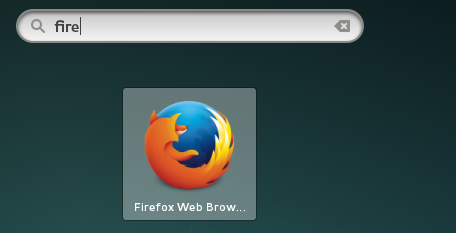
Test the new icon by searching:
Auto-clear browser profiles
Because you don’t need a password to log in to the user account, you can add this as a bit of security so that your box won’t remember any passwords or sessions.
crontab -e
This job removes the Firefox and Chrome user profiles each boot.
@reboot rm --preserve-root -Rf -- ~/.config/google-chrome ~/.cache/google-chrome ~/.mozilla/firefox ~/.cache/mozilla/firefox
VLC
For file format support, best to have another media player:
sudo apt-get install vlc
Result
You should now have a PC which boots into Kodi for media and TV, and lets you quit into a desktop to browse the web or run regular desktop apps.
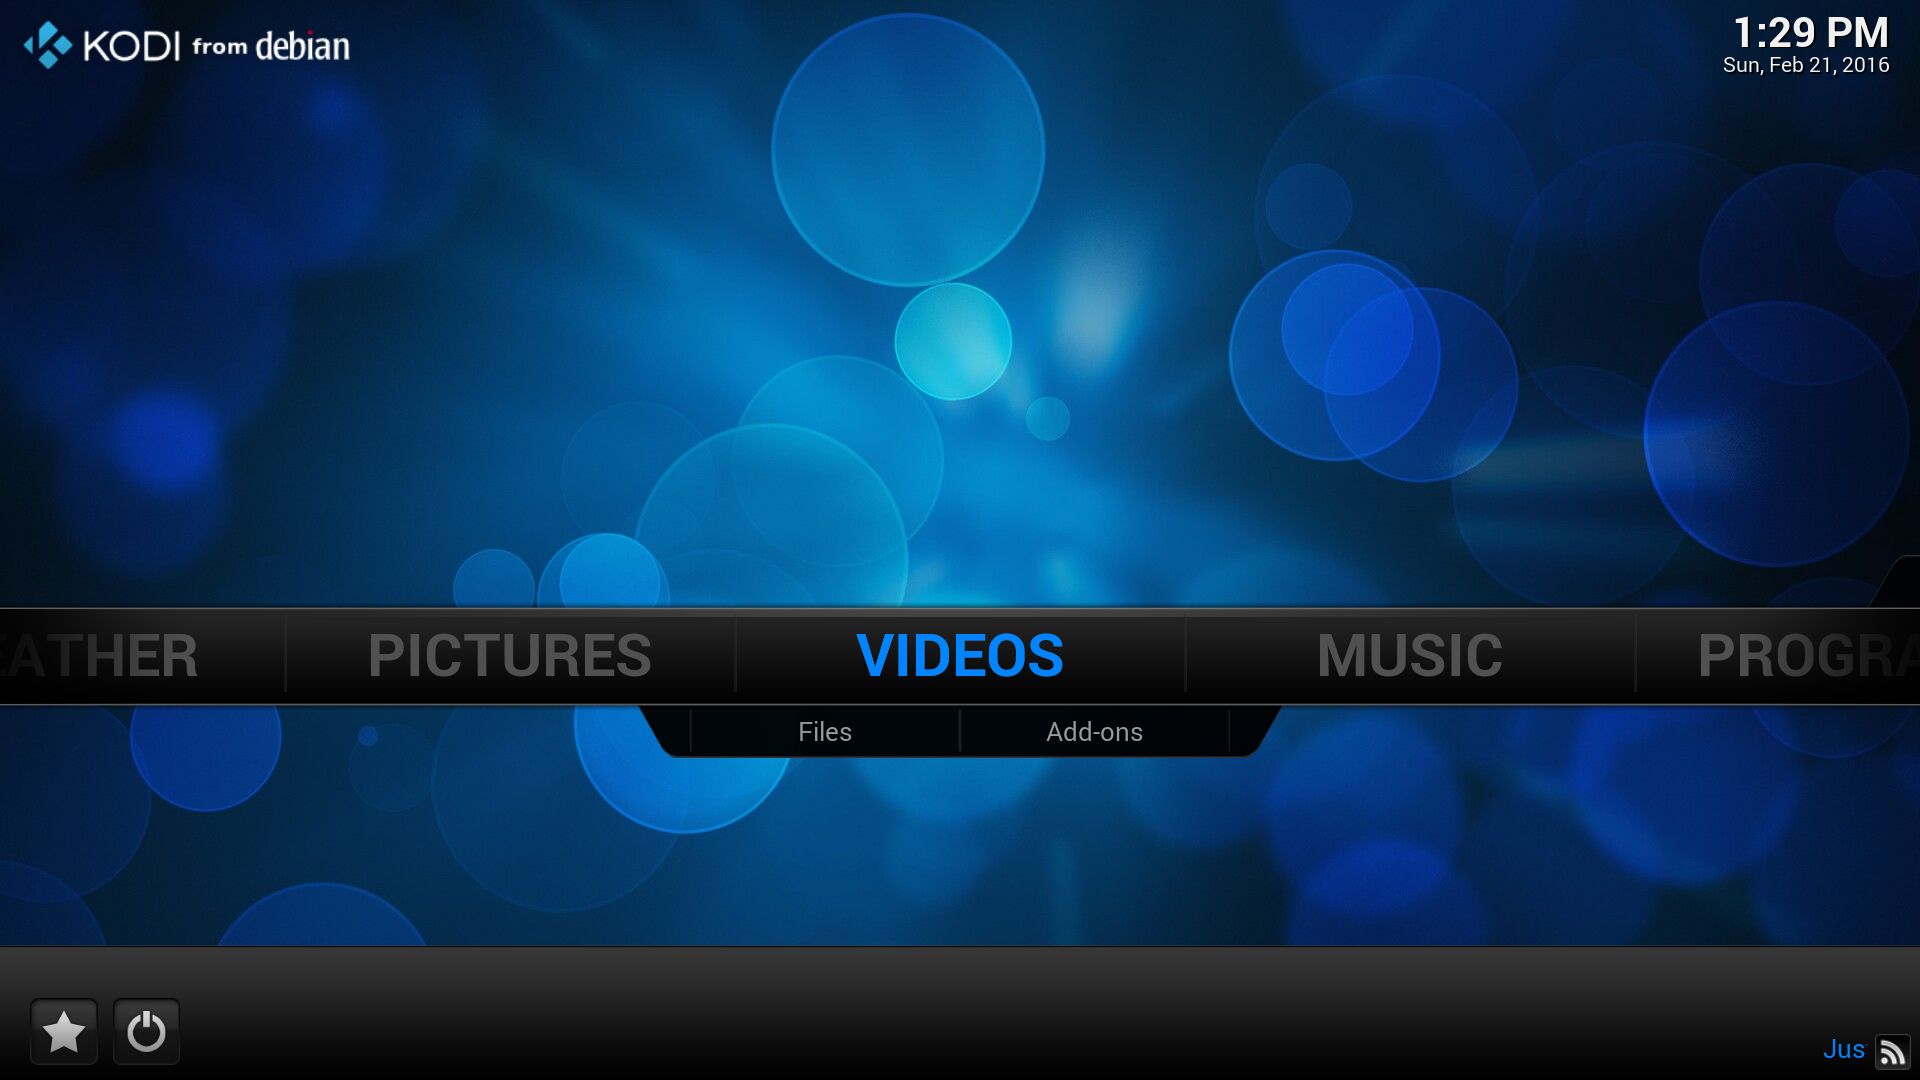
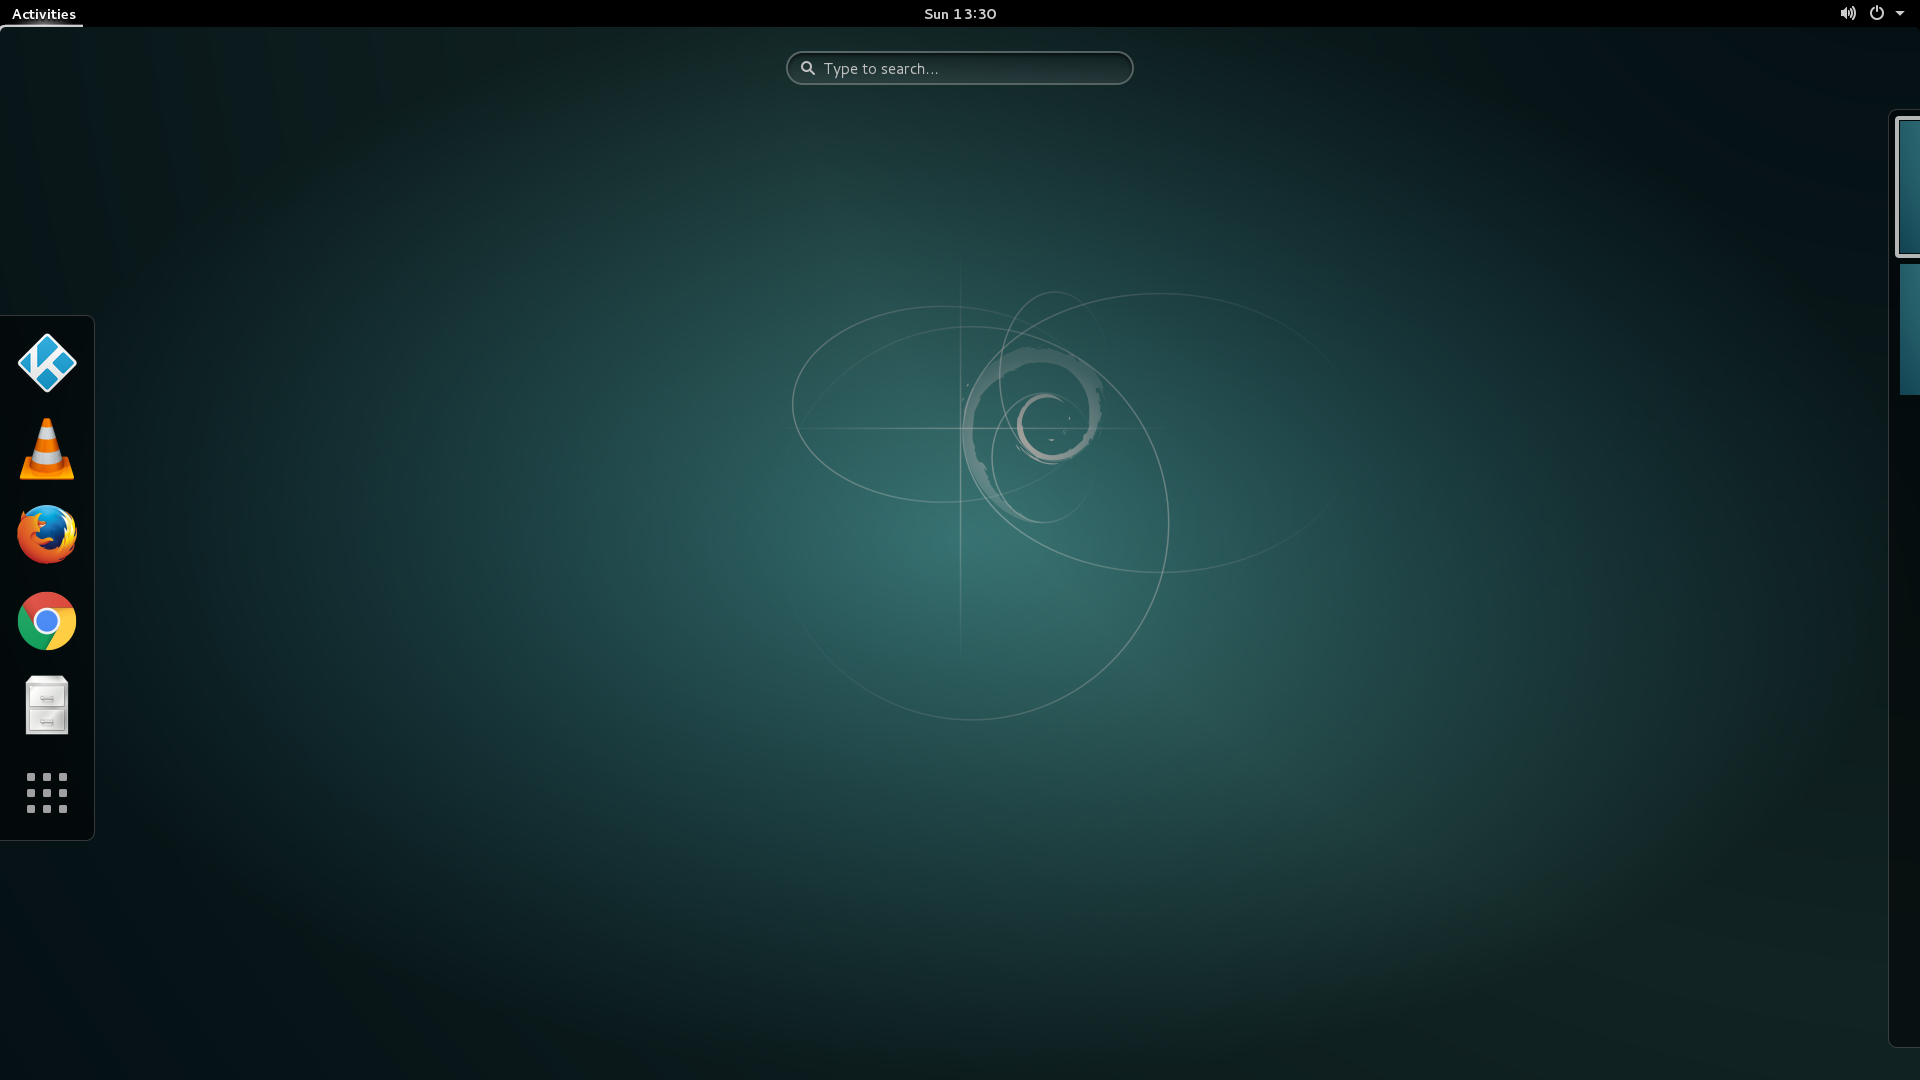
On the 1GB RAM / dual-core workstation, it still took around 45 seconds from the BIOS handing over control to Kodi being ready.
Update 2017-12-29: Re-installing this setup on an SSD shortened the boot time to 21 seconds. This includes boot, login, and an application start.