Gitea is a web app for hosting Git repositories. It’s open source, and very simple to get running. With some extra setup, it can also trigger Jenkins builds, and display the Jenkins build status of each commit once it has been built.
Because the documentation for the Jenkins plugin is very minimalist, I decided to write about it for future reference.
About this setup
I installed Jenkins and Gitea on the same Debian 9 server on the LAN. They communicate only over HTTP, so they could just as easily be installed separately.
To make the configuration clear, I’ve used jenkins.example.com in URLs which refer to Jenkins, and gitea.example.com for the Gitea.
Gitea installation
This command will install and start the linux-amd64 version of Gitea as the user “git”.
useradd git -r --create-home && \
  mkdir /opt/gitea && chown -R git: /opt/gitea && \
  wget -O /opt/gitea/gitea https://dl.gitea.io/gitea/1.7.0/gitea-1.7.0-linux-amd64 && \
  chmod +x /opt/gitea/gitea && \
  sudo -u git bash -c "cd /opt/gitea && ./gitea web"
Shut it down, and configure some paths at /opt/gitea/custom/conf/app.ini. These will depend on your environment.
SSH_DOMAIN       = gitea.example.com
DOMAIN           = gitea.example.com
HTTP_PORT        = 3000
ROOT_URL         = http://gitea.example.com:3000/
Start it back up as a systemd service at this point, by creating /etc/systemd/system/gitea.service with this content:
[Unit]
Description=gitea
After=network.target

[Service]
ExecStart=/opt/gitea/gitea web
WorkingDirectory=/opt/gitea
User=git
Type=simple

[Install]
WantedBy=multi-user.target
Once this is saved, start the service.
systemctl daemon-reload
systemctl start gitea
Optionally, also configure it to start on boot.
systemctl enable gitea
Jenkins installation
I installed Jenkins from the official Debian repo at jenkins-ci.org, and clicked through the initial install.

Add plugin
Open up Manage Jenkins → Manage Plugins. Navigate to Available and check the Gitea plugin.

Next, install the plugin and restart Jenkins.

The configuration for the plugin is located under Manage Jenkins → Configure System.

At this point you will want to tell Jenkins where to find your Gitea server.

I don’t suggest choosing Manage hooks, because it uses the same account to manage hooks across all repos, which would violate the principle of least privilege.
Set up a project in Gitea
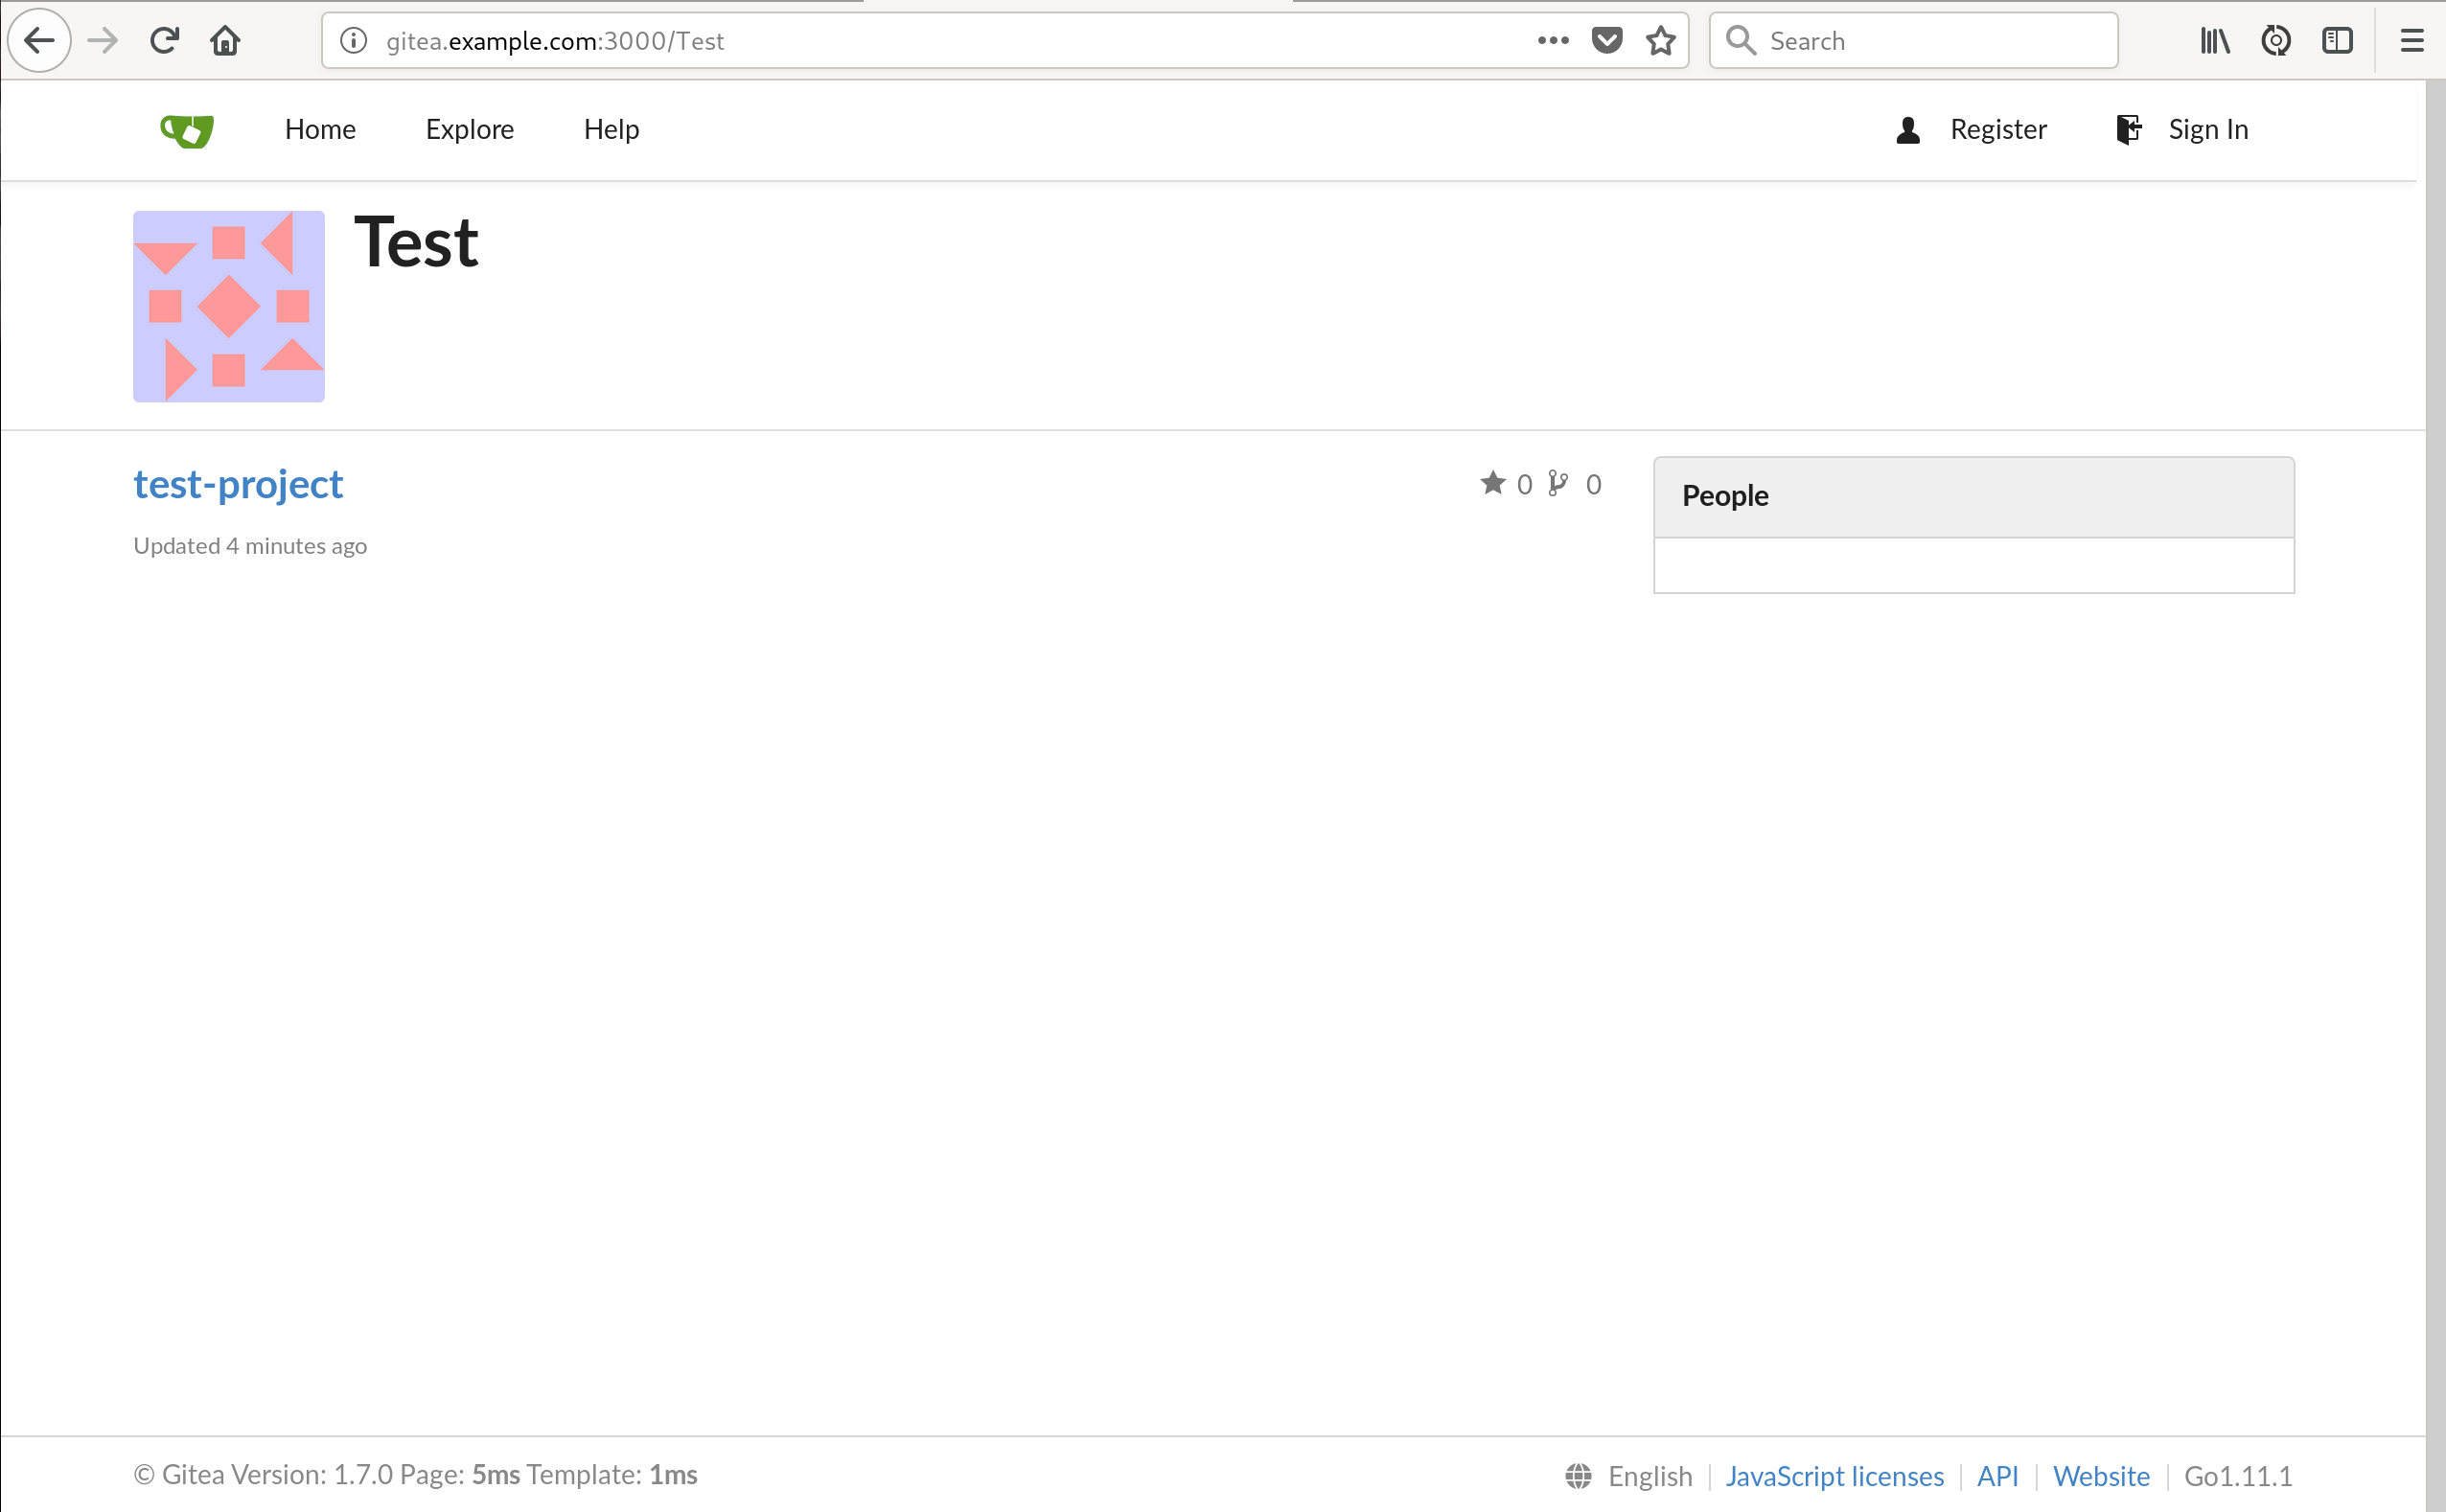
In Gitea, create a project, then a repository under that.
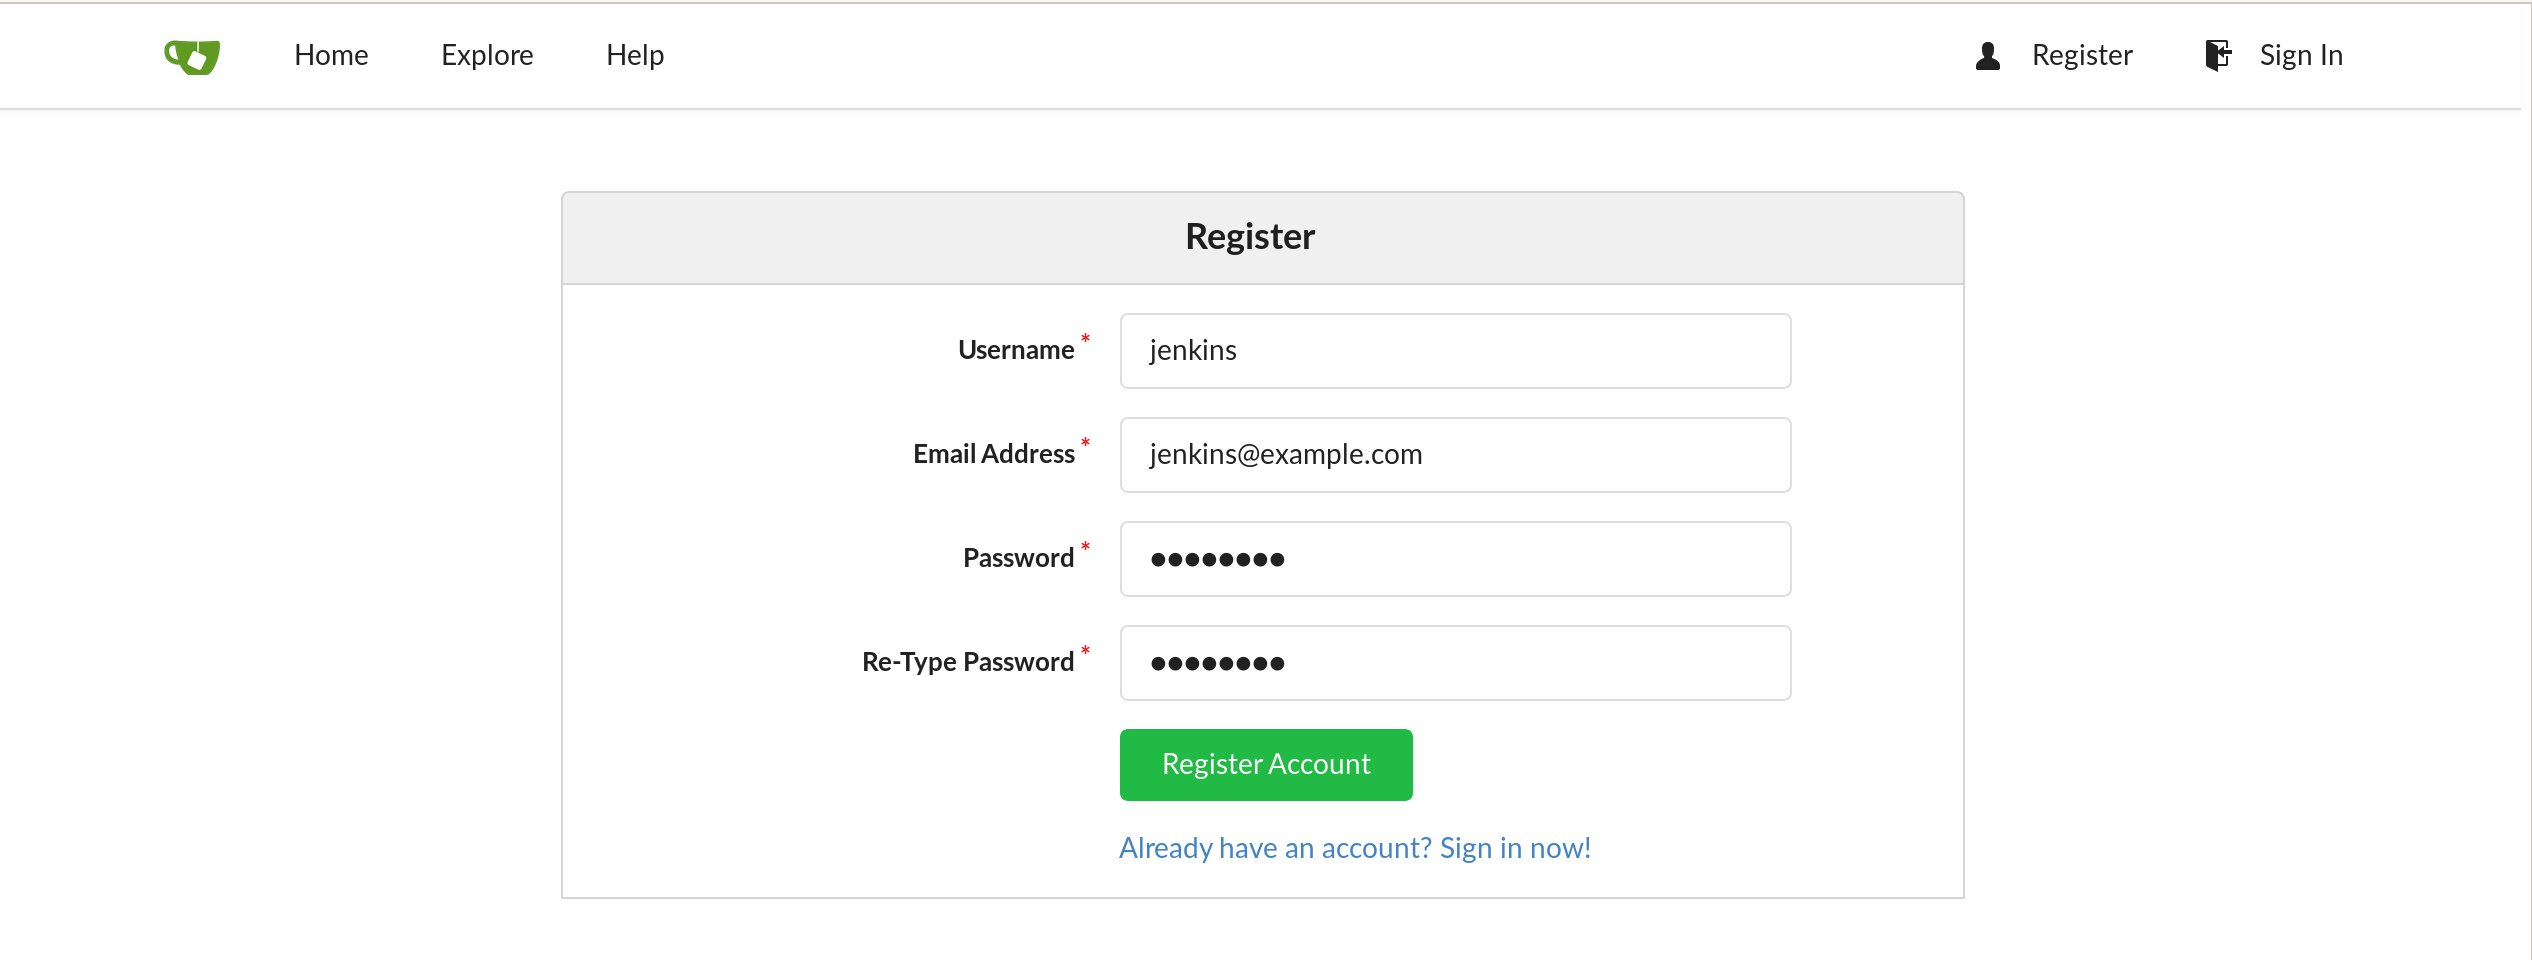
Register an account in Gitea for Jenkins to use for this project.
Log out, log back in as yourself, and add Jenkins as a collaborator to the repo, with Write access.
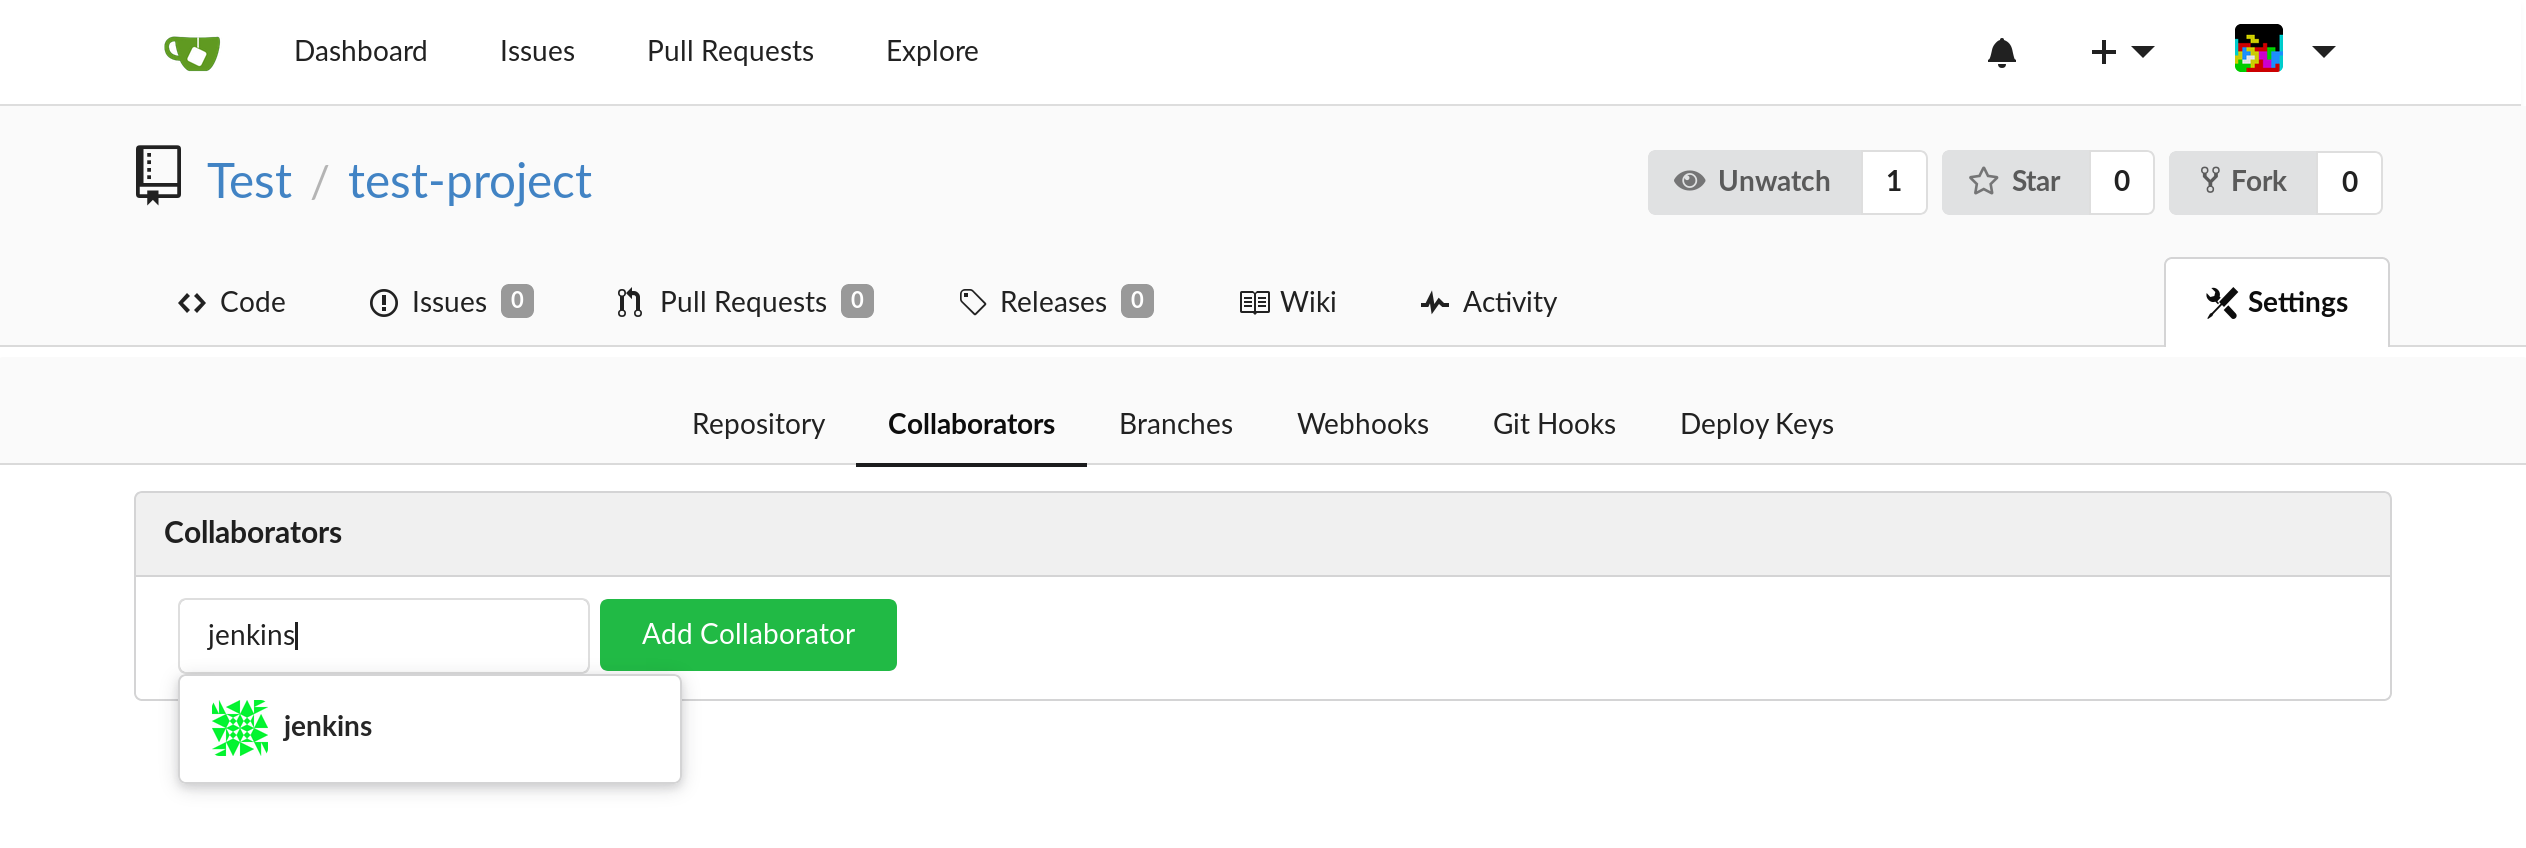
This is the only permission you need for public repositories. If you plan to lock down your Gitea organization later, then you will also need to give this Jenkins account Read access at the organization level.
Set up a project in Jenkins
Add a new Gitea Organization Jenkins job.

Enter the name of the organization, and the account to log in with.
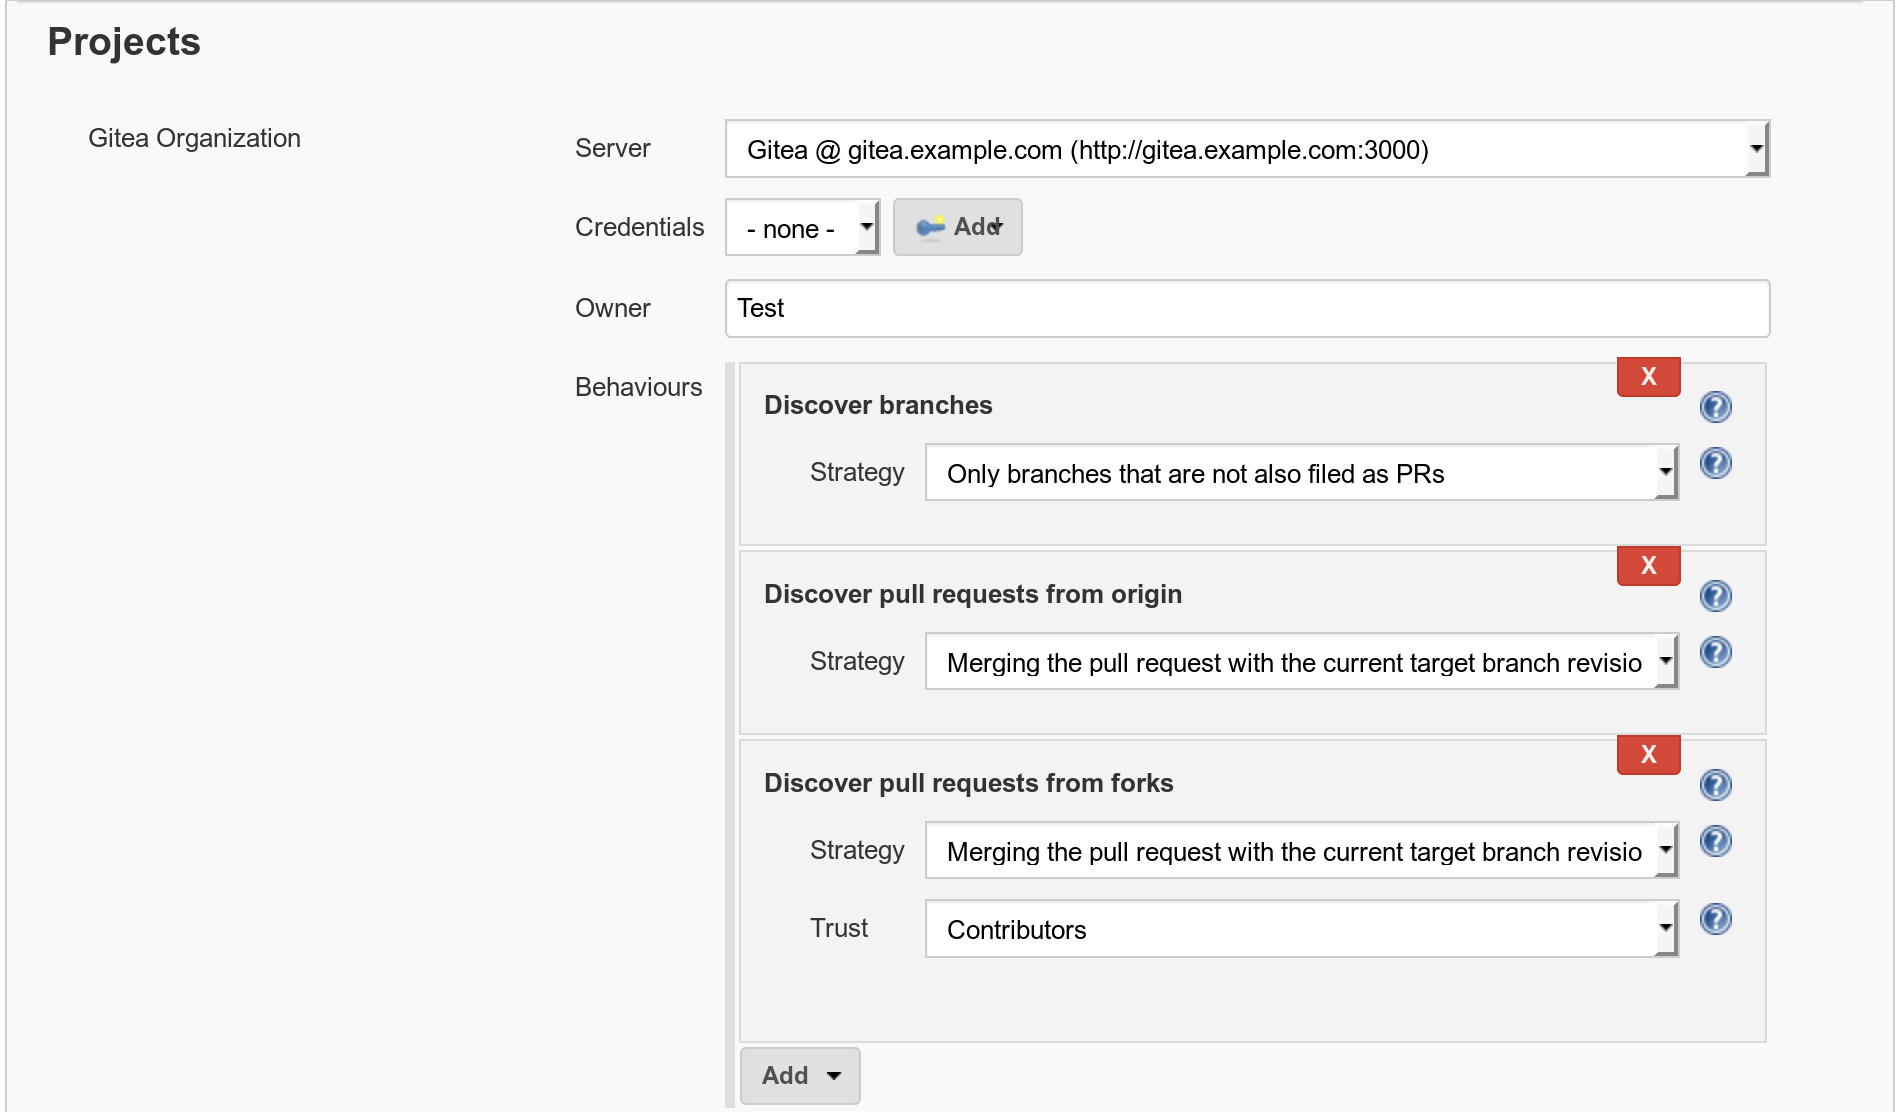
Add the details for the new account, and make sure it’s selected.
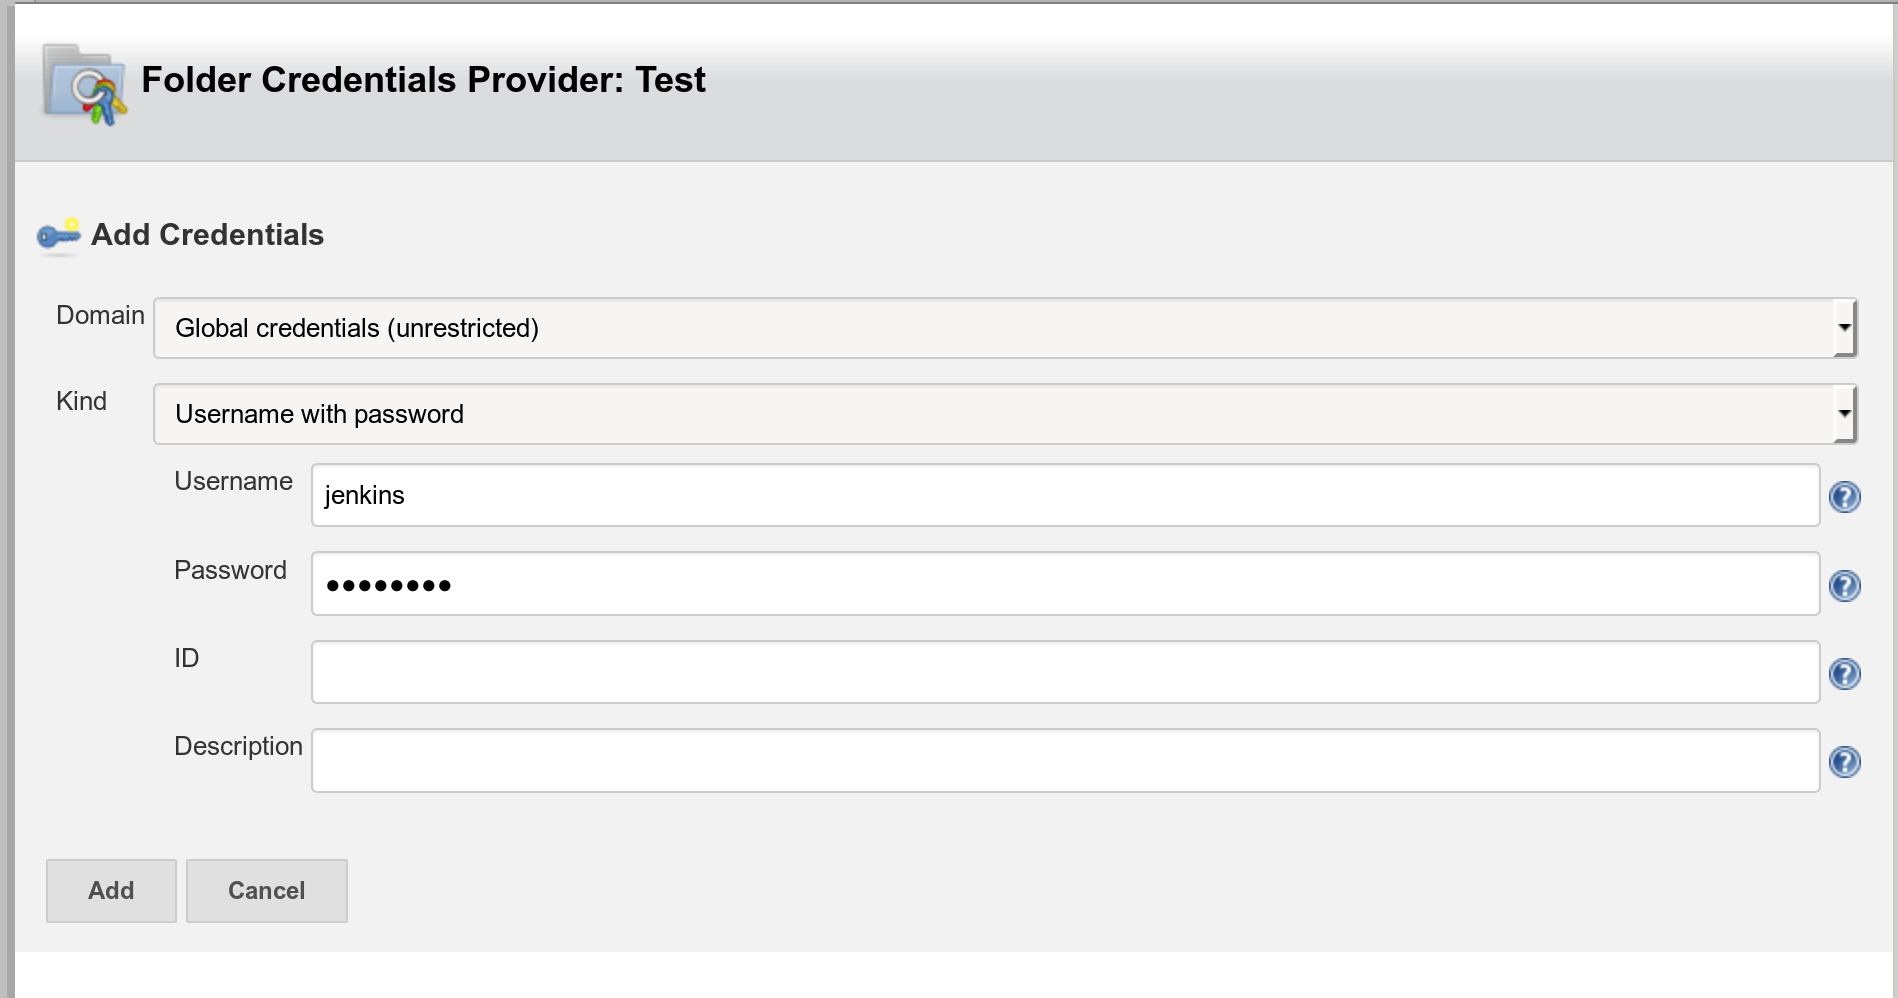

The other options don’t need to be changed at this stage.
When you press ‘save’, Jenkins will immediately attempt to find any repositories in the Gitea organization, and kick off any builds. Unless everything is correct, this is unlikely to work the first time, so pay attention to error logs.
These three places will show what’s happening:
- Scan Gitea Organization Log, which lists repositories in the organization.
- Scan Multibranch Pipeline Log for each repository, which shows the discovery of branches.
- Console output for each build, which will show errors if the build status could not be submitted.
Problems which I’ve found here include:
- The URL of Gitea in the Jenkins configuration must match the URL to Gitea in its own configuration.
- The Jenkins user account must have permission to list repositories, clone, and update statuses.
- Empty repositories, and repositories without a ‘Jenkinsfile’ are ignored.
For that last step, here is an empty Jenkinsfile that you can put in your repository to test this integration:
pipeline {
    agent any

    stages {
        stage('Do nothing') {
            steps {
                sh '/bin/true'
            }
        }
    }
}
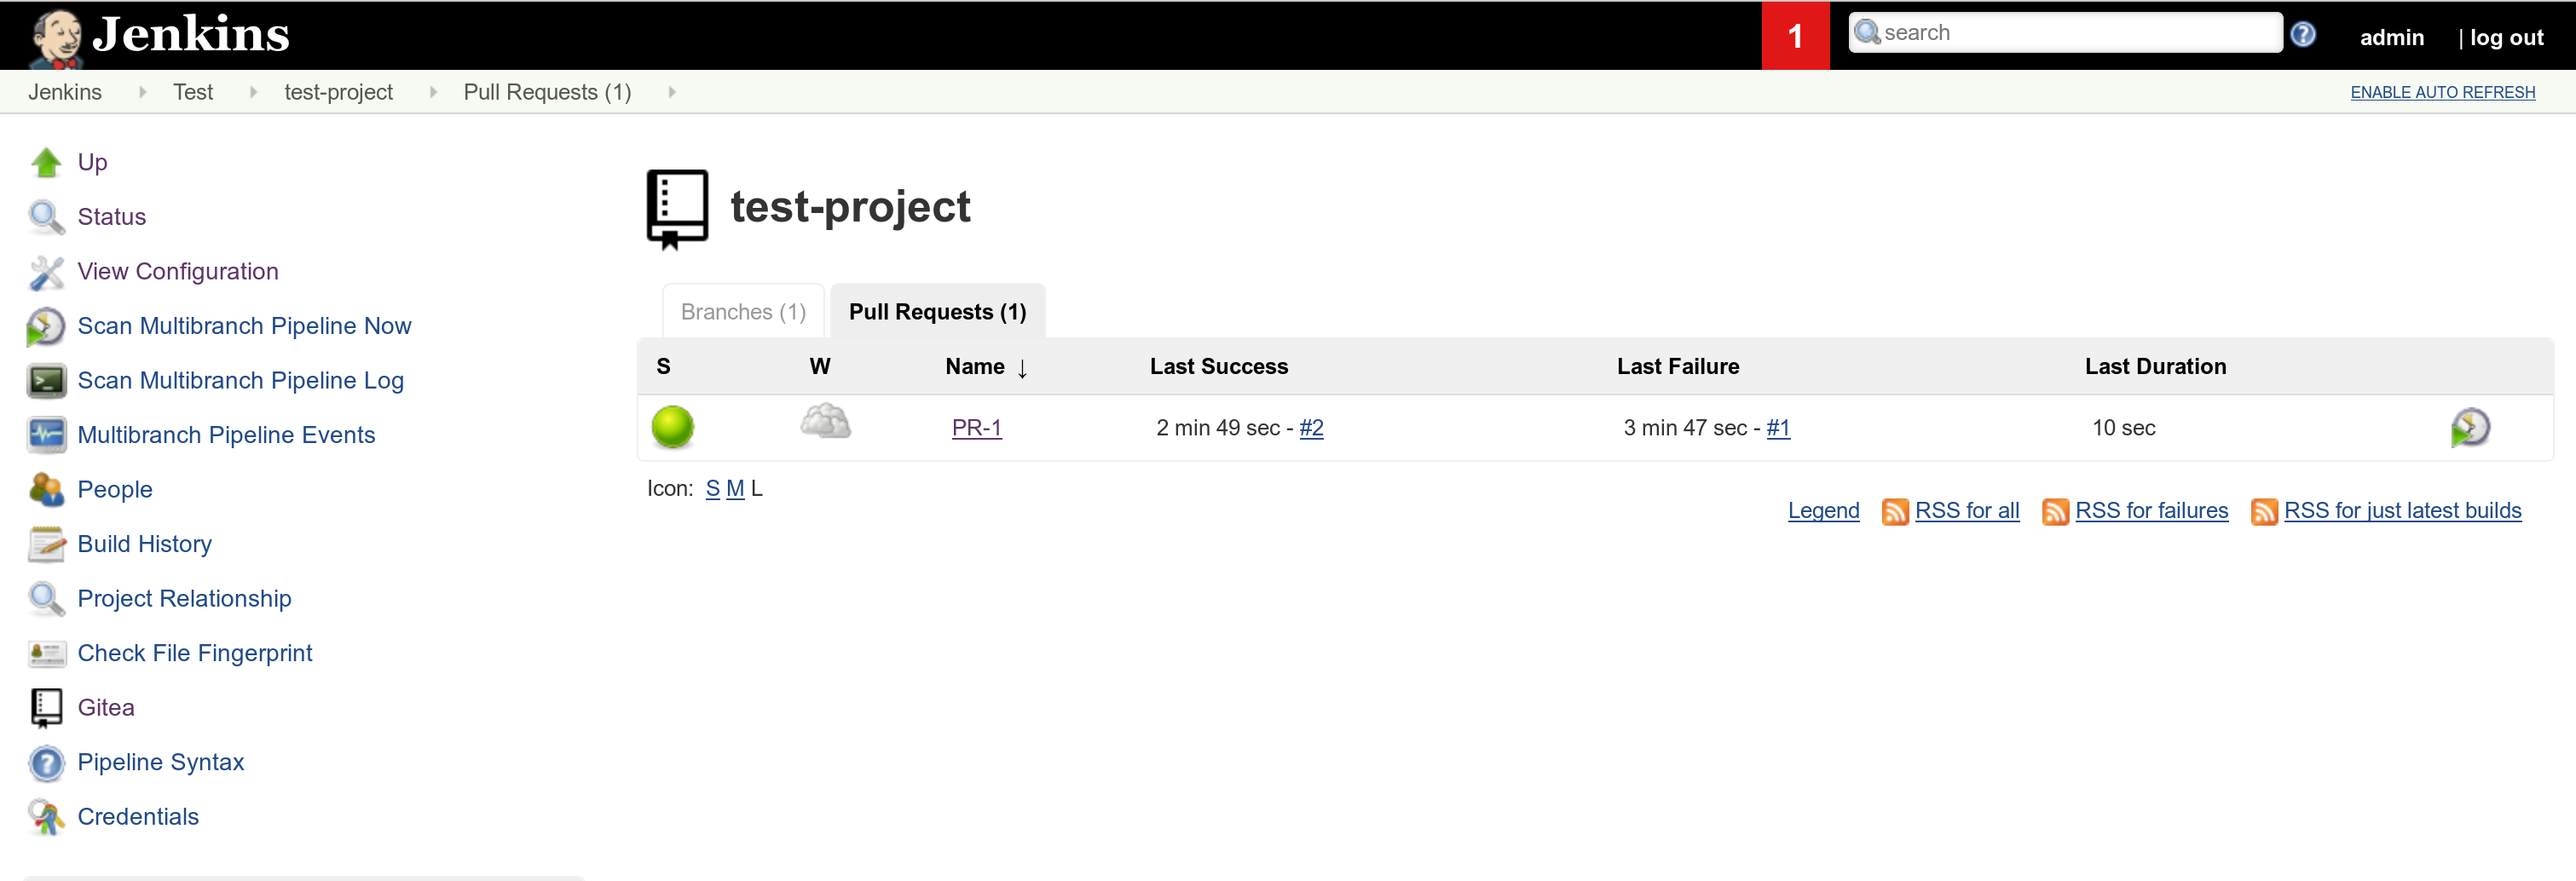
Once this is sorted out, you can expect to see your repository in Jenkins.
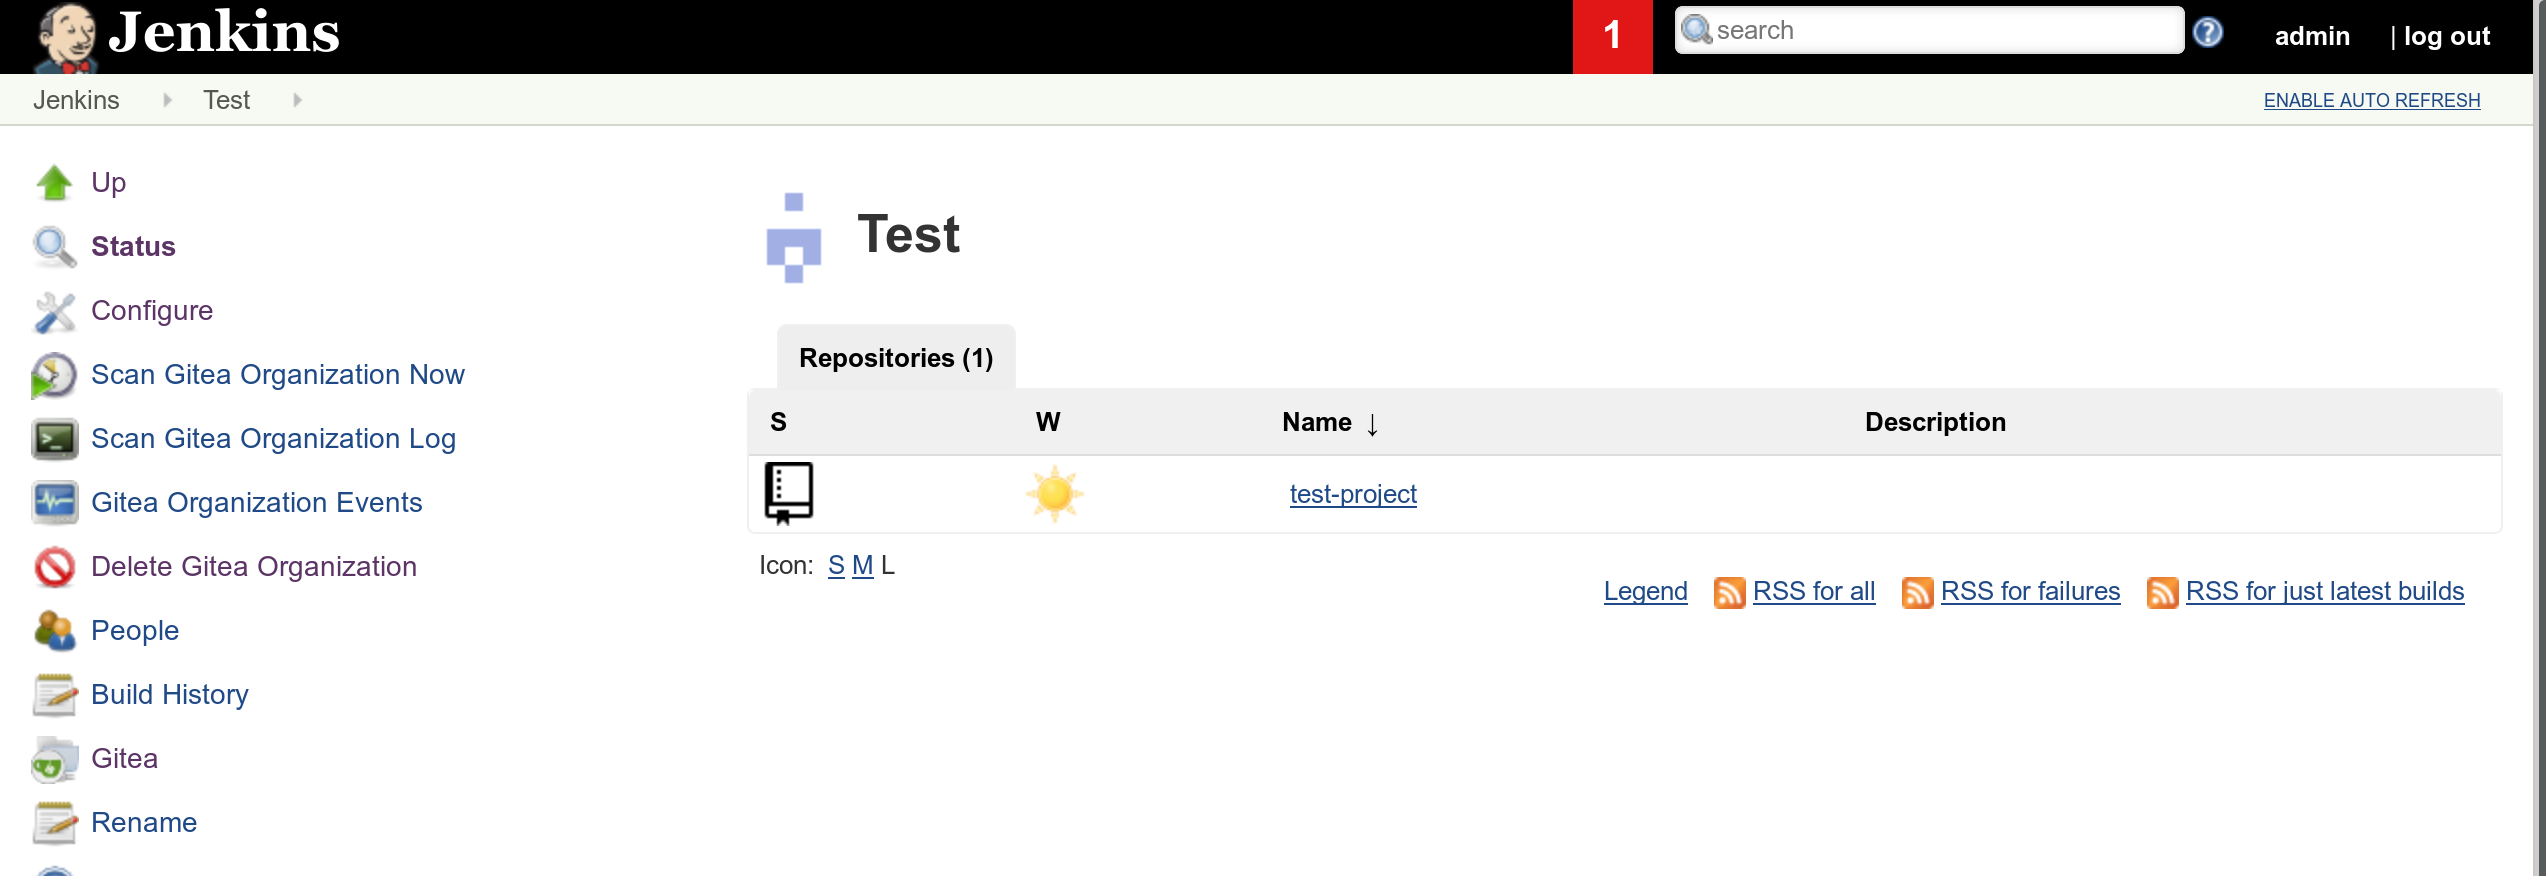
Every branch with a Jenkinsfile will appear.
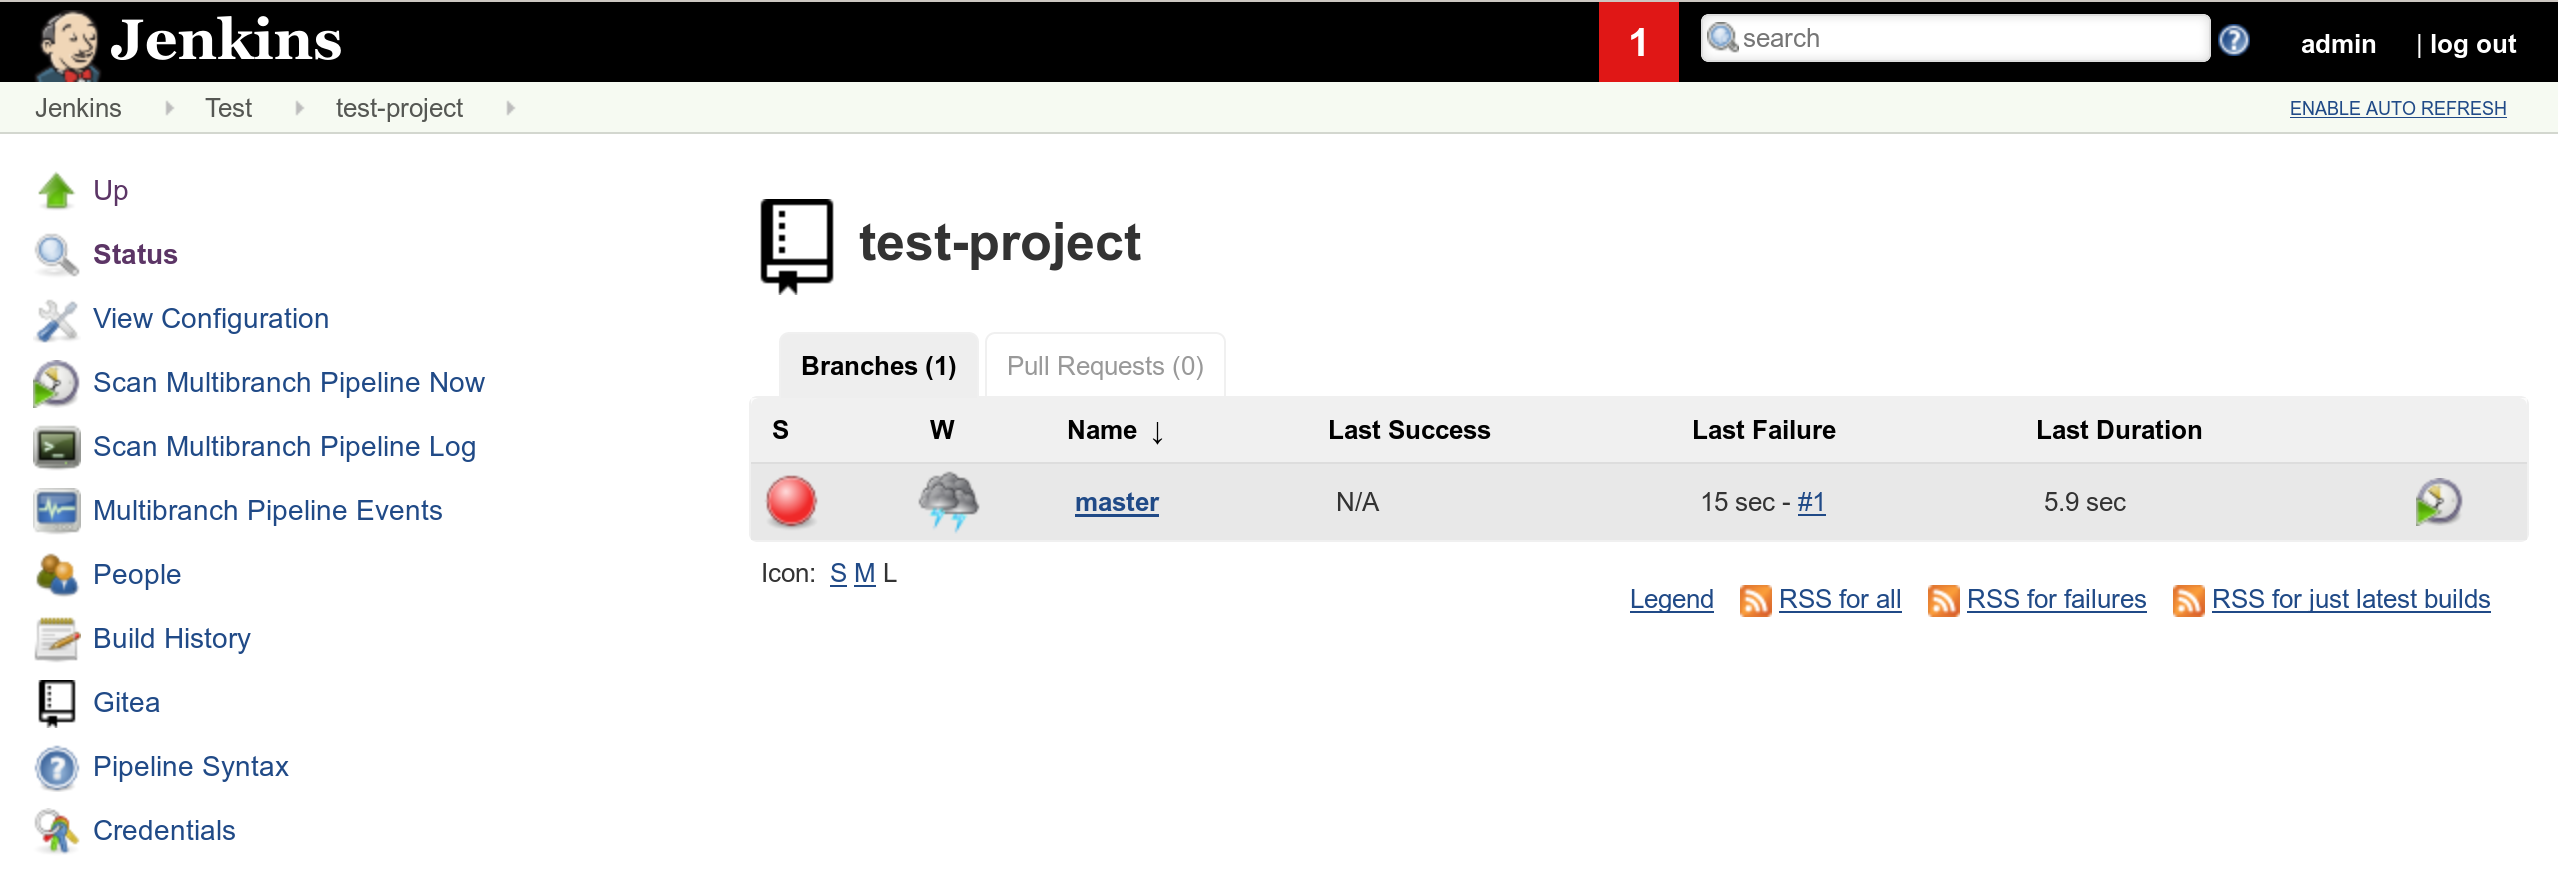
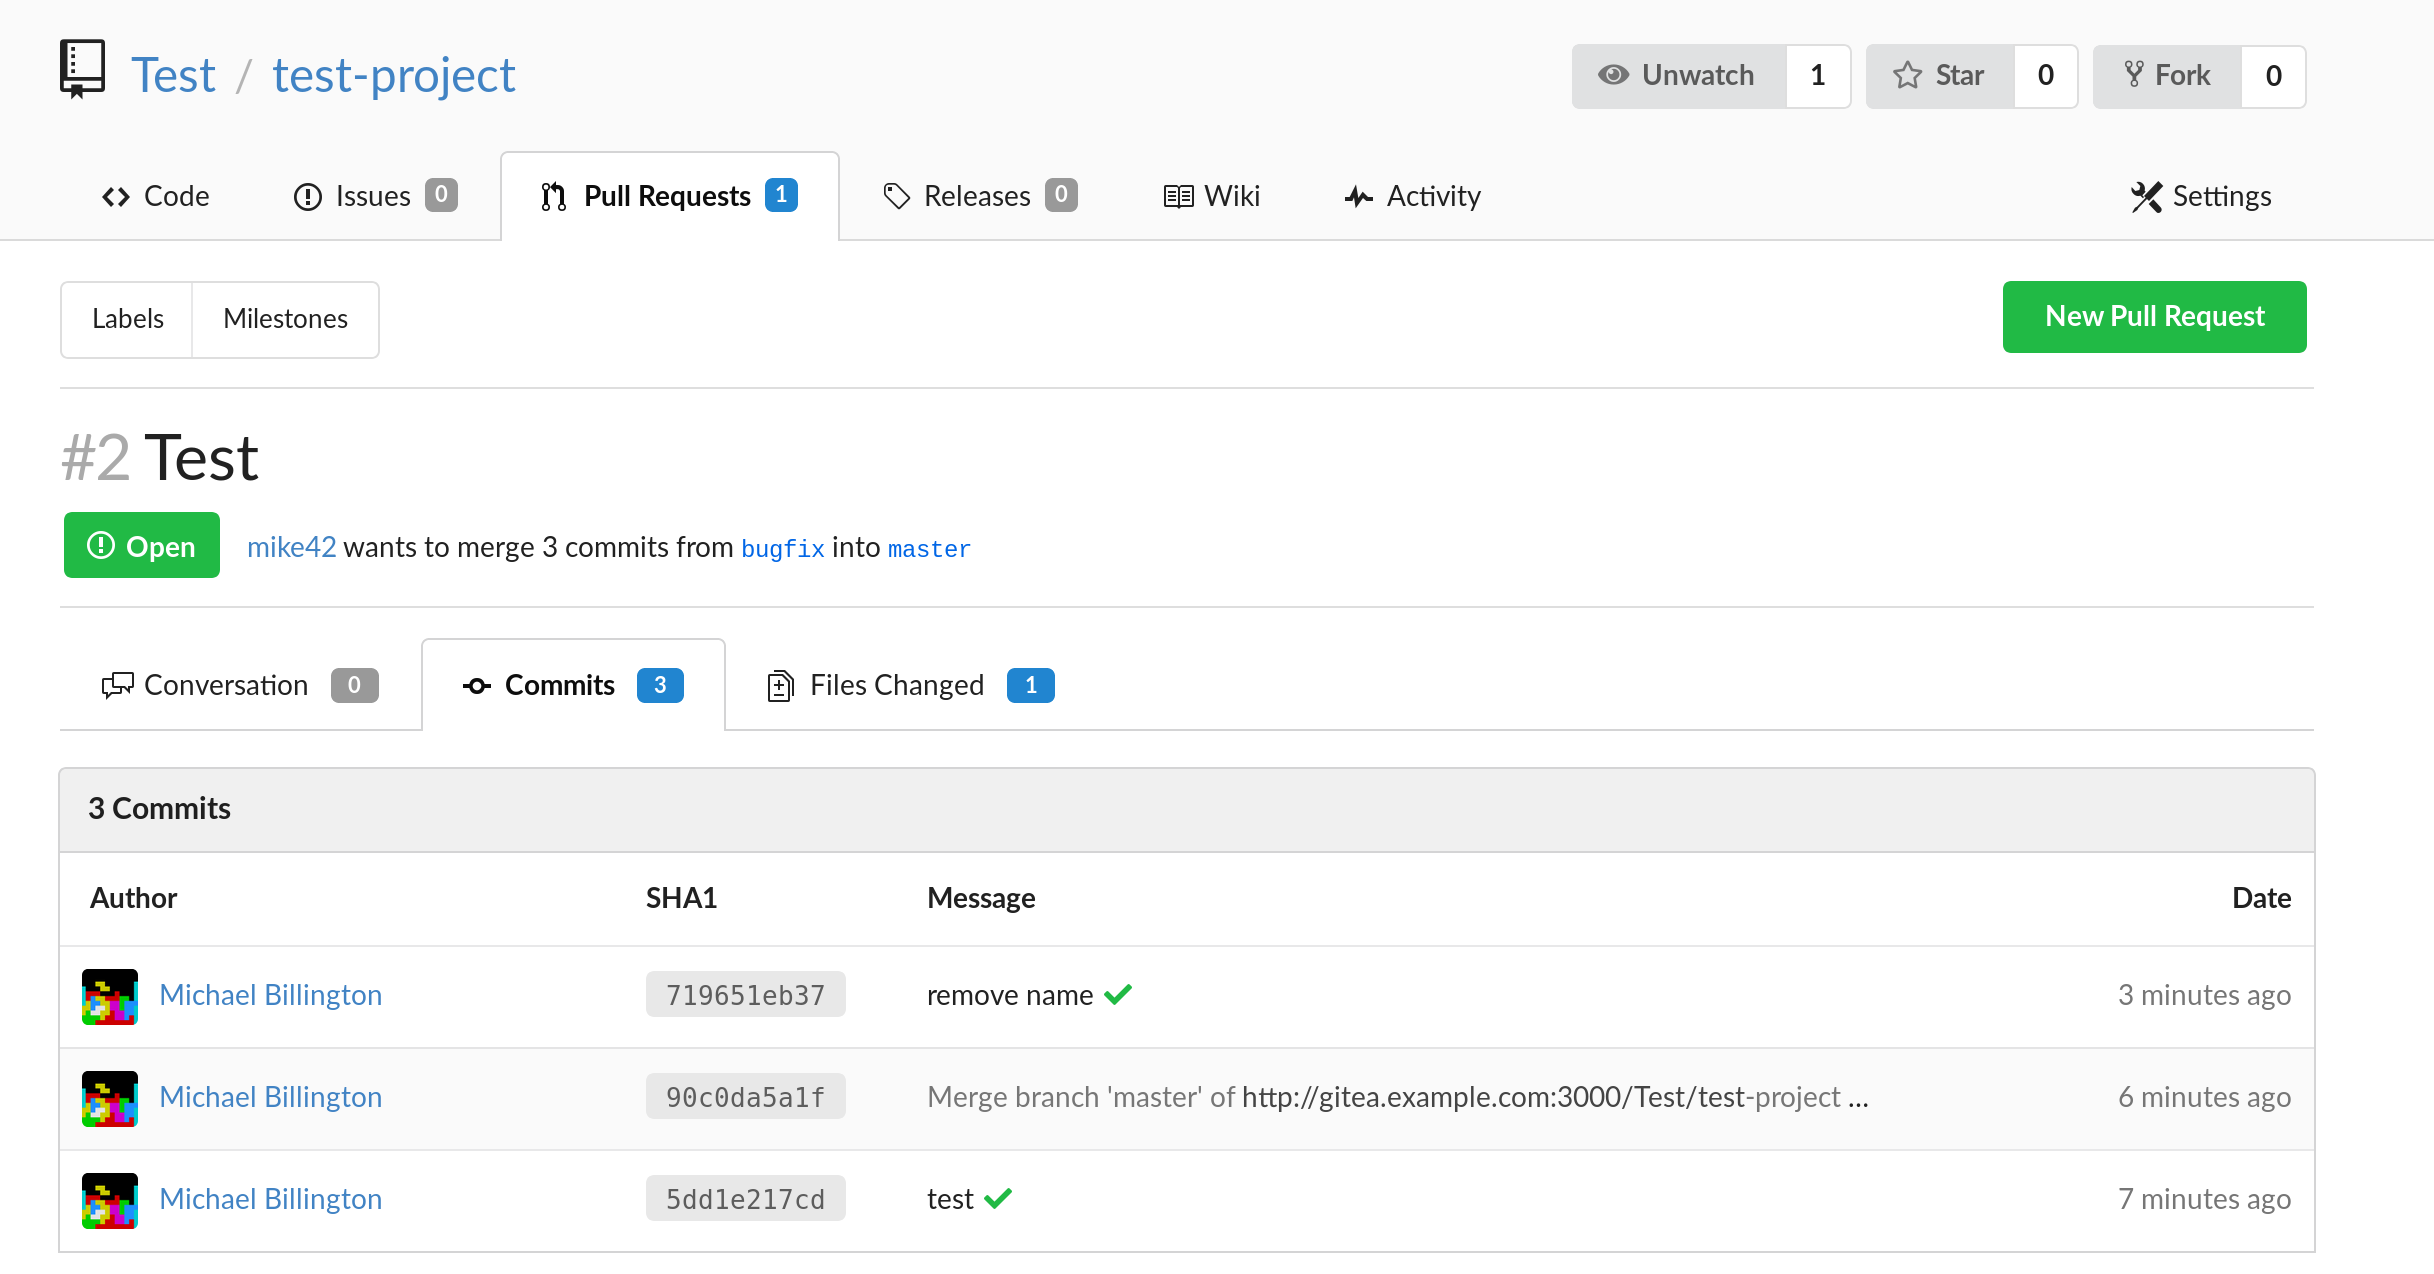
And each time a commit is mentioned in Gitea, it will display a small icon to indicate the build status.

Set up a web hook in Gitea
At this point, builds need to be manually triggered. To trigger them each time the repository changes, we need to get a notification out to Jenkins.
Under the repository settings, click Webhooks → Add webhook → Gitea.

The correct values to use are:
- URL:
http://[ your jenkins server ]/gitea-webhook/post - POST Content Type:
application/json
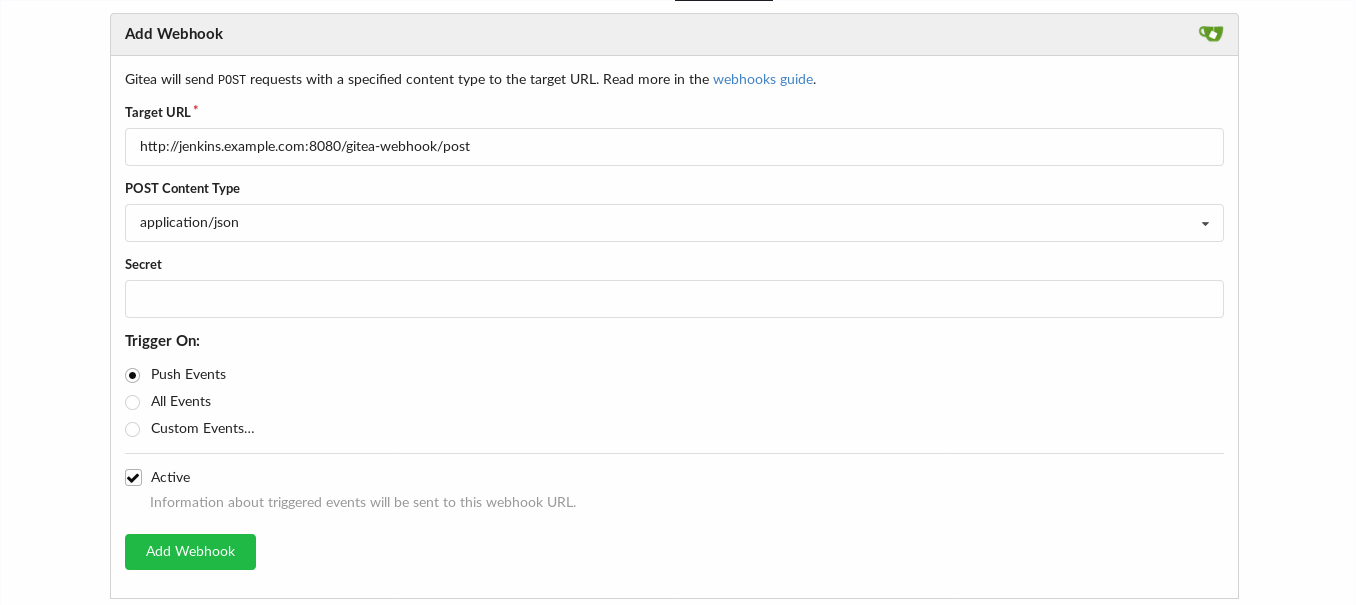
Once you press Add Webhook, the path will appear with a small grey dot, indicating that it hasn’t been run before.
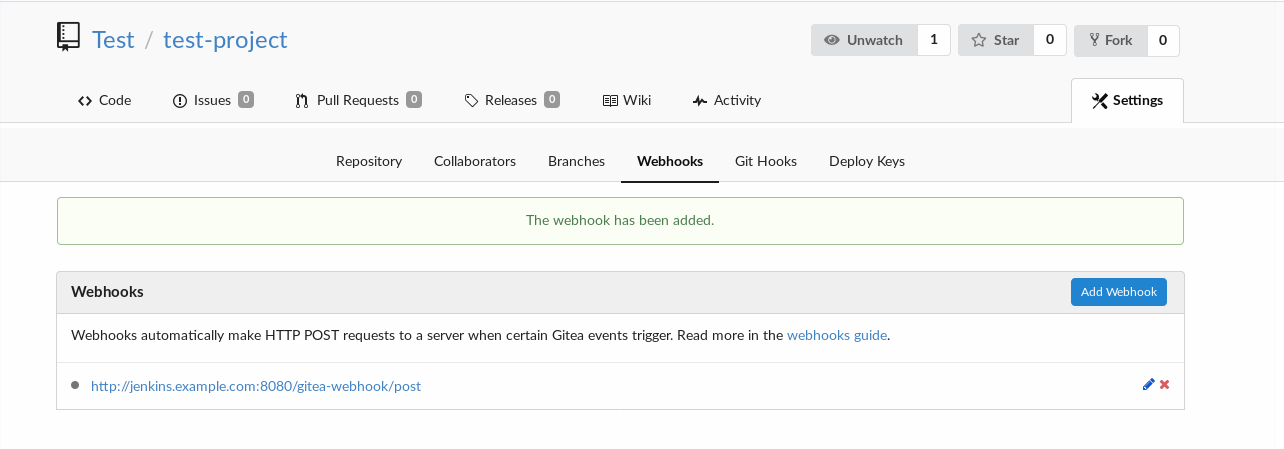
If you click edit, then the Test Delivery button can be used to check that it’s working.

The icon indicates the status. If things aren’t working correctly, then click the delivery UUID to expand the full request information, which should help with debugging.

Final result
With Jenkins and Gitea, you have a simple self-hosted a continuous integration environment.
In Gitea, you can store, update and review your code. Any build and test steps in a Jenkinsfile will be run automatically each time the repository changes.

The detailed output for each build is visible in Jenkins, where you can track build results with a variety of plugins.
