In many scenarios where you find a phone system, you’ll also find a PA system. Ideally, we want the audio from the phones to be able to reach the PA system when a special number is dialled:

With analog phone systems, this is a common feature. IP-based systems can do this too, with the help of a VOIP Zone Controller.
I think of a Zone Controller as an “Ethernet to RCA” adapter. This article will show you how to get a CyberData controller set up with Asterisk.
The equipment
I settled on this CyberData 4-port Zone Controller, which is quite small, POE-powered, and is of course a reliable and configurable embedded SIP endpoint:
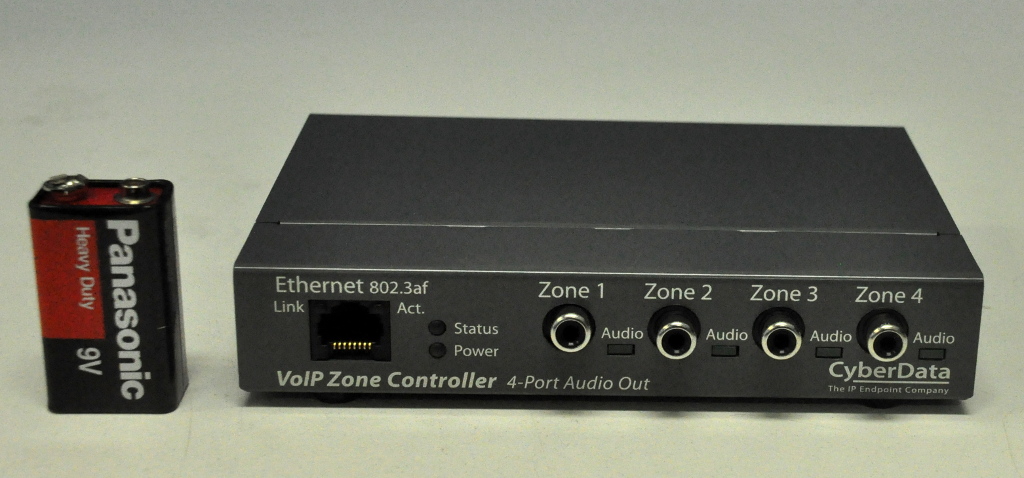
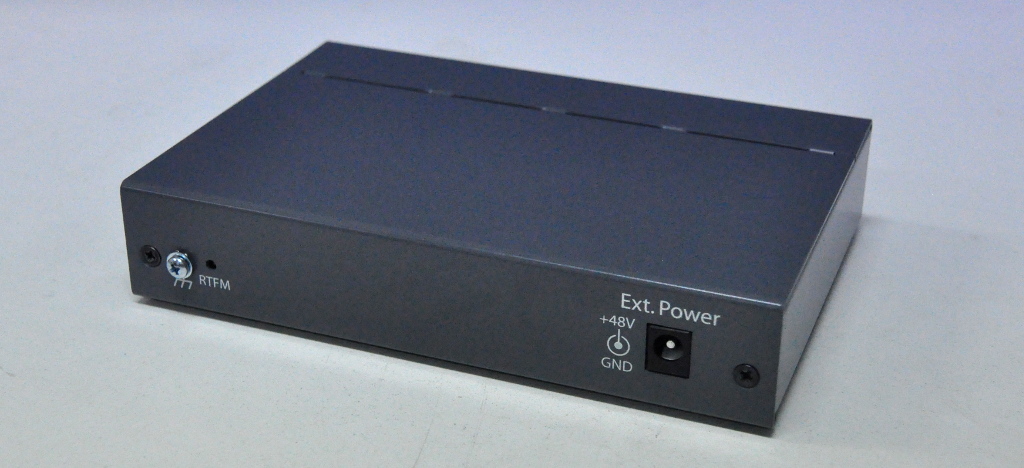
In a typical configuration, the controller would continually receive audio, such as background music, and then silence it when an announcement is made (this is called “night ringer”).
This device has 4 different audio outputs, and waits for a DTMF tone by default, which is then mapped to one or more outputs. I had a very simple use case, and disabled this, so that dialing the box simply caused audio output.
On the VOIP server
Hopefully, you’re using Asterisk to run your phone network! This is the usual platform for VOIP enthusiasts. If you’re dealing with a proprietary system, then you’ll need to skip this section.
First, sip.conf needs to have an entry for the zone controller. This should look like a regular phone. Without going into the intricacies of Asterisk’s SIP configuration, this snippet adds the zone controller as user 1234. It’s given the caller ID “PA System”, and is allowed it to connect from any IP address with the specified secret:
[1234]
type = peer
host = dynamic
context = users
hassip = yes
directmedia = no
fullname = PA System
callerid = PA System
secret = ... (something random here) ...
nat = no
In the extensions.conf, you can then make the device contactable by all phones by adding a line to the users context:
[users]
exten => 1234,1,Dial(SIP/1234)
Setting up the controller
First, you need to plug the audio out into some sort of speaker, and the Ethernet into a POE network with an IP phone system.
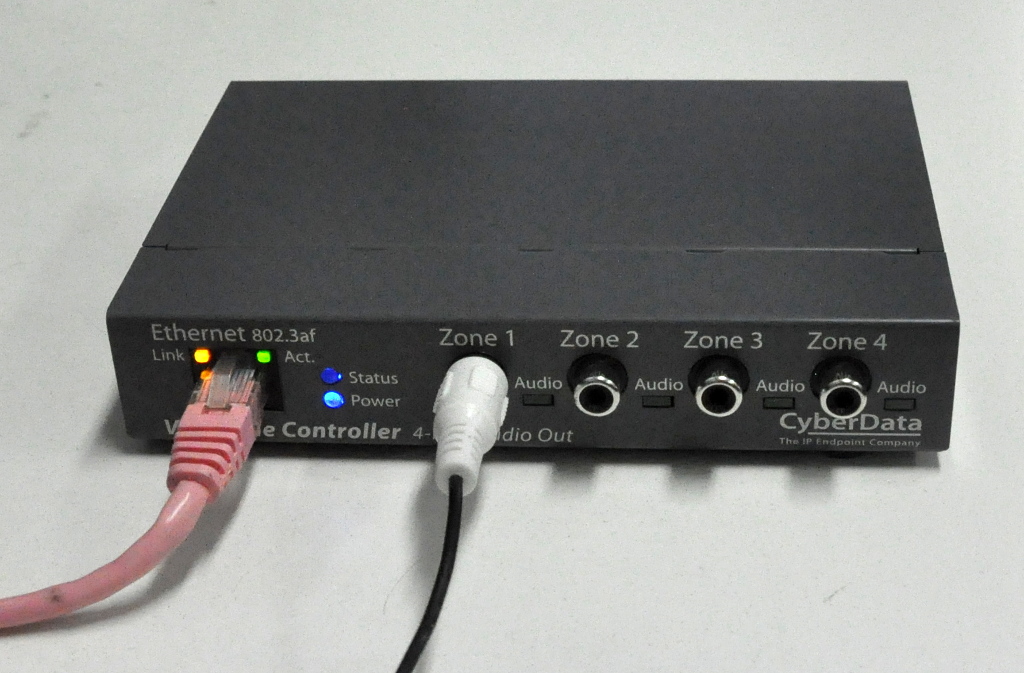
The CyberData devices have a web interface, so you need to find it on the network. I suggest filtering the output of arp-scan -l eth0 on GNU/Linux, which will find the IP address corresponding to the MAC address printed on your device.
Once you’ve found it, the configuration is dead simple. Type the IP address into a web browser, and log in as user “admin”, password “admin”.
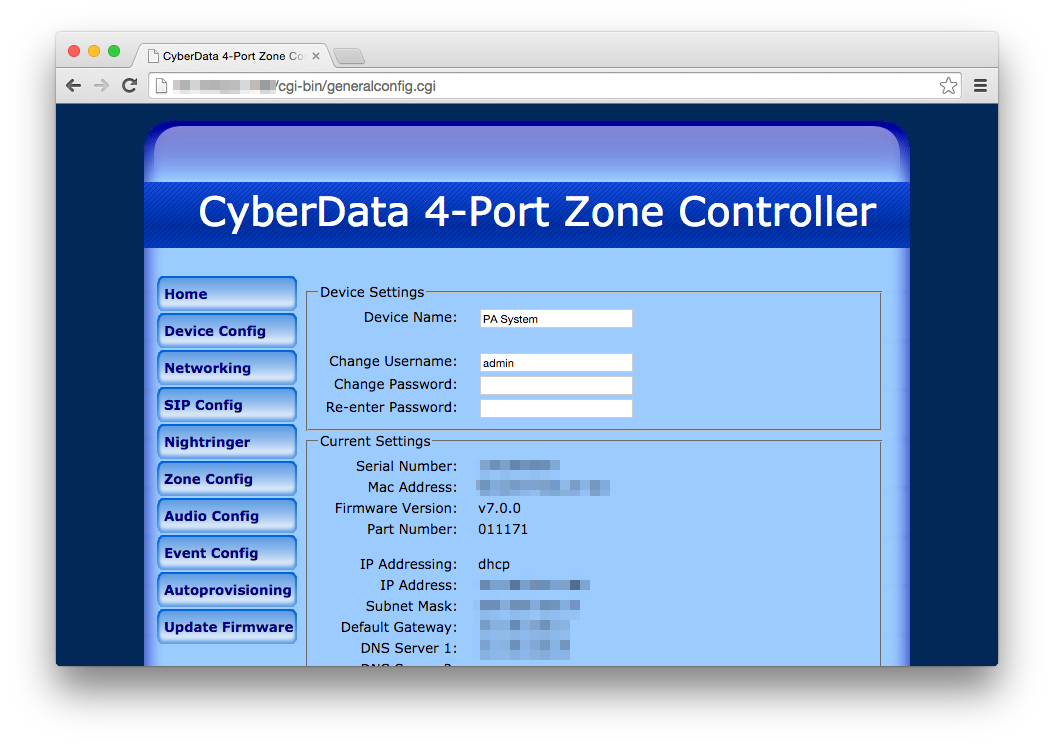
The web interface is extensive, and shows the depth of options which are used in this niche application, such as custom audio snippets and test routines.
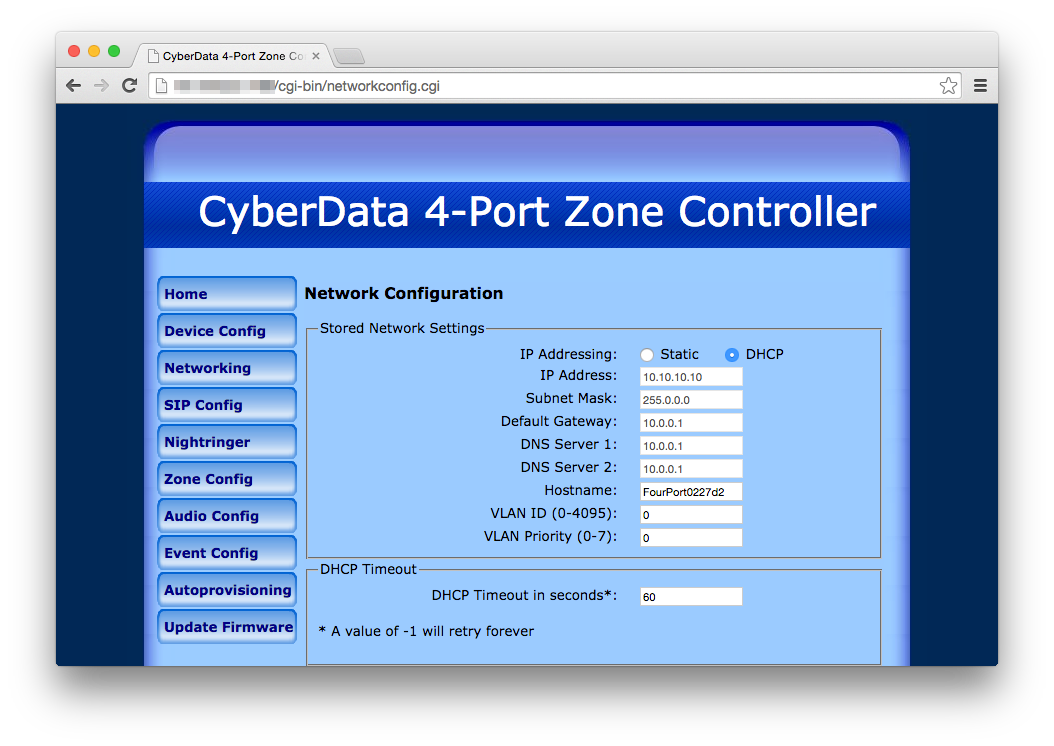
Of course, you may want to adjust the network configuration, which is on the “Network Configuration” page. Once you adjust anything, no changes will take effect until you save and reboot.
Remembering the login and password you set up in sip.conf, you will need to fill in the SIP configuration as well.
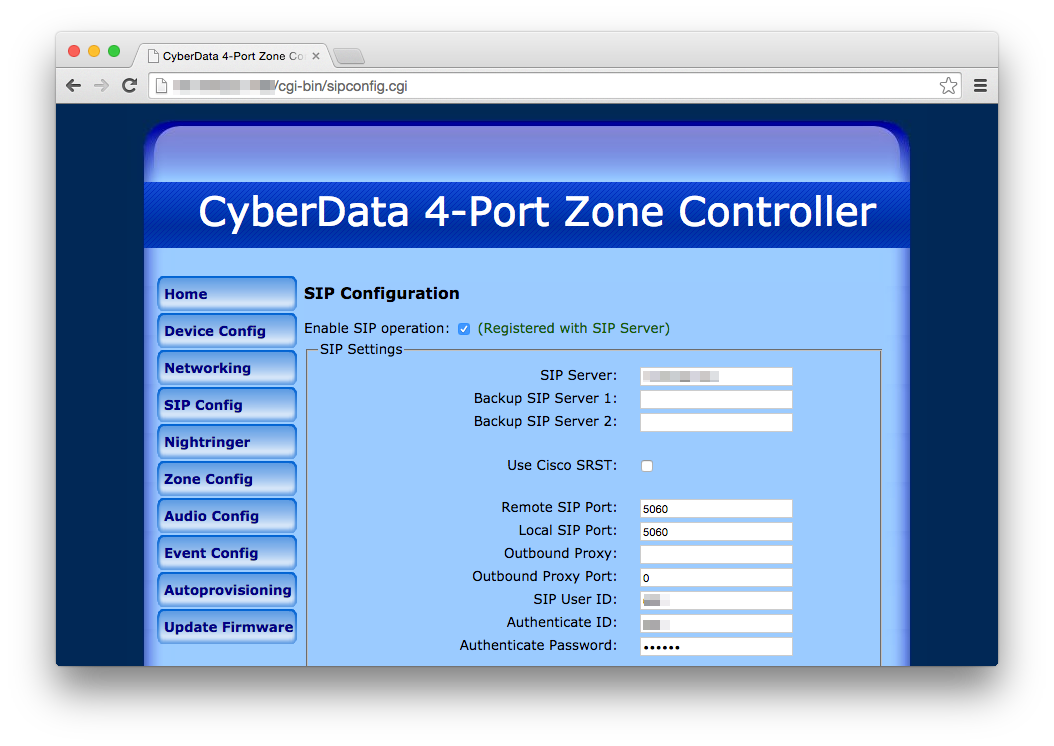
Once you reboot, you should see the device register from the Asterisk console, and it will then be reachable. More configuration options to explore include:
- Tick “Bypass SIP DTMF Entry” in “Zone Config” if you don’t have zones.
- Set the admin password (!)
- Take a backup by exporting the configuration from the main page