I recently had a Windows 7 Virtual Machine stored on an undersized qcow2 file. This post steps through the simplest way that I know to produce a new, bigger disk and expand the filesystem onto it.
Empty out the empty space
Because the guest VM is stored on a QCOW2 file, we can recover un-used space on disk by zeroing it out now. Download the sdelete utility from Microsoft and run it on the system.
sdelete -z
One this is done, power off the guest.
Assuming the host is linux, you need the `qemu-utls` and `libguestfs-tools` packages to follow these steps. On Debian-
apt-get install libguestfs-tools qemu-utls
Move the VM image to a new filename and inspect it.
mv windows.img windows.img.bak
The file command indicates that the disk is about 30GB expanded.
$ file windows.img.bak
windows.img.bak: QEMU QCOW Image (v3), 32212254720 bytes
The qemu-img command shows that the disk is 83% full:
$ qemu-img check windows.img.bak
No errors were found on the image.
411337/491520 = 83.69% allocated, 5.66% fragmented, 0.00% compressed clusters
Image end offset: 26961969152
Check out your FS names, note that /dev/sda2 is the disk we want to up-size in this case
$ virt-filesystems -a windows.img -l
Name       Type        VFS   Label            Size         Parent
/dev/sda1  filesystem  ntfs  System Reserved  104857600    -
/dev/sda2  filesystem  ntfs  -                32105299968  -
Make a new, bigger disk image
Create a new disk of the desired size. In my case, 50G is sufficient:
$ qemu-img create -f qcow2 windows.img 50G
Formatting 'windows.img', fmt=qcow2 size=53687091200 encryption=off cluster_size=65536 lazy_refcounts=off refcount_bits=16
The file command shows that this new empty disk image is larger than the old image.
$ file windows.img
windows.img: QEMU QCOW Image (v3), 53687091200 bytes
Copy the old disk to the new one. The --expand option names a partition which will be grown to fill the extra space.
virt-resize --expand /dev/sda2 windows.img.bak windows.img
The virt-resize command shows a progress bar while it works, and zero-blocks will be reclaimed as a result of the output format:
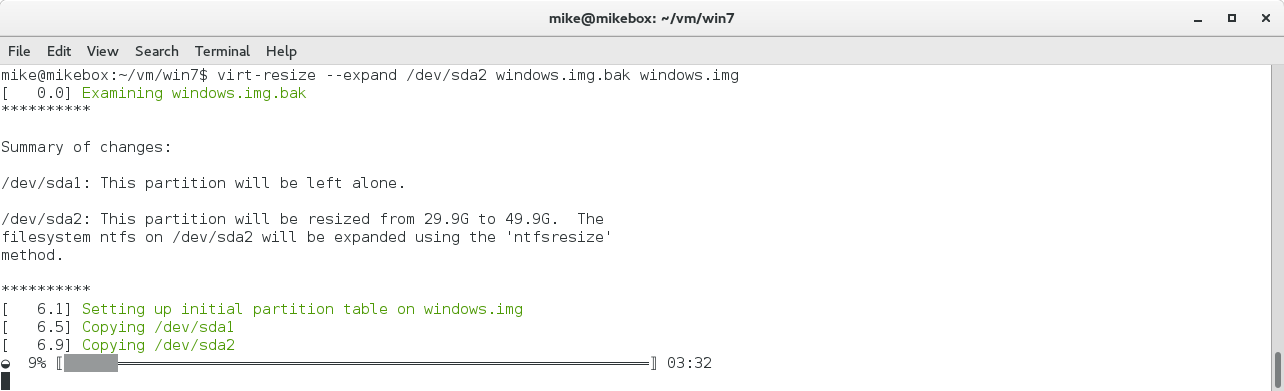
The final line of output suggests holding on to your backup until you’ve checked it, which is wise:
“Resize operation completed with no errors. Before deleting the old disk, carefully check that the resized disk boots and works correctly.”
Check that the new disk is valid and contains partitions at the expected size:
$ virt-filesystems -a windows.img -l
Name       Type        VFS   Label            Size         Parent
/dev/sda1  filesystem  ntfs  System Reserved  104857600    -
/dev/sda2  filesystem  ntfs  -                53579939840  -
Boot up the guest
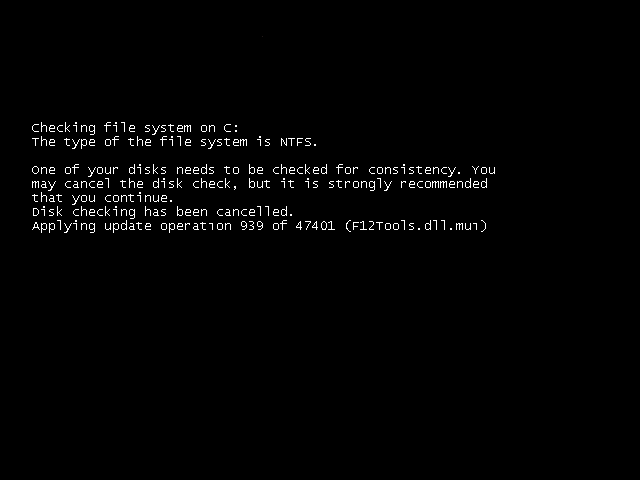
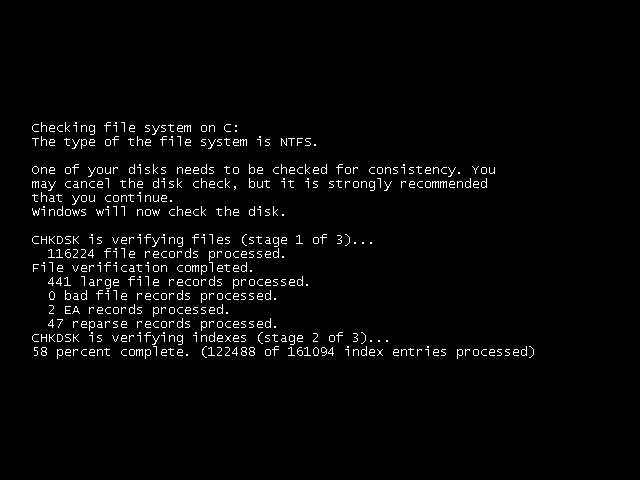
When the machine boots up, you may get a disk check prompt. Because the console I was using triggered the ‘Press any key to cancel’ prompt, I had to reboot and leave the console disconnected in order for the check to start.
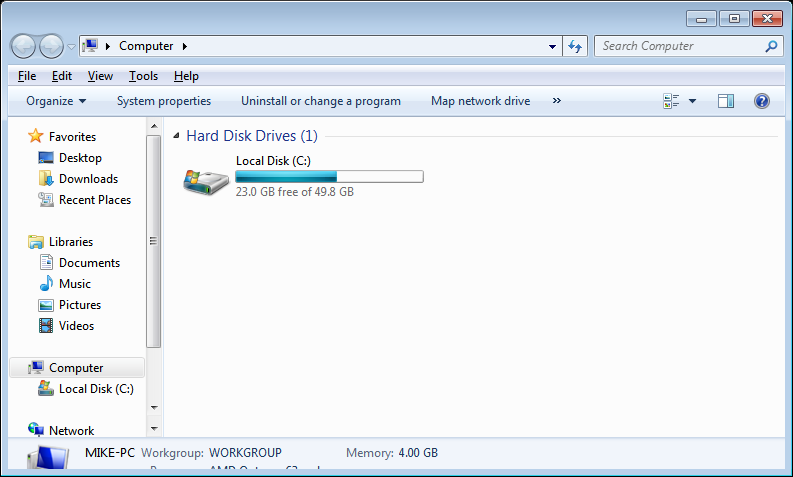
After booting, the C:\ drive should display at its new size: