Documentation is one of the ways that software projects can communicate information to their users. Effective documentation is high-quality, meaning that it’s complete, accurate, and up-to-date. At least for open source libraries, it also means that you can find it with a search engine. For many small PHP projects, the reality is very far removed from the ideal.
Read the Docs (readthedocs.io) makes it easy to host an up-to-date copy of your project’s documentation online. There are around 2,000 PHP projects which host their documentation on the site, which makes PHP the third most popular programming language for projects on the site.
This post covers the process that is used to automatically publish the documentation for the gfx-php PHP graphics library, which is one of those 2000 projects. You should consider using this setup as a template if you your project is small enough that it does not have its own infrastructure.
Basic concept
Typically, people are using Read the Docs with a tool called Sphinx. If you are writing in Python, it’s also possible to use the autodoc Sphinx plugin to add API documentation, based on docstrings in the code.

PHP programmers are already spoiled for choice if they want to produce HTML documentation from their code. These tools all have huge PHP user bases:
These will each output their own HTML, which is only useful if you want to self-host the documentation. I wanted a tool that was more like “autodoc for PHP”, so that I can have my API docs magically appear in Sphinx output that is hosted on Read the Docs.
Doxygen is the most useful tool for this purpose, because it has a stable XML output format and good-enough PHP support. I decided to write a tool which to take the Doxygen XML info and generate rest for Sphinx:

This introduces some extra tools, which looks complex at first. The stack is geared towards running within the Read the Docs build environment, so most developers can treat it as a black box after the initial setup:

This setup is entirely hosted with free cloud services, so you don’t need to run any applications on your own hardware.
Tools to install on local workstation
First, we will set up each of these tools locally, so that we know everything is working before we upload it.
- Doxygen
- Sphinx
- doxyphp2sphinx
Doxygen
Doxygen can read PHP files to extract class names, documentation and method signatures. Linux and Mac install this from most package managers (apt-get, dnf or brew) under the name doxygen, while Windows users need to chase down binaries.
In your repo, make a sub-folder called docs/, and create a Doxyfile with some defaults:
mkdir docs/
doxygen -g Doxyfile
You need to edit the configuration to make it suitable or generating XML output for your PHP project. The version of Doxygen used here is 1.8.13, where you only need to change a few values to set Doxygen to:
- Recursively search PHP files in your project’s source folder
- Generate XML and HTML only
- Log warnings to a file
For a typical project, these settings are:
PROJECT_NAME           = "Example Project"
INPUT                  = ../src
WARN_LOGFILE           = warnings.log
RECURSIVE              = YES
USE_MDFILE_AS_MAINPAGE = ../README.md
GENERATE_LATEX         = NO
GENERATE_XML           = YES
Once you set these in Doxyfile, you can run Doxygen to generate HTML and XML output.
$ doxygen
Doxygen will pick up most method signatures automatically, and you can add to them via docblocks, which work along the same lines as docstrings in Python. Read Doxygen: Documenting the Code to learn the syntax if you have not used a documentation generator in a curly-bracket language before.
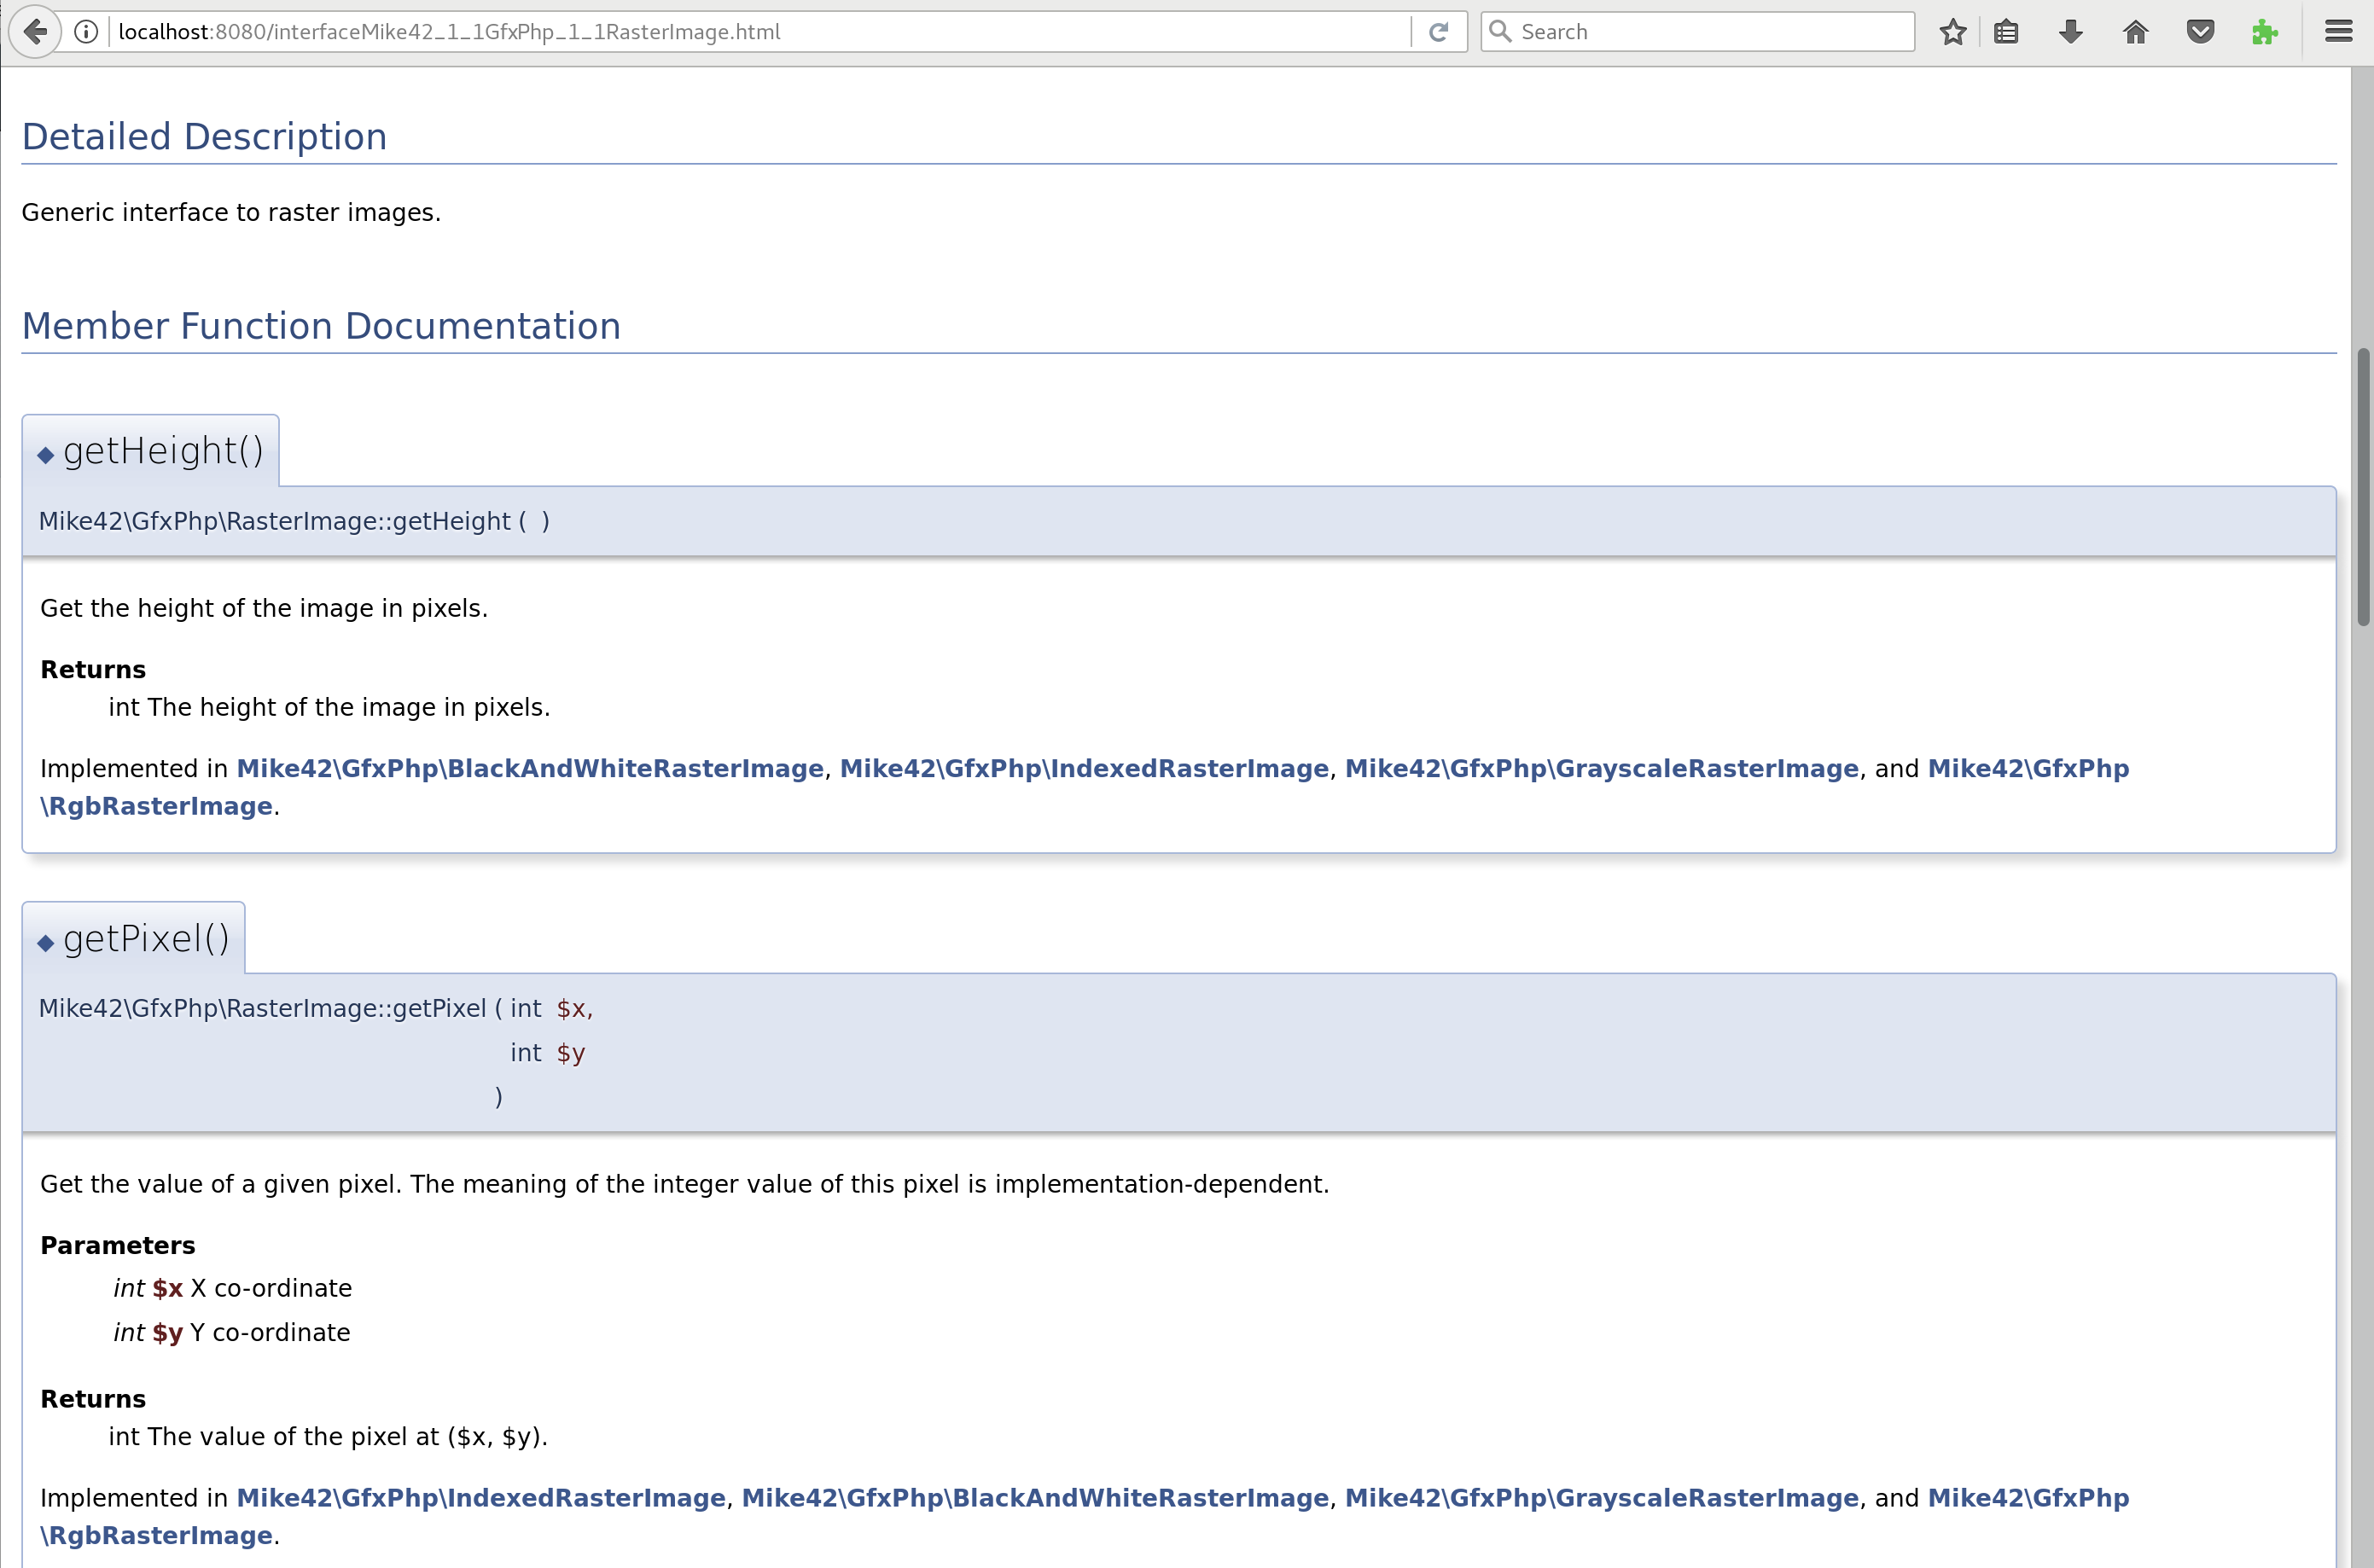
The Doxygen HTML will never be published, but you might need to read it to see how well Doxygen understands your code.
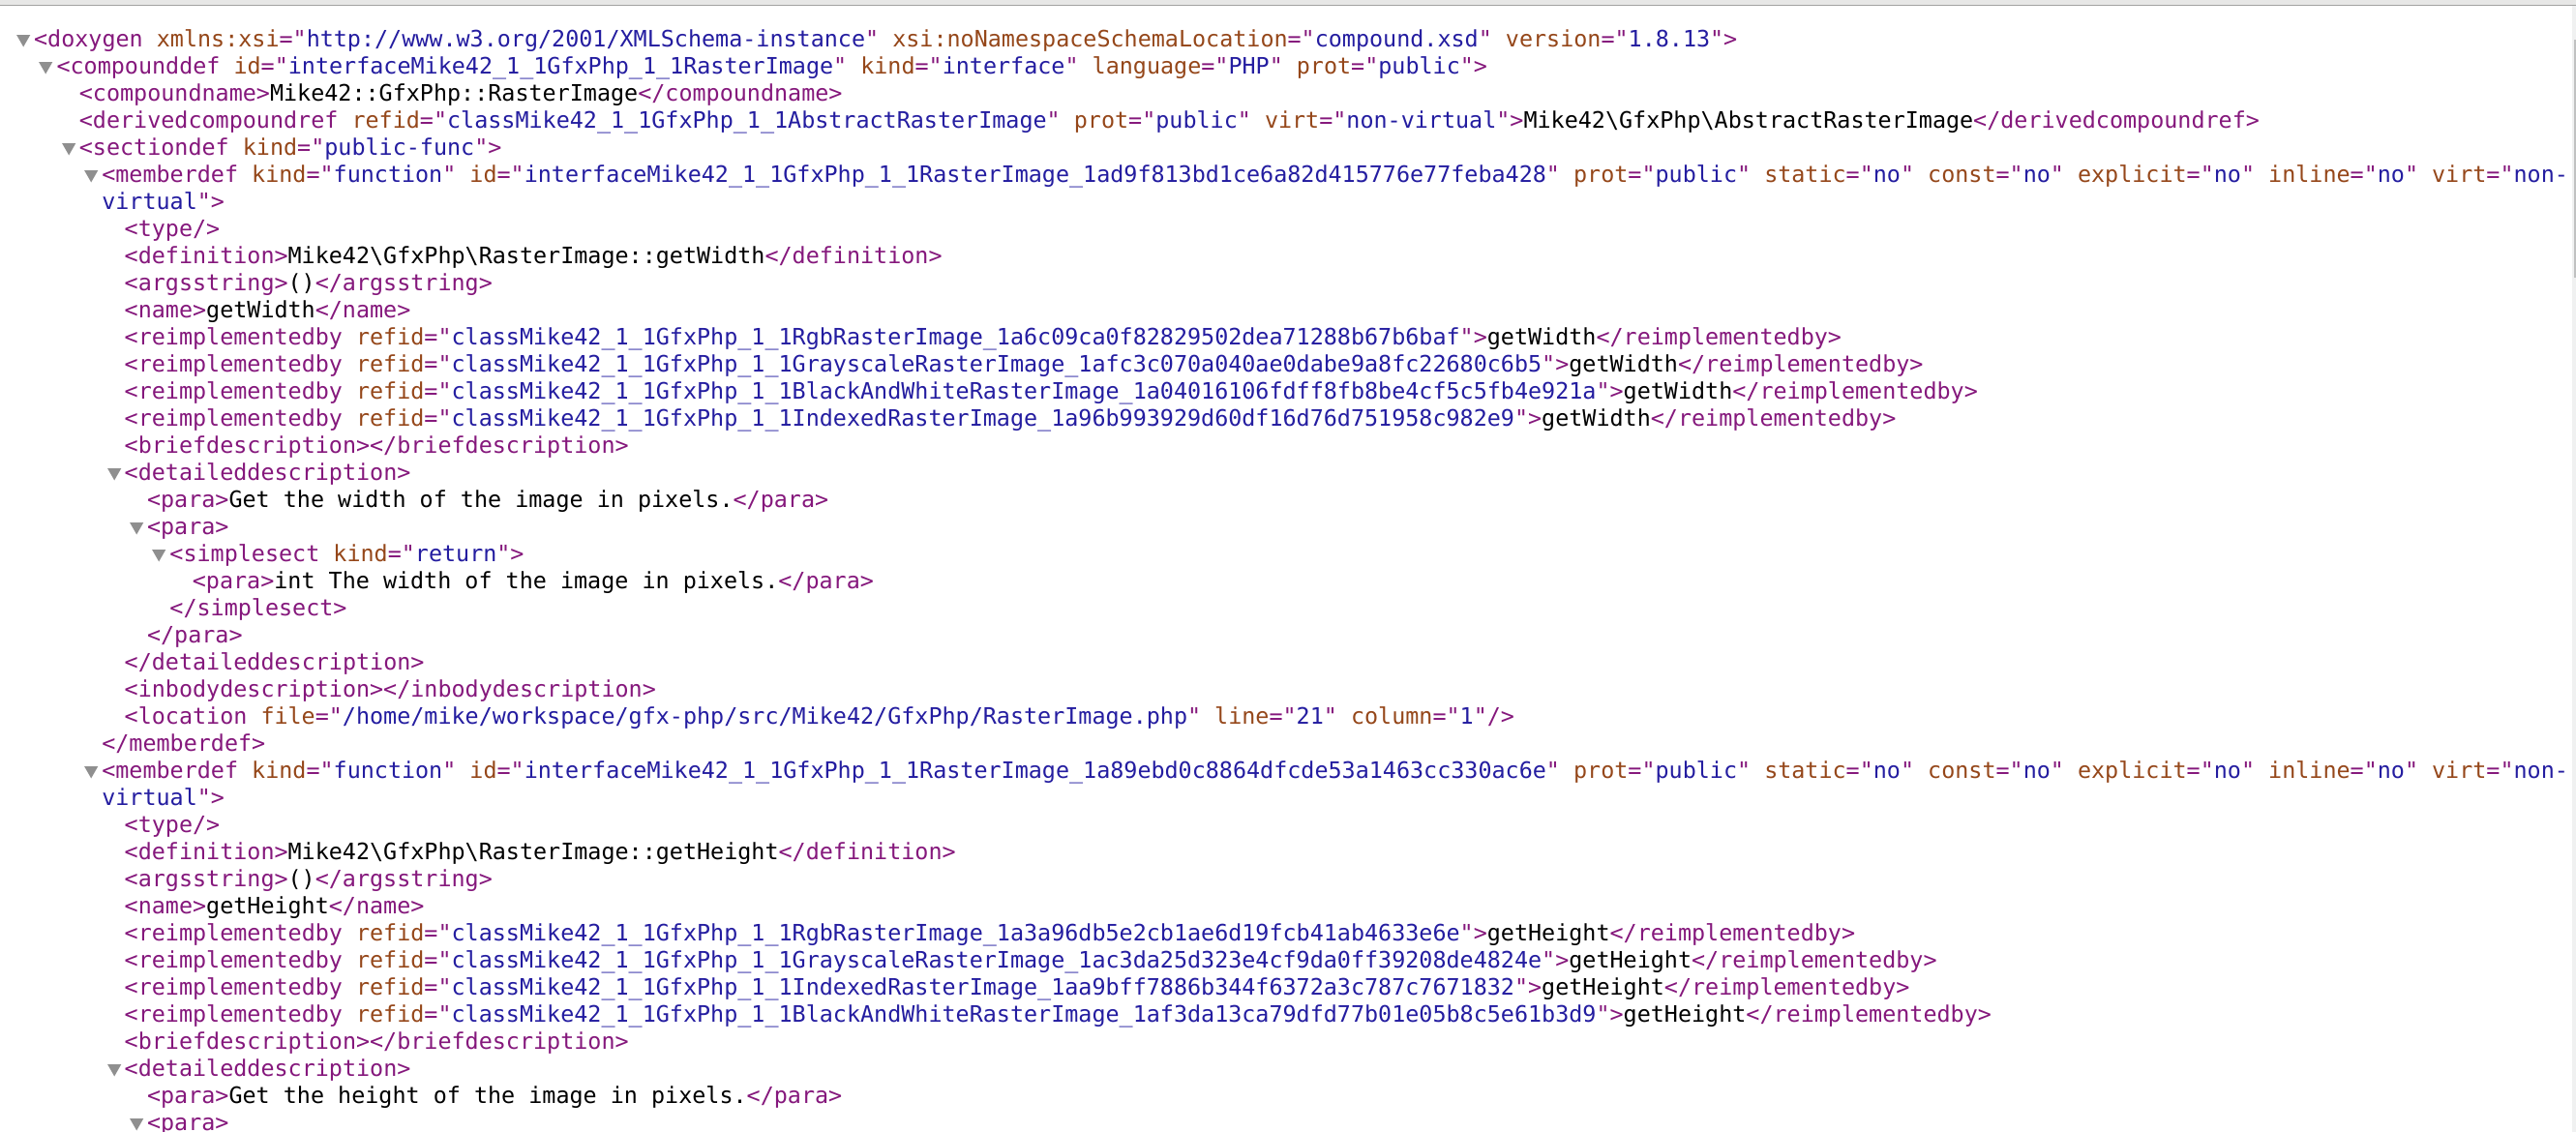
The XML output is much more useful for our purposes. It contains the same information, and we will read it to generate pages of documentation for Sphinx to render.
Sphinx
Sphinx is the tool that we will use to render the final HTML output. If you haven’t used it before, then see the official Getting Started page.
We are using Sphinx because it can be executed by online services like Read the Docs. It uses the reStructuredText format, which is a whole lot more complex than Markdown, but supports cross-references. I’ll only describe these steps briefly, because there are existing how-to guides on making Sphinx work for manually-written PHP documentation elsewhere on the Internet, such as:
Still in the docs folder with your Doxyfile, create and render an empty Sphinx project.
pip install sphinx
sphinx-quickstart --quiet --project example_project --author example_bob
make html
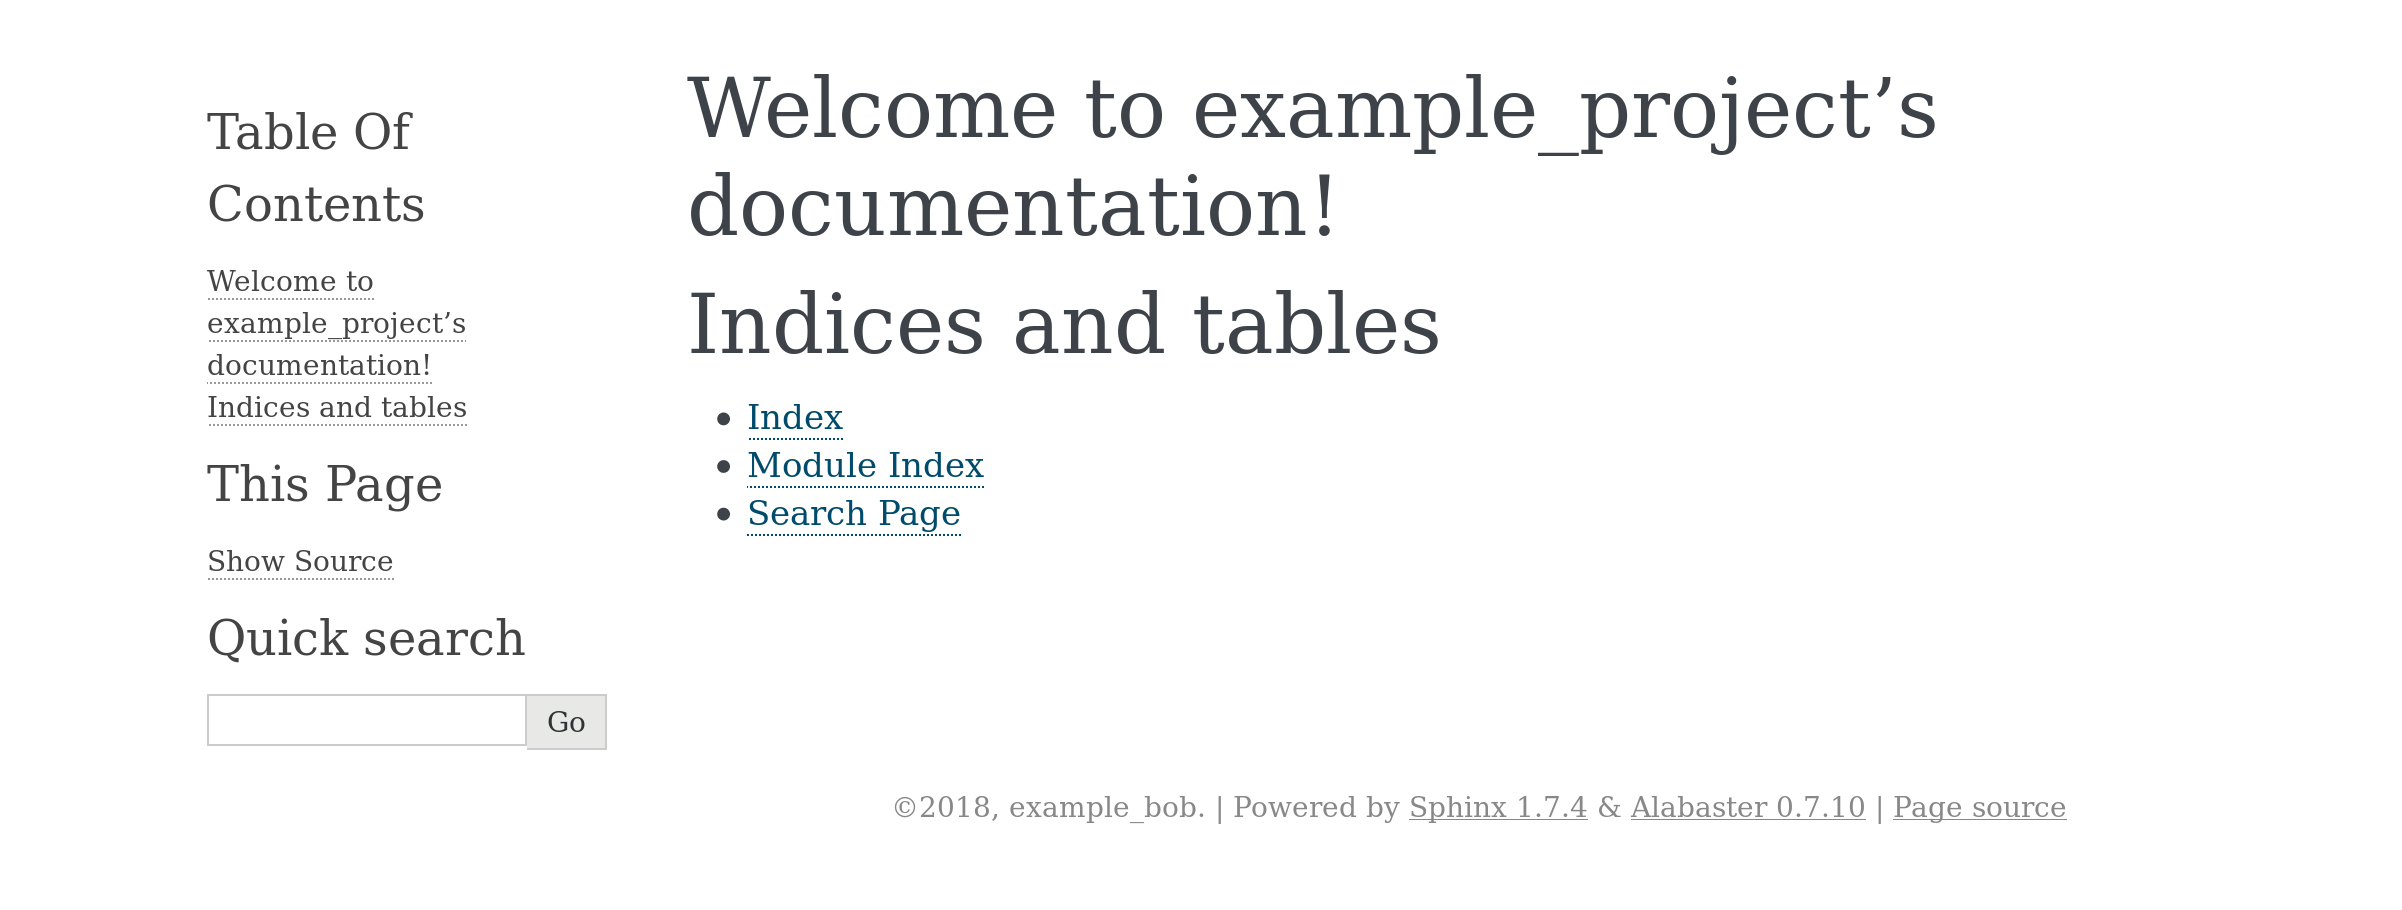
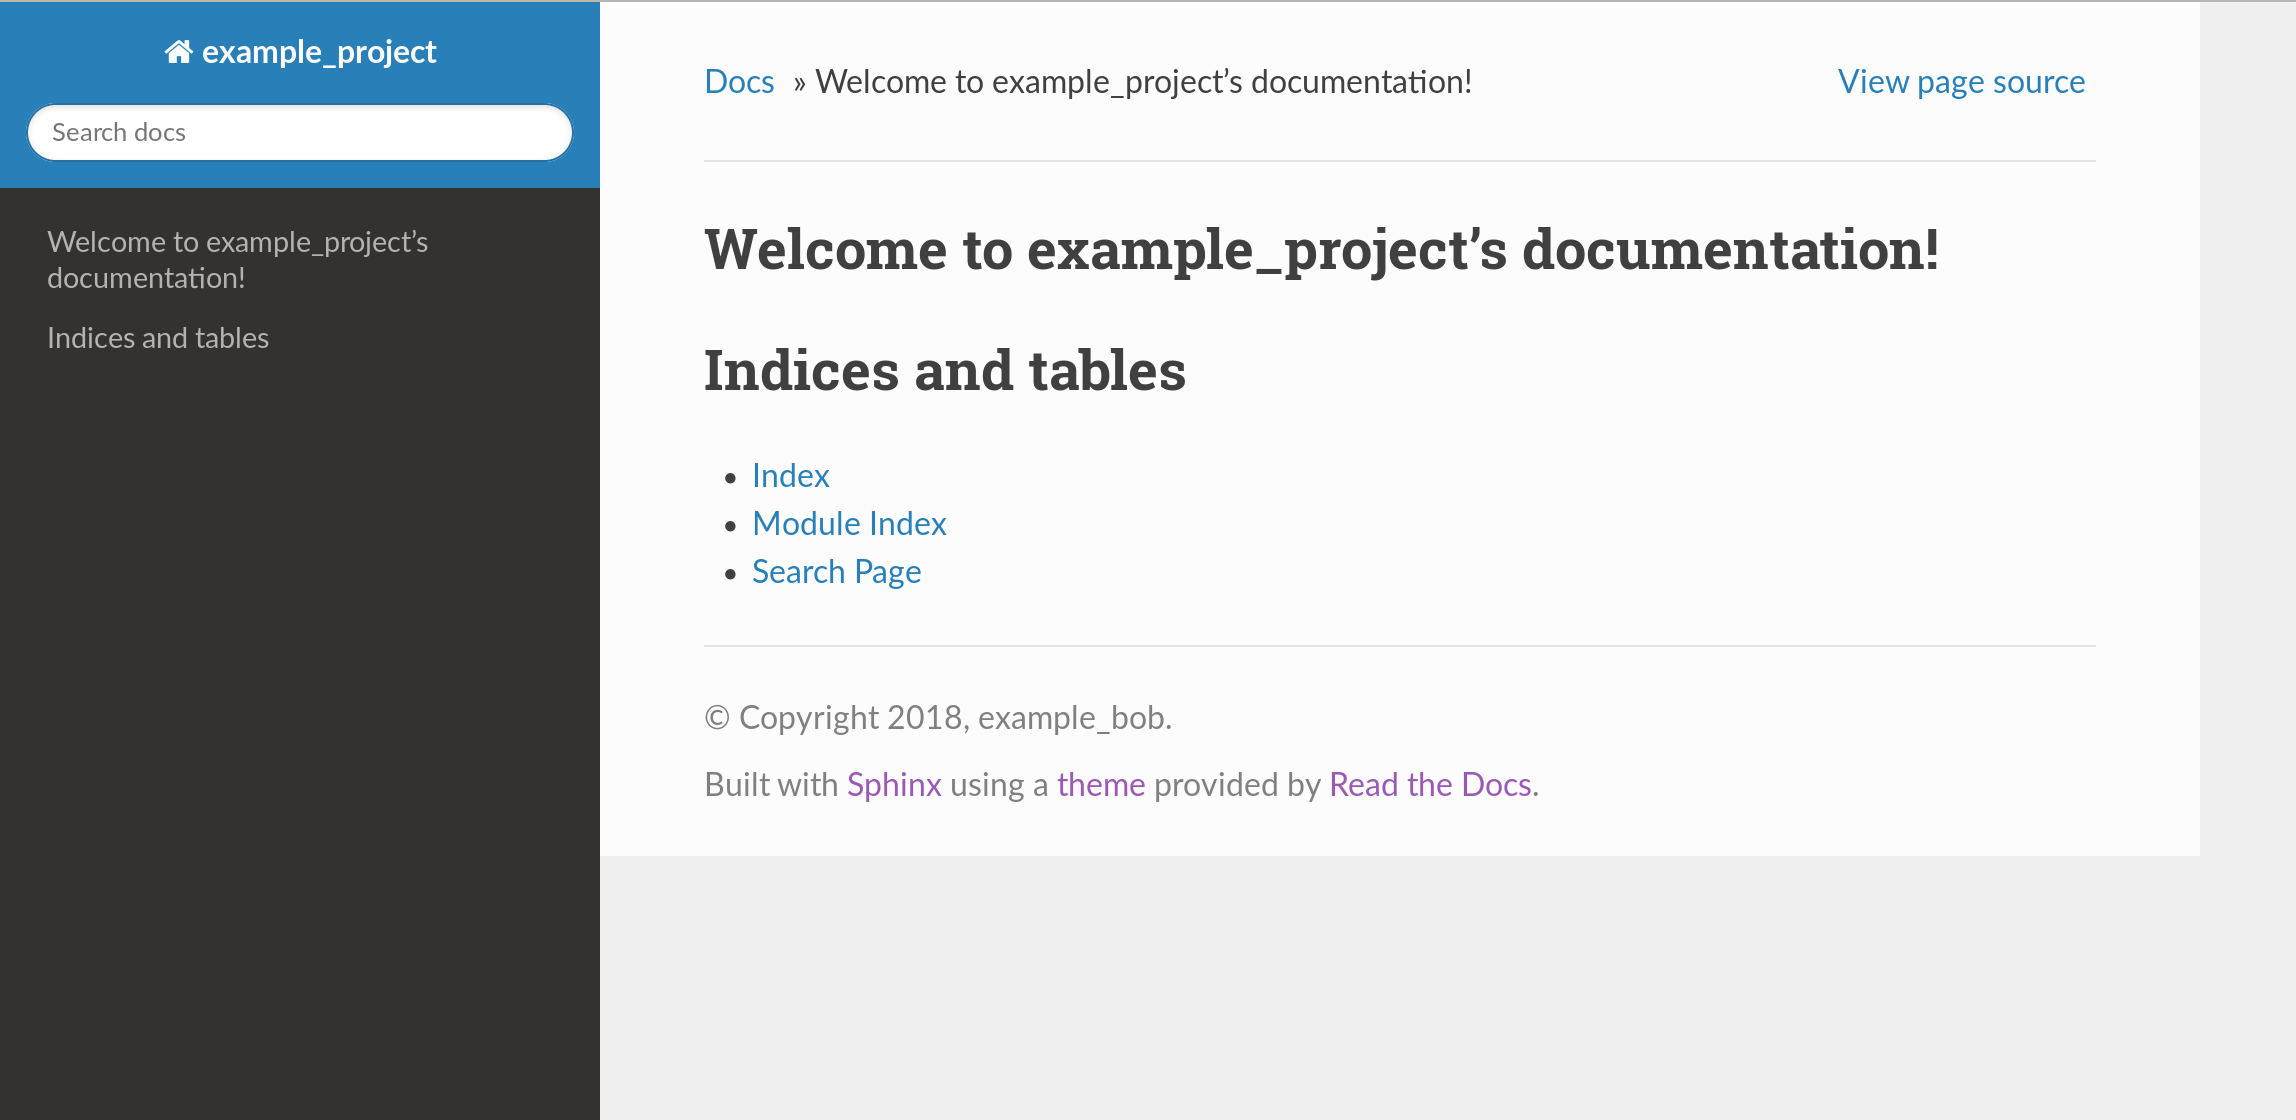
The generated HTML will initially appear like this:
We need to customize this in a way that adds PHP support. The quickest way is to drop this text into requirements.txt:
Sphinx==1.7.4
sphinx-rtd-theme==0.3.0
sphinxcontrib-phpdomain==0.4.1
doxyphp2sphinx>=1.0.1
Then update config.py to set extensions:
extensions = [
  "sphinxcontrib.phpdomain"
]
Then also set the theme.
html_theme = 'sphinx_rtd_theme'
Lastly, add this to the end of the file:
# PHP Syntax
from sphinx.highlighting import lexers
from pygments.lexers.web import PhpLexer
lexers["php"] = PhpLexer(startinline=True, linenos=1)
lexers["php-annotations"] = PhpLexer(startinline=True, linenos=1)

# Set domain
primary_domain = "php"
Next drop this contents in _templates/breadcrumbs.html (explanation)
{%- extends "sphinx_rtd_theme/breadcrumbs.html" %}

{% block breadcrumbs_aside %}
{% endblock %}
Then finally re-install dependencies and re-build:
pip install -r requirements.txt
make html
The HTML output under _build will now appear as:
This setup gives us three things:
- The documentation looks the same as Read the Docs.
- We can use PHP snippets and class documentation.
- There are no ‘Edit’ links, which is important because some of the files will be generated in the next steps.
doxyphp2sphinx
The doxyphp2sphinx tool will generate .rst files from the Doxygen XML files. This was installed from your requirements.txt in the last step, but you can also install it standalone via pip:
pip install doxyphp2sphinx
The only thing you need to specify is the name of the namespace that you are documenting, using :: as a separator.
doxyphp2sphinx FooCorp::Example
This command will read the xml/ subdirectory, and will create api.rst. It will fill the api/ directory with documentation for each class in the \FooCorp\Example namespace.
To verify that this has worked, check your class structure:
$ tree ../src
../src
├── Dooverwhacky.php
└── Widget.php
You should have documentation for each of these:
$ tree xml/ -P 'class*'
xml/
├── classFooCorp_1_1Example_1_1Dooverwhacky.xml
└── classFooCorp_1_1Example_1_1Widget.xml
And if you have the correct namespace name, you will have .rst files for each as well:
$ tree api
api
├── dooverwhacky.rst
└── widget.rst
Now, add a reference to api.rst somewhere in index.rst:
.. toctree::
   :maxdepth: 2
   :caption: API Documentation

   Classes <api.rst>
And re-compile:
make html
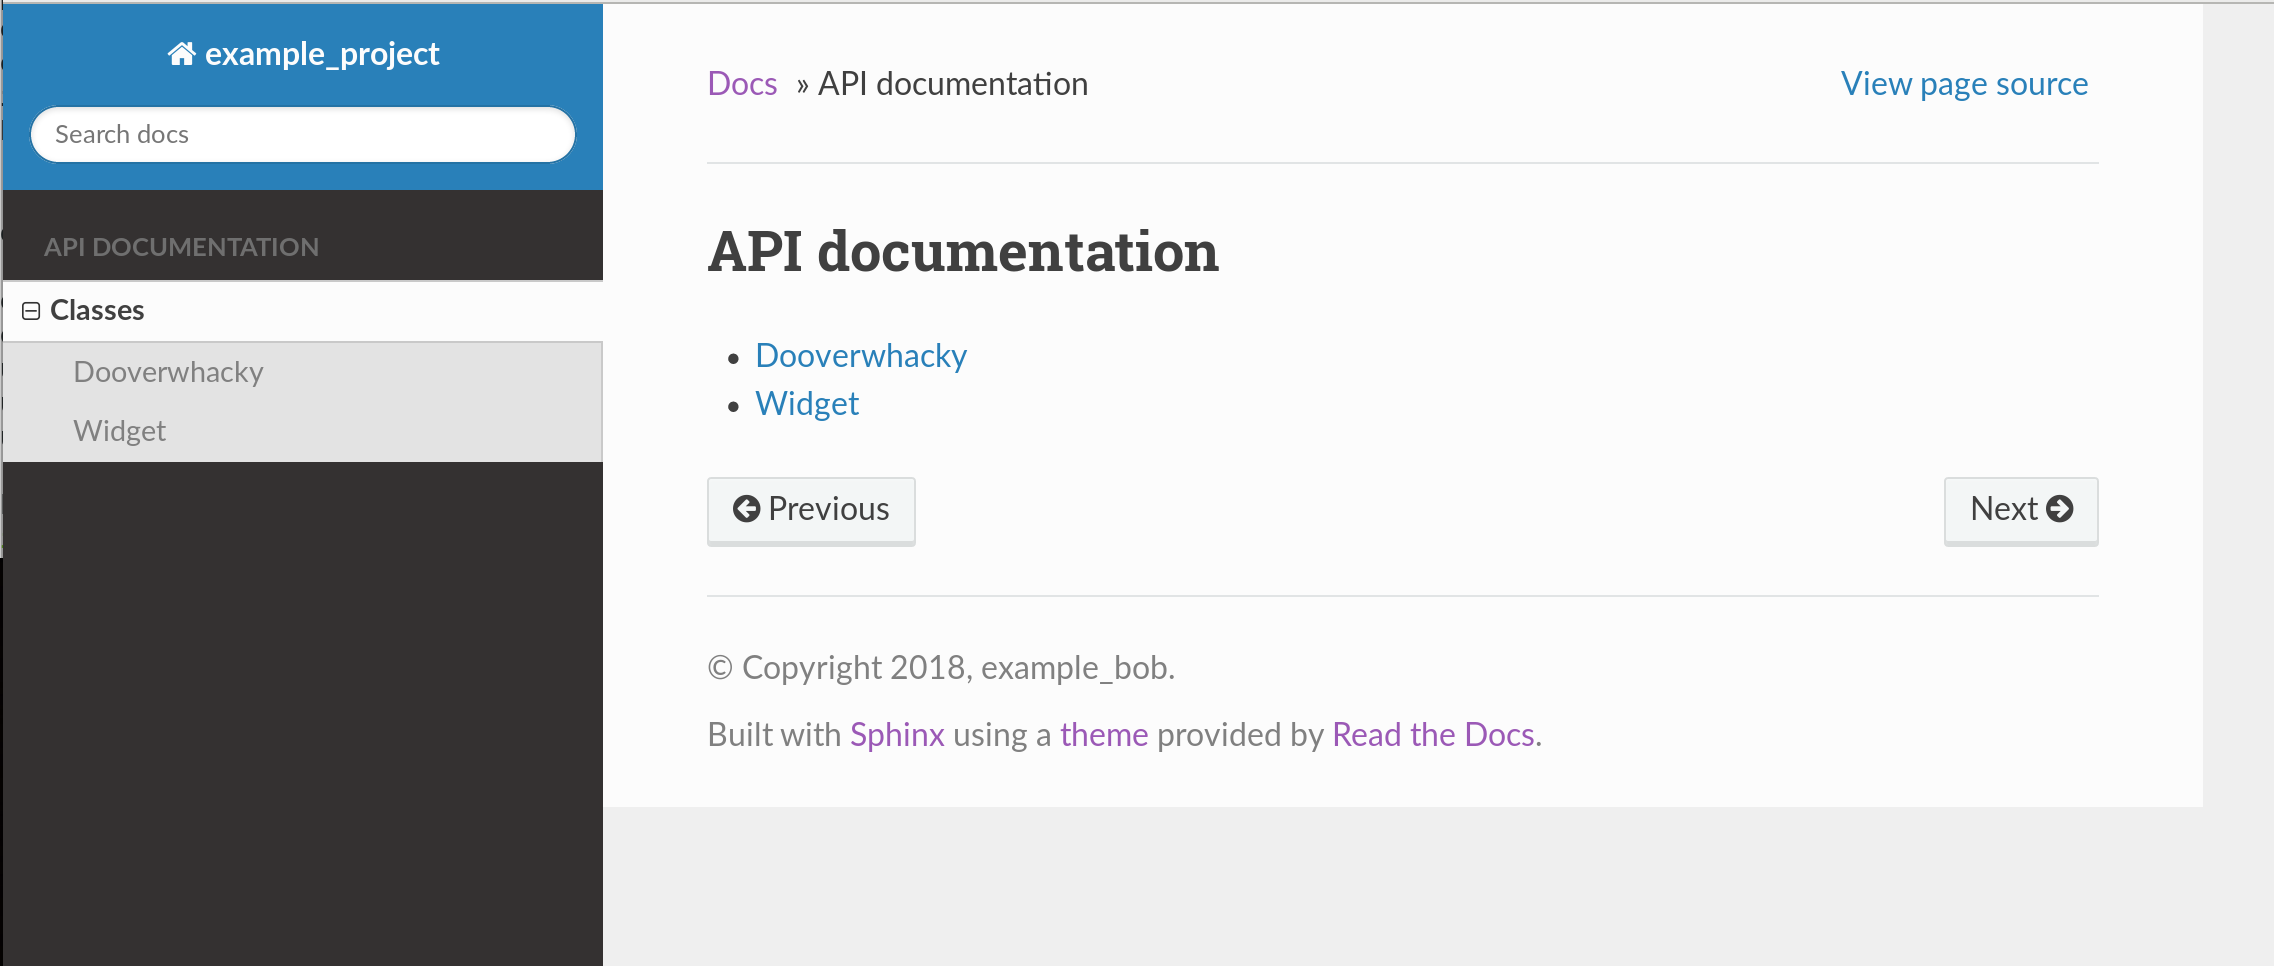
You can now navigate to your classes in the HTML documentation.
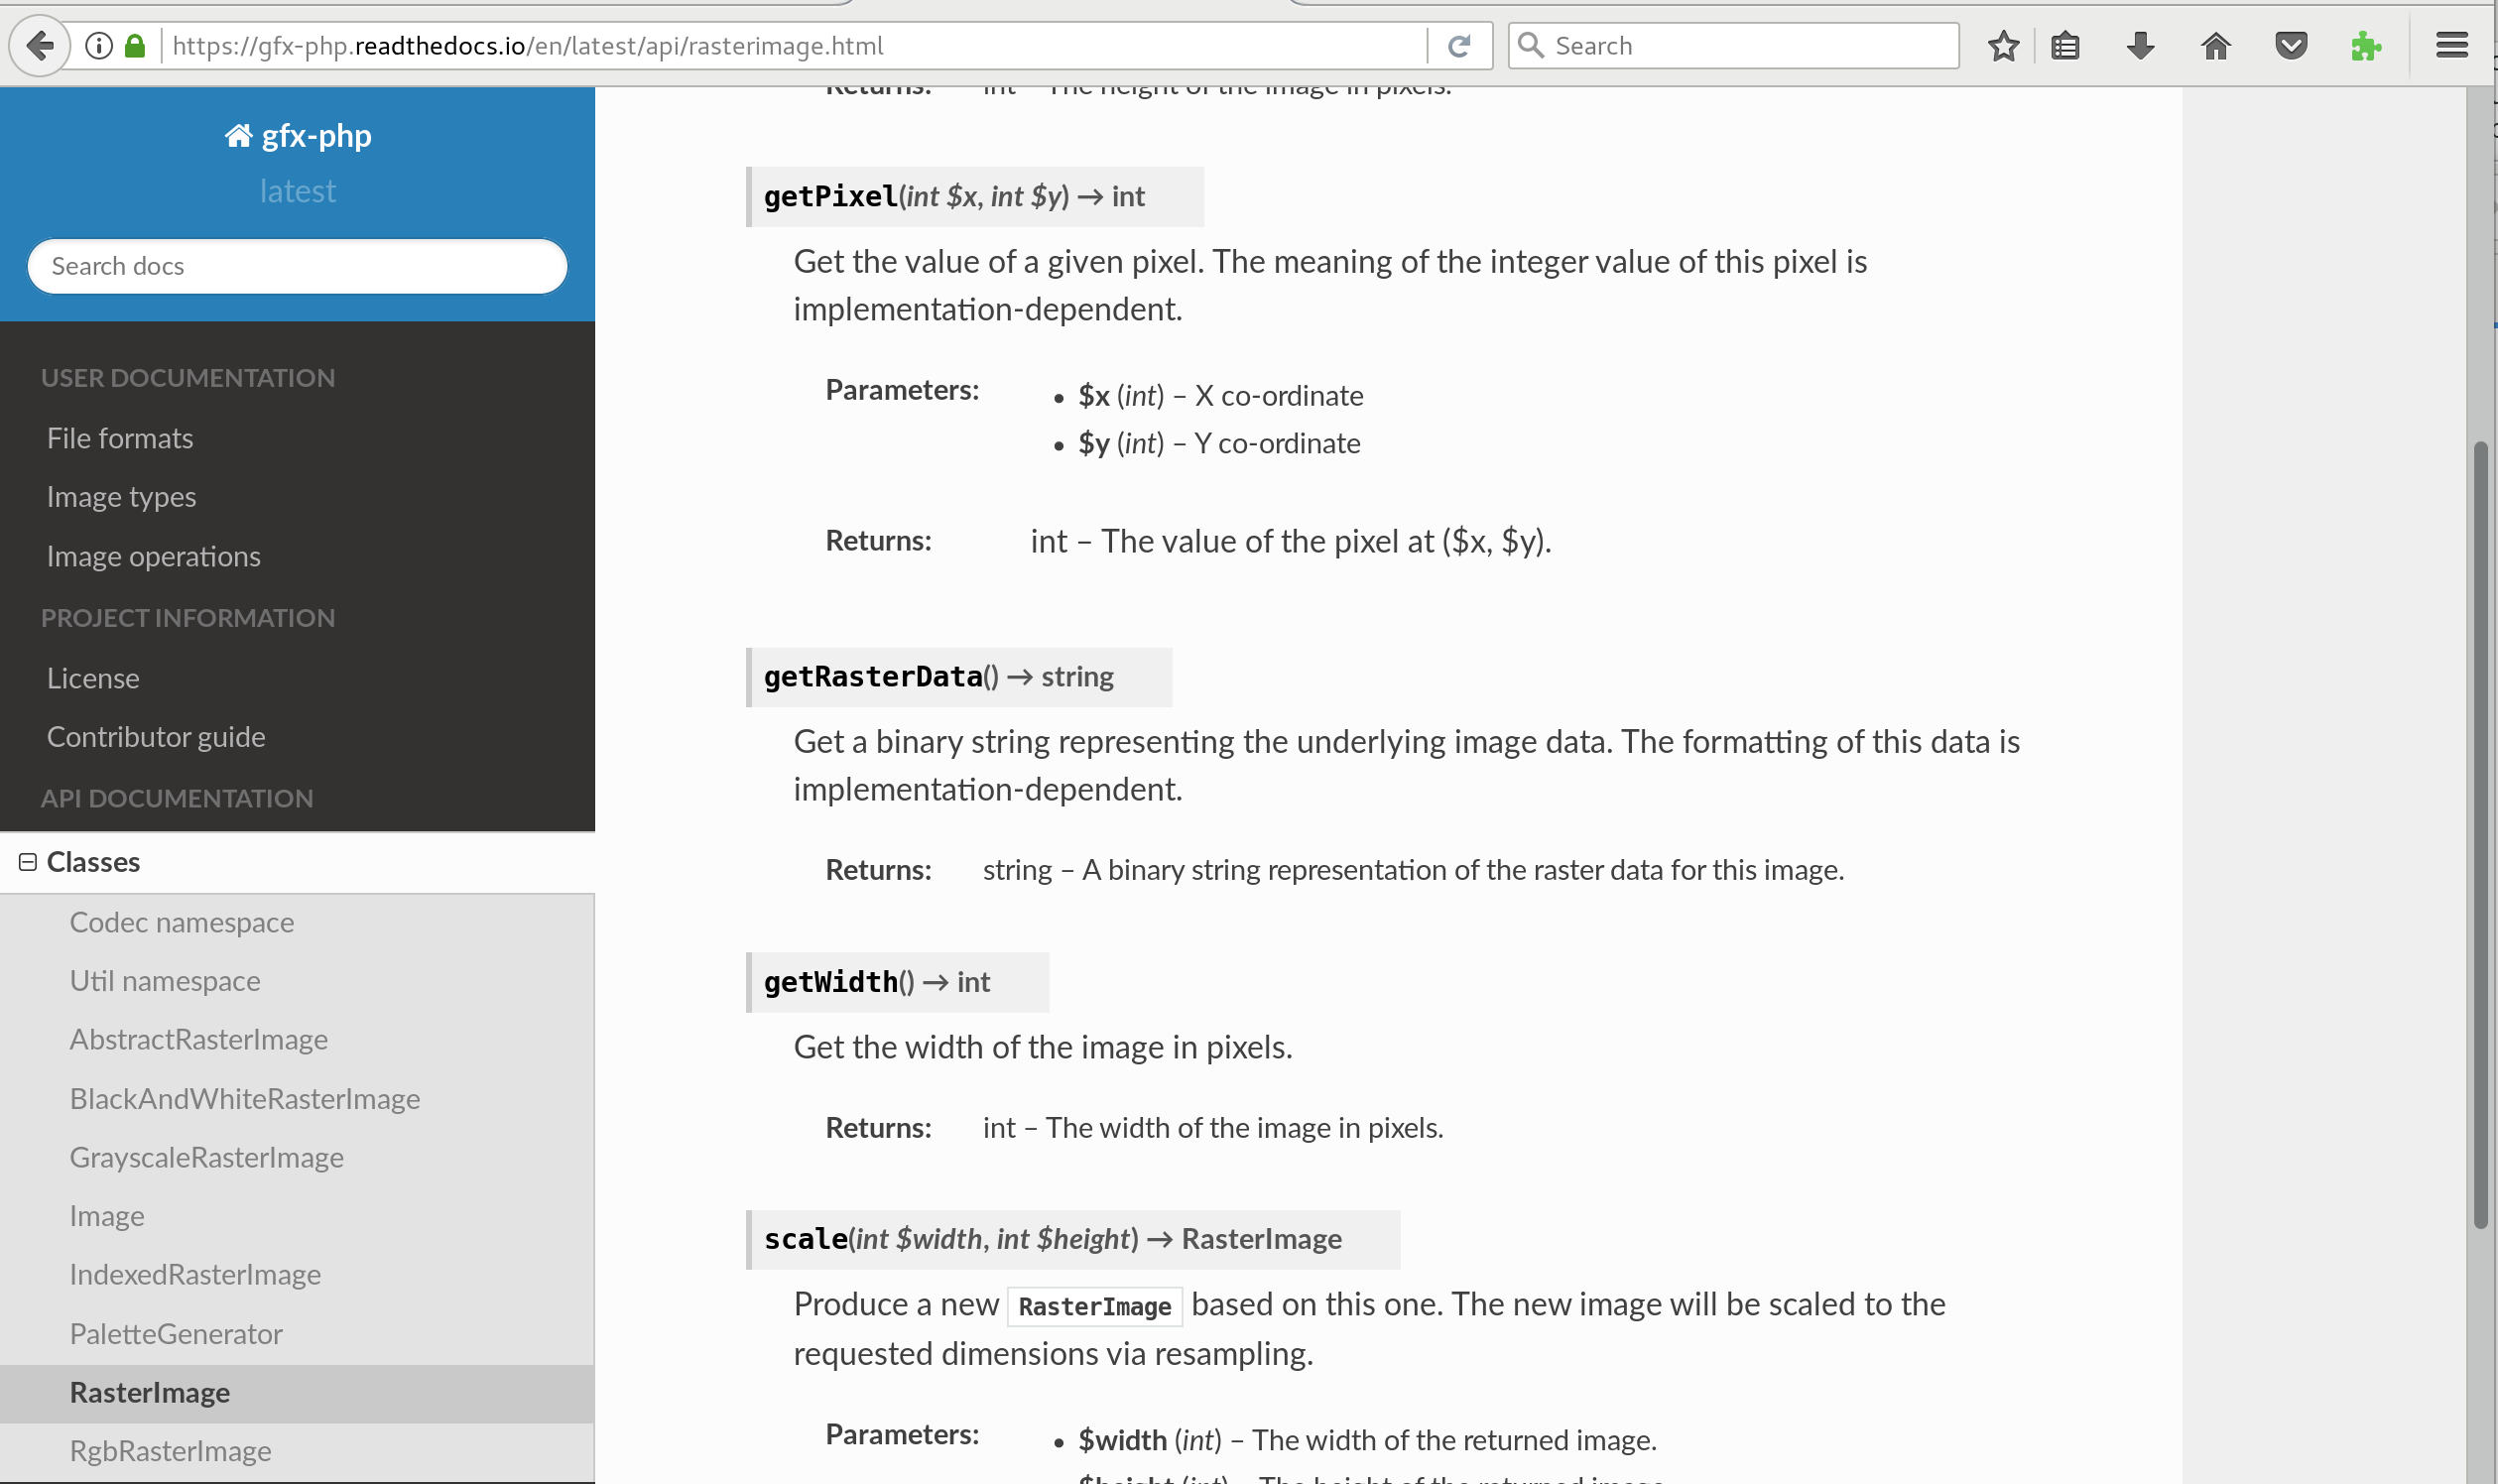
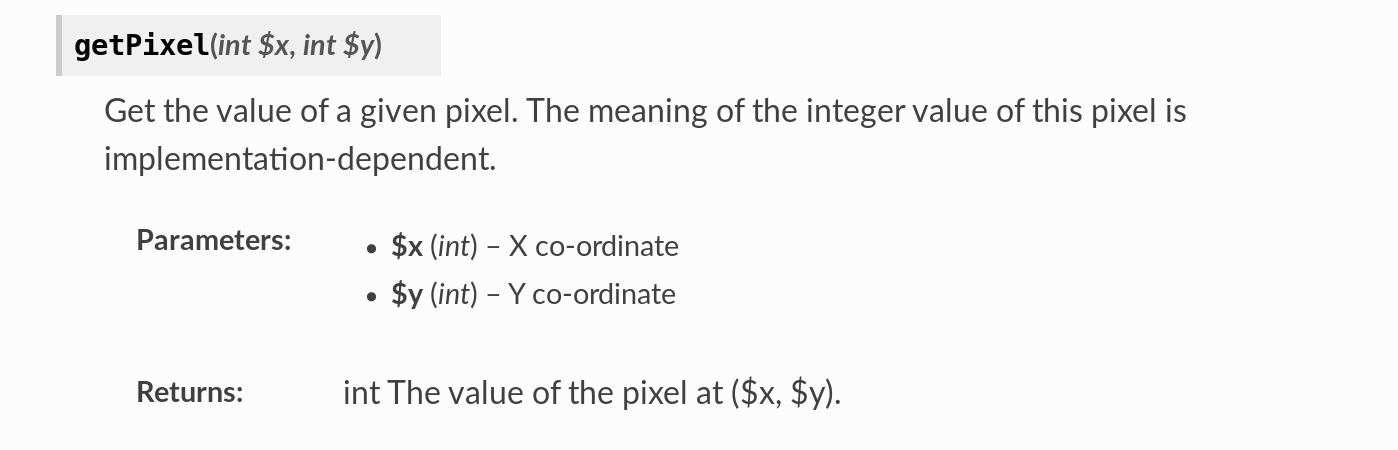
The quality of the generated class documentation can be improved by adding docstrings. An example of the generated documentation for a method is:
Writing documentation
As you add pages to your documentation, you can include PHP snippets and reference the usage of your classes.
.. code-block:: php

   <?php
   echo "Hello World"

Lorem ipsum dolor sit :class:`Dooverwhacky`, foo bar baz :meth:`Widget::getFeatureCount`.
This will create syntax highlighting for your examples and inline links to the generated API docs.

Beyond this, you will need to learn some reStructuredText. I found this reference to be useful.
Local docs build
A full build has these dependencies:
apt-get install doxygen make python-pip
pip install -r docs/requirements.txt
And these steps:
cd docs/
doxygen
doxyphp2sphinx FooCorp::Example
make html
Cloud tools
Next, we will take this local build, and run it on a cloud setup instead, using these services.
- GitHub
- Read the docs
GitHub
I will assume that you know how to use Git and GitHub, and that you are creating code that is intended for re-use.
Add these files to your .gitignore:
docs/_build/
docs/warnings.log
docs/xml/
docs/html/
Upload the remainder of your repository to GitHub. The gfx-php project is an example of a working project with all of the correct files included.
To execute the initial two build steps execute on Read the Docs, add this to the end of docs/conf.py. Don’t forget to update the namespace to match the command you were running locally.
# Regenerate API docs via doxygen + doxyphp2sphinx
import subprocess, os
read_the_docs_build = os.environ.get('READTHEDOCS', None) == 'True'
if read_the_docs_build:
    subprocess.call(['doxygen', 'Doxyfile'])
    subprocess.call(['doxyphp2sphinx', 'FooCorp::Example'])
Read the Docs
After all this setup, Read the Docs should be able to build the project. Create the project on Read the Docs by using the Import from GitHub option. There are only two settings which need to be set:
The requirements file location must be docs/requirements.txt:
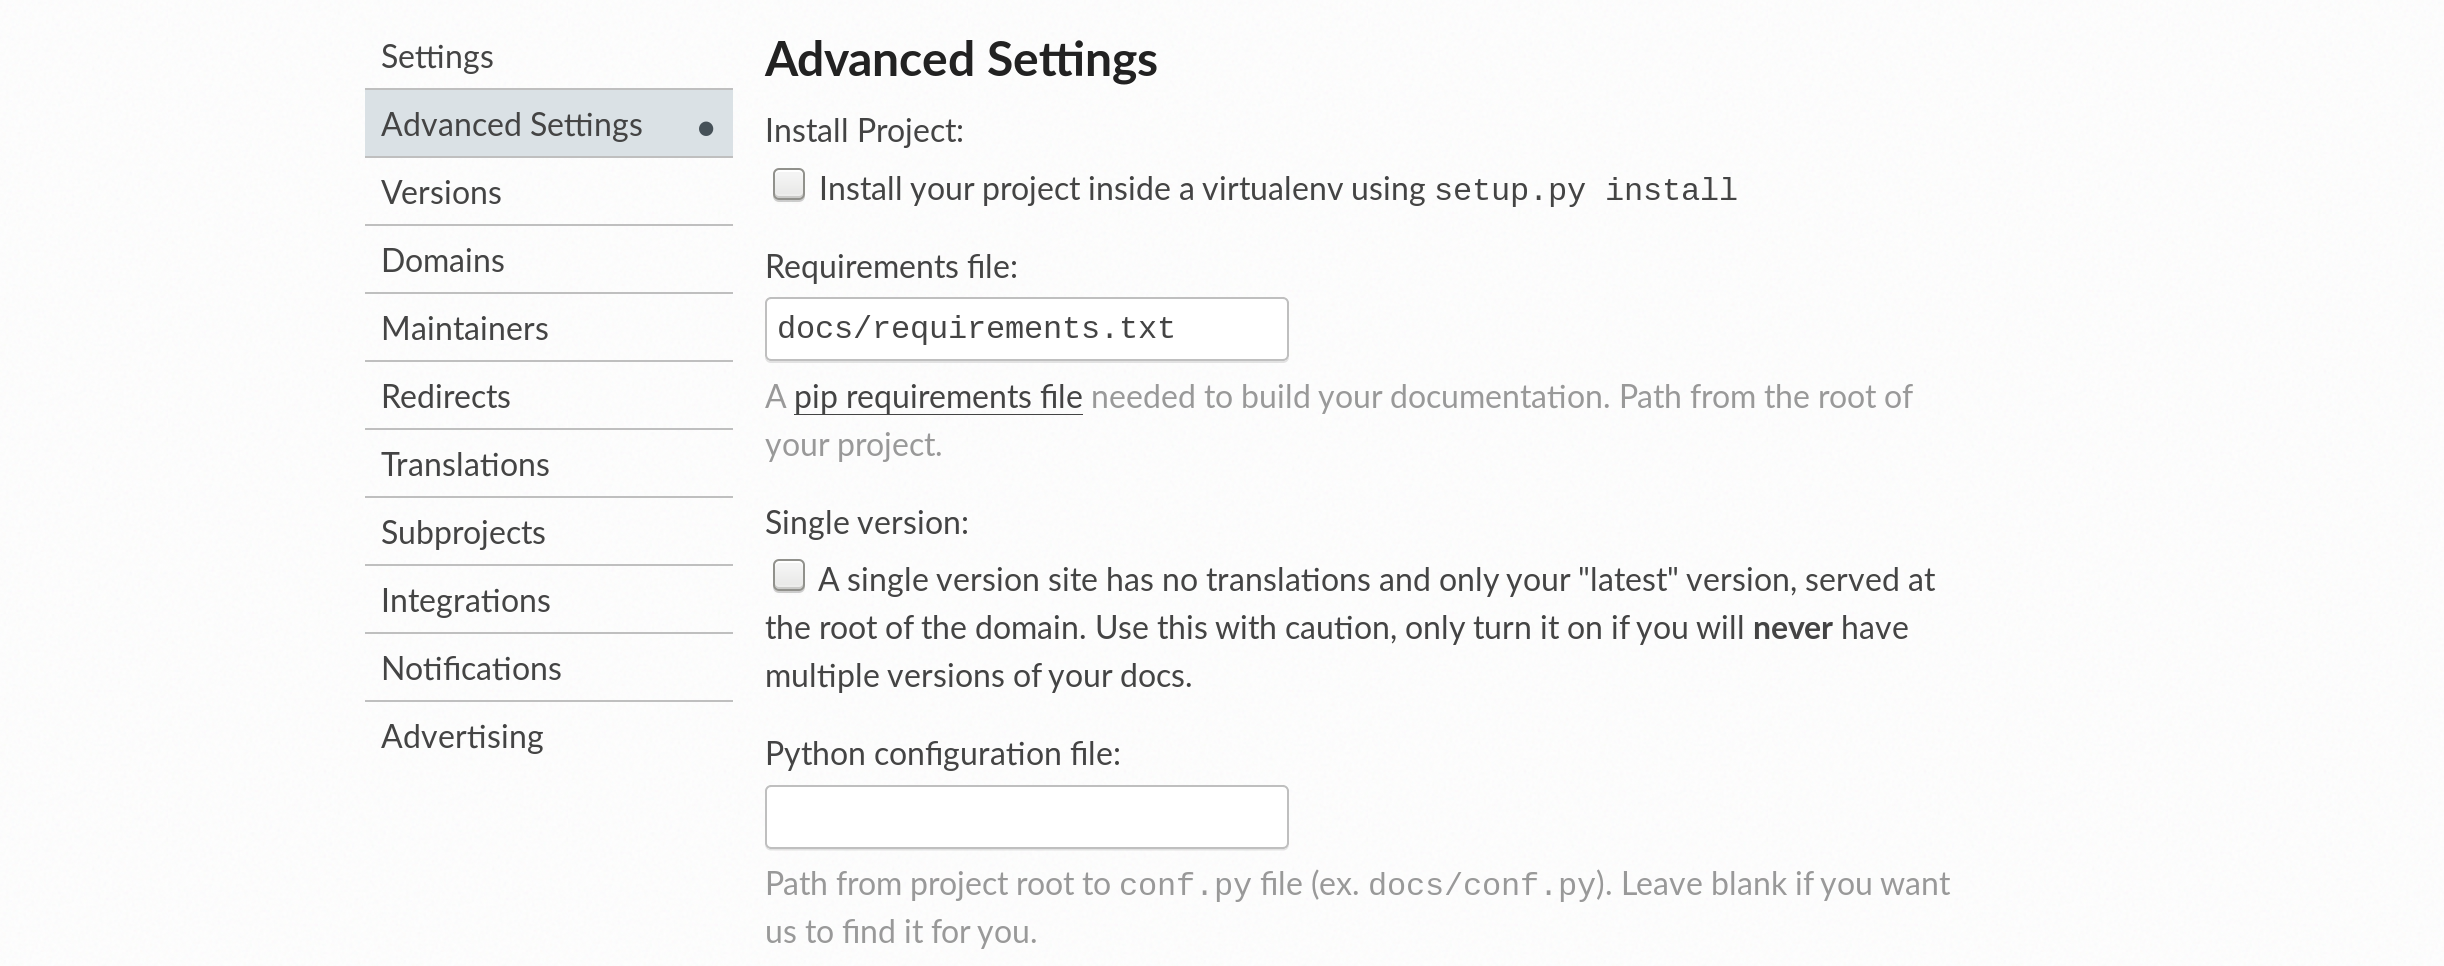
And the programming language should be PHP.
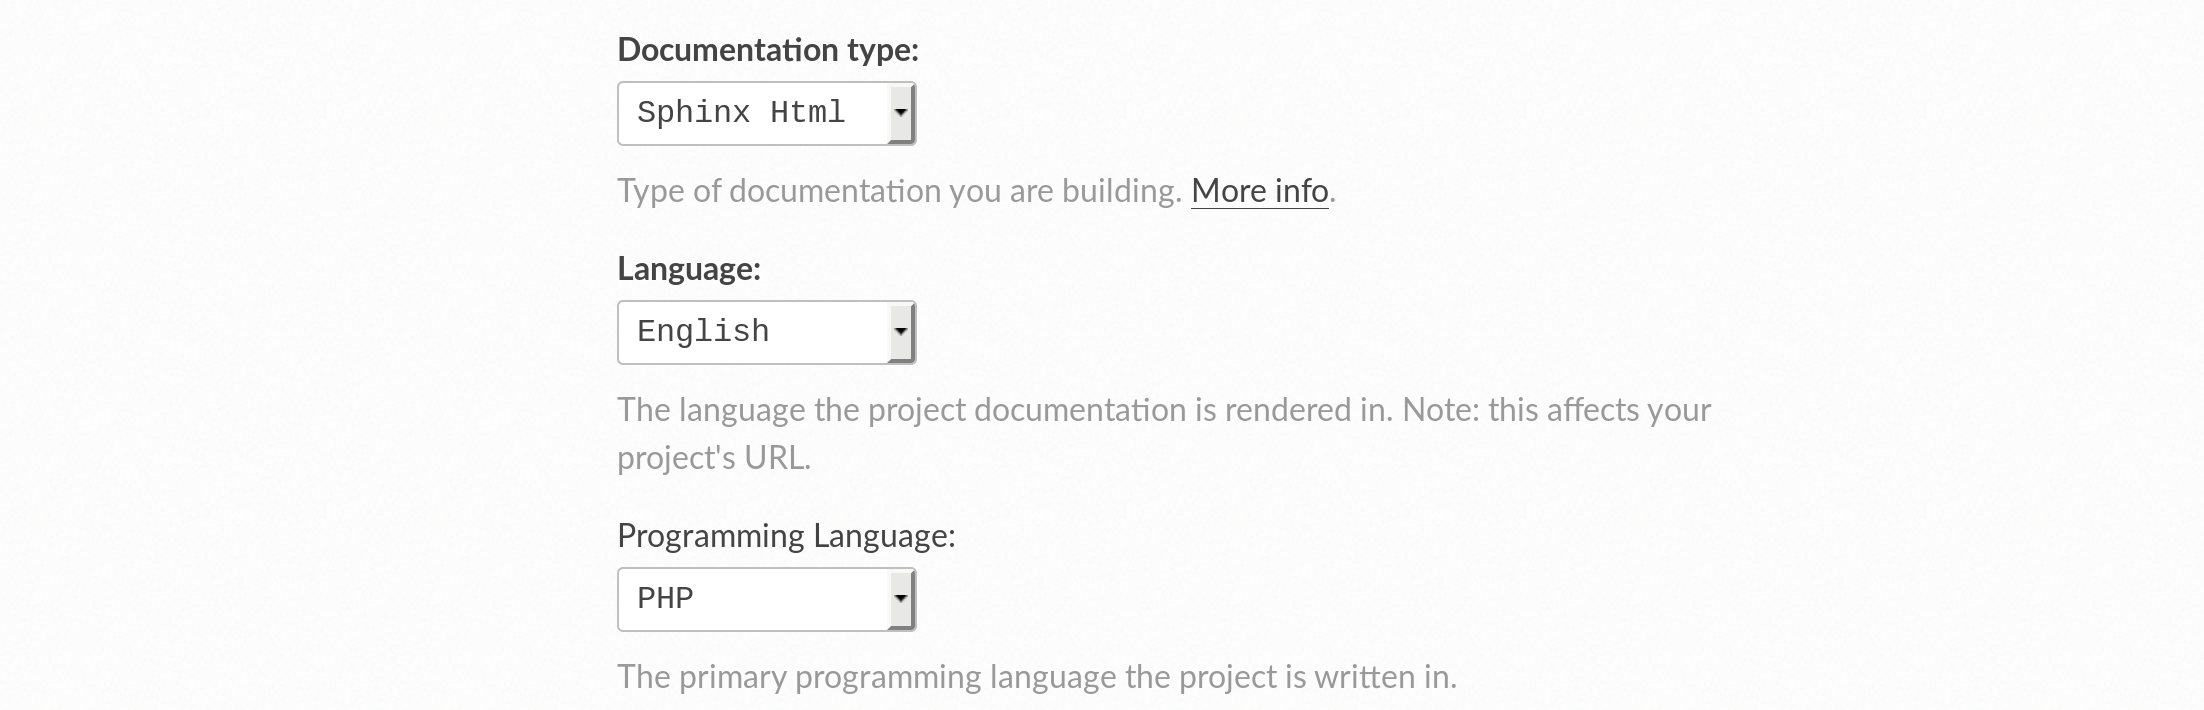
After this, you can go ahead and run a build.
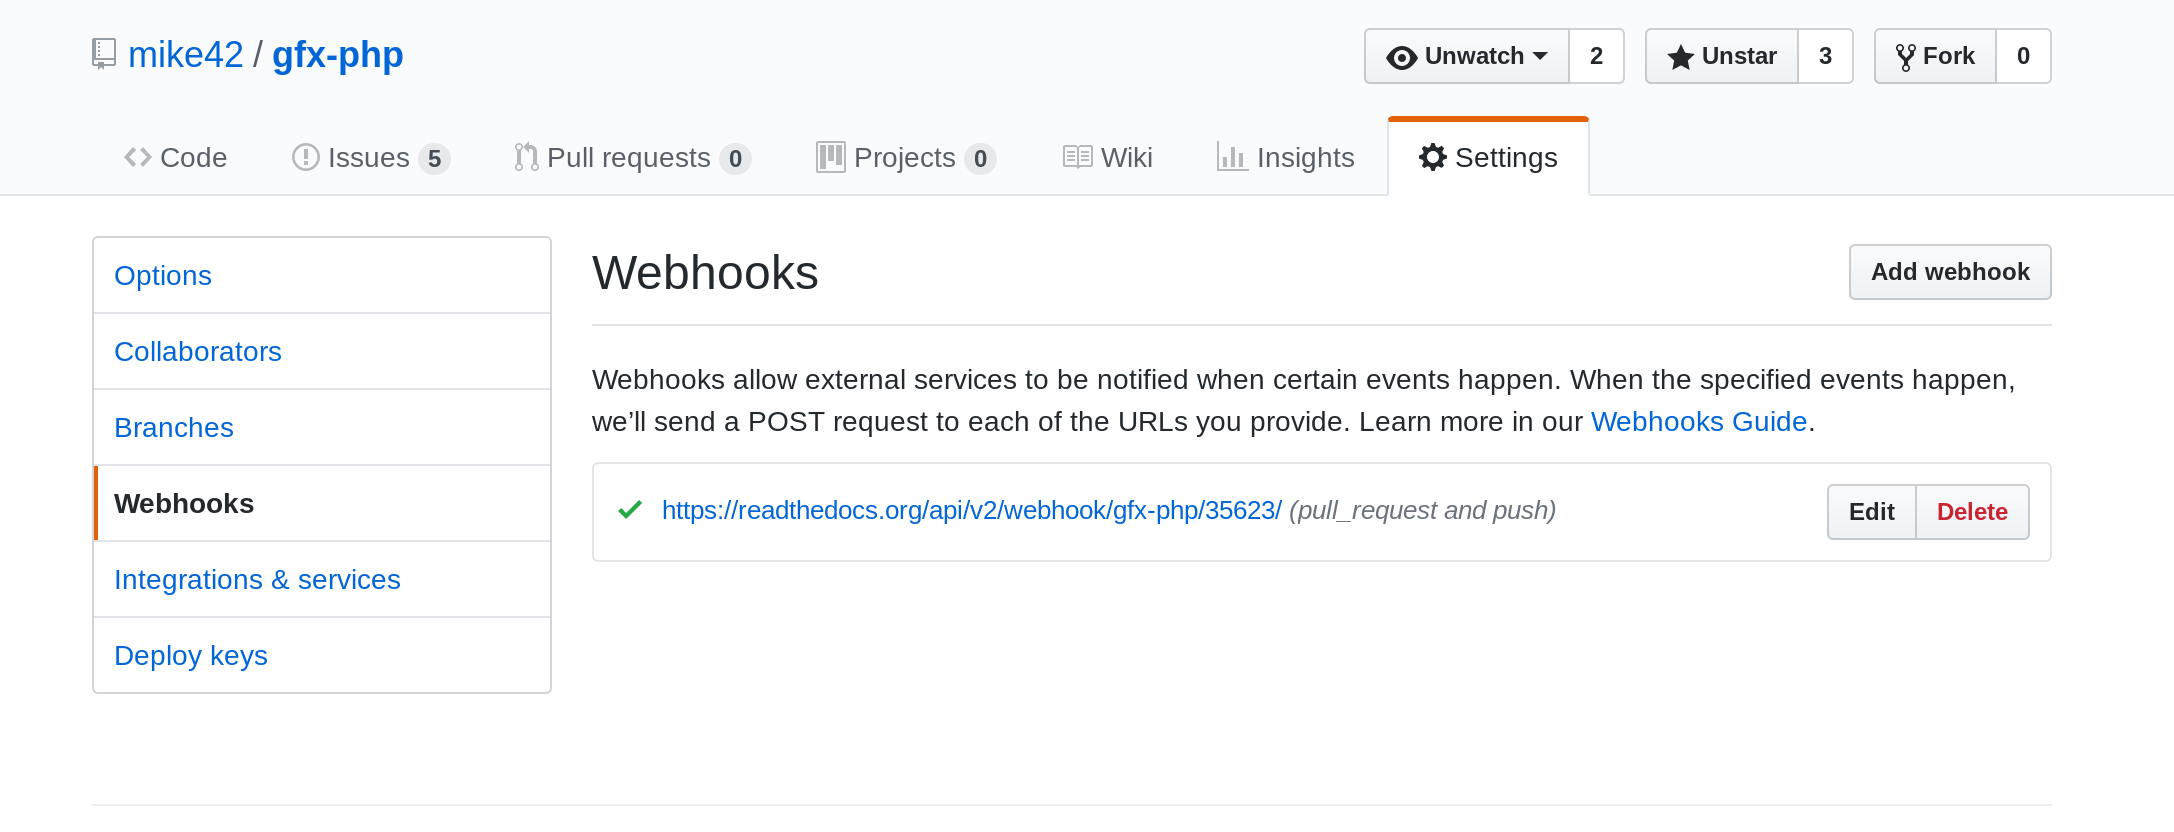
As a last step, you will want to ensure that you have a Webhook set up on GitHub to trigger the builds automatically in future.
Conclusion
It is emerging as a best practice for small libraries to host their documentation with Read the Docs, but this is not yet common in the PHP world. Larger PHP projects tend to self-host documentation on the project website, but smaller projects will often have no hosted API documentation.
Once you write your docs, publishing them should be easy! Hopefully this provides a good example of what’s possible.
Acknowledgements
Credit where credit is due: The Breathe project fills this niche for C++ developers using Doxygen, and has been around for some time. Breathe is in the early stages of adding PHP support, but is not yet ready at the time of writing.