If you run a Voice over IP network which is available from the Internet, then it’s quite important to lock it down properly, so that it isn’t hijacked for relaying spam calls at your expense.
This article will cover the steps you need to deploy the SIP Threat Manager from Allo, which you can think of as a security-focused SIP proxy & firewall.
Topology
For example, you might have SIP clients both on-site with your server, and also allow people with their own devices to connect directly from home. One of the simplest ways to harden this setup is to add a specialised SIP router between your server and the Internet, to filter connections and log security-relevant events:

This post will show you how to migrate your VOIP network to this potentially more secure topology using Allo’s SIP Threat Manager.
The Allo STM Box
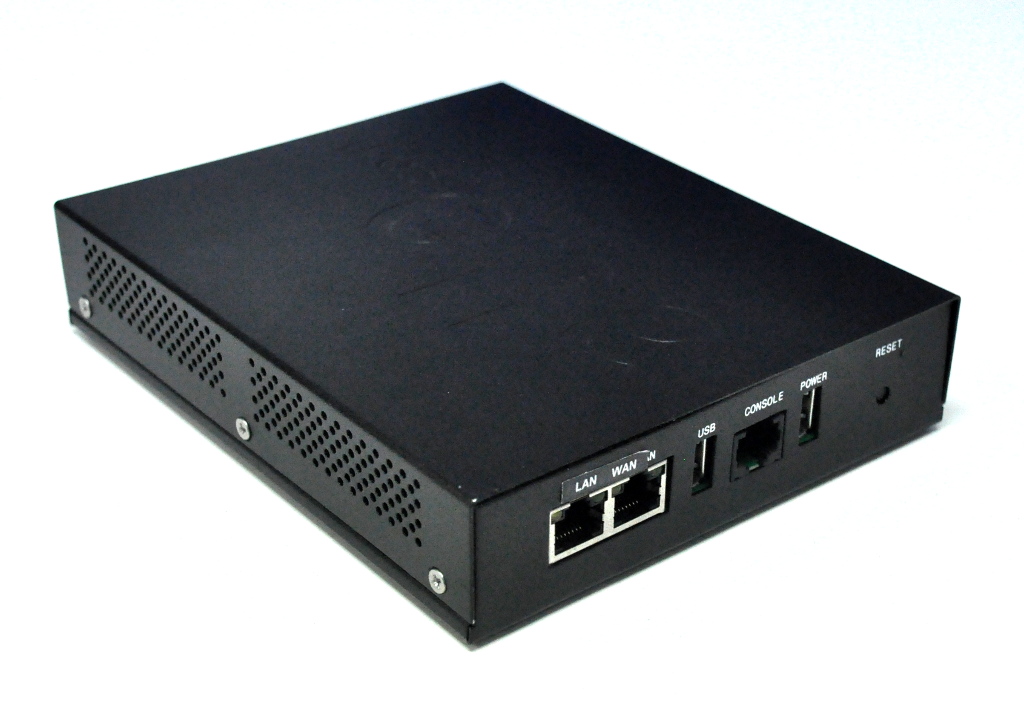

The STM itself is only small box, with two 100 Mbit/s Ethernet ports, and two USB ports. It is USB-powered, so one of these ports is for powering the box, and the other is for connecting external storage for log files. It is not power-hungry, and I was able to run it from a laptop USB port without any issues. Other than this, it’s externally a typical embedded network device: it has indicator lights, a power switch, a factory reset button, and a console port.

Internally, it runs a MIPS processor, which appears to host Snort on embedded Linux.
Initial Setup
Although the box advertises that it will work out-of-the-box, I found that it was easier to configure the box to match my network, than to re-work my network around the box. This section will simply show you how to get logged in and change the box’s IP address.
First up, I took a look at the console, which is accessible at a baudrate of 38400. It’s far from the most functional CLI around, so I only made use of the factoryreset function to get a clean slate. It showed a few of the open source packages running, such the dropbear sshd, lighttpd and crond among other familiar programs:
Please press Enter to activate this console.
Starting pid 942, console /dev/ttyS2: '/usr/bin/maincli'
Shield STM Appliance Appliance
shield> factoryreset

Will output 1024 bit rsa secret key to '/etc/dropbear/dropbear_rsa_host_key'
Generating key, this may take a while...
Public key portion is:
ssh-rsa AAAAB3NzaC1yc2EAAAADAQABAAAAgwCKBcVlWK+UiiELbg2CNfOt9rNmj51dmyz7d10MgRfAk9XU9x+kmlMueCFEBMTchsaywigLw0yFqeMZ
Fingerprint: md5 50:5b:c2:64:d4:87:f8:86:ab:c6:e1:59:e4:16:c2:cf
Generating a 1024 bit RSA private key
...++++++
...................++++++
writing new private key to '/etc/lighttpd/webserver.pem'
-----
ip: RTNETLINK answers: No such process
Jan  1 00:40:41 crond[875]: crond 2.3.2 dillon, started, log level 8

mount: mounting /dev/sda1 on /cf/disk failed
The CLI command show ip confirmed that the default IP of the box is 192.168.100.1, netmask 255.255.255.0. From a Linux laptop, you can change IP to something nearby and confirm that you can see the device with these commands:
# ifconfig wlan0 192.168.100.2 netmask 255.255.255.0
# arp-scan -l
Interface: wlan0, datalink type: EN10MB (Ethernet)
Starting arp-scan 1.8.1 with 256 hosts (http://www.nta-monitor.com/tools/arp-scan/)
192.168.100.1	00:17:f7:00:9b:0a	CEM Solutions Pvt Ltd
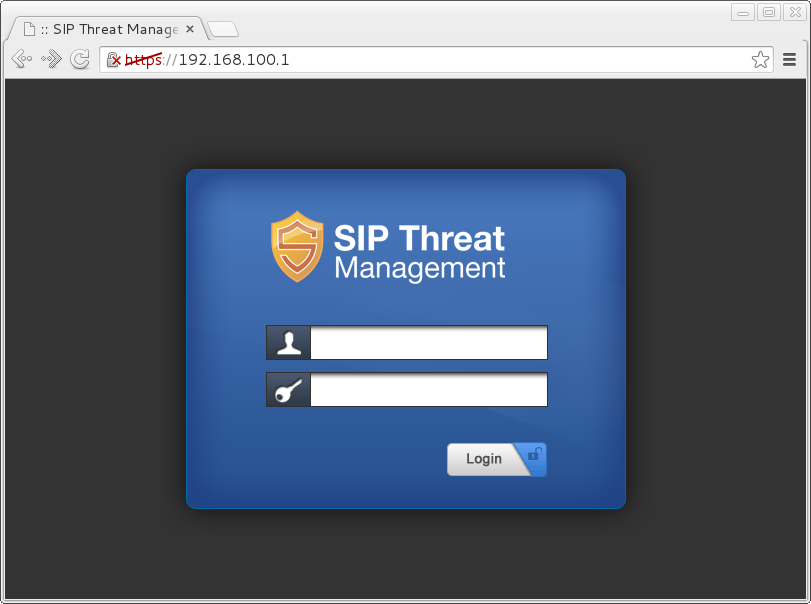
The STM is then accessible via the web address https://192.168.100.1, with the default credentials admin / admin.
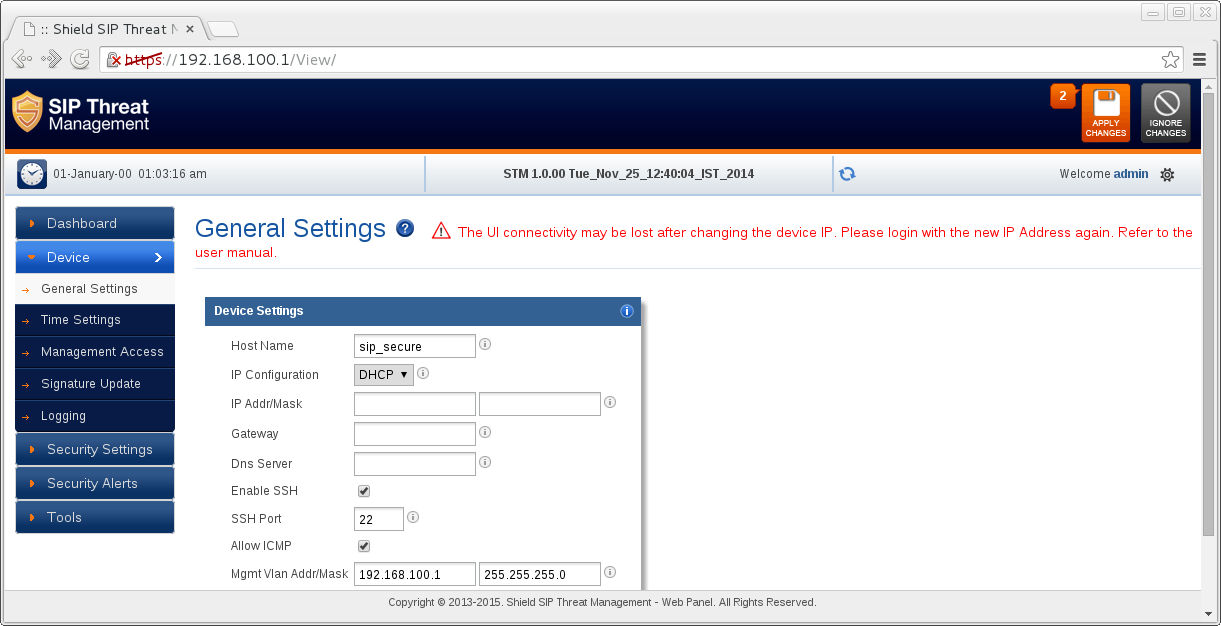
The IP setup is located under Device → General Setup. Change this to DHCP or a spare address on your network:
Configuration
Now that you can access the STM from any device, your first task is to change the admin password. The button for this is in the top-right:

The STM only allows one session at a time- whilst it’s a good idea not to log in twice, this was a surprising limitation. At the STM does not act as its own SIP endpoint, my server was already able to contact the Internet through it at this point.
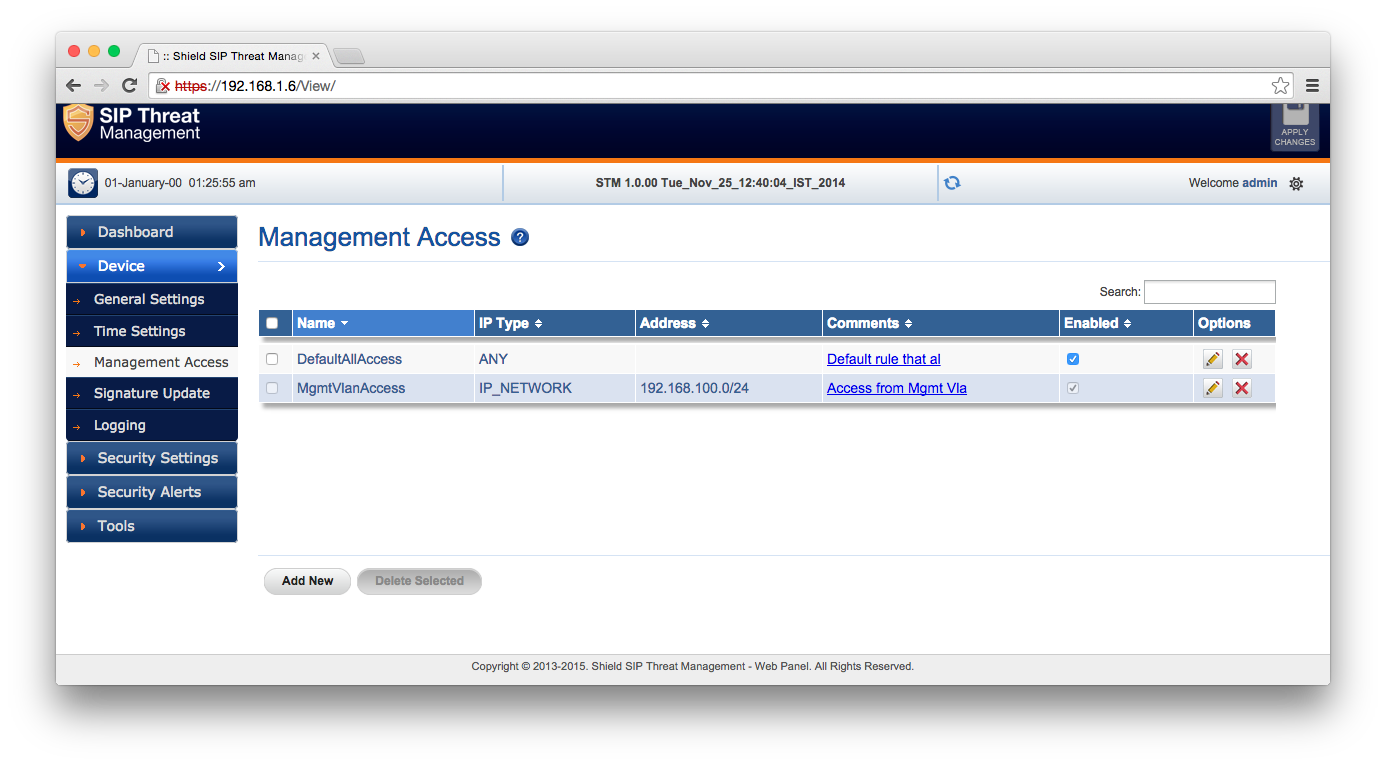
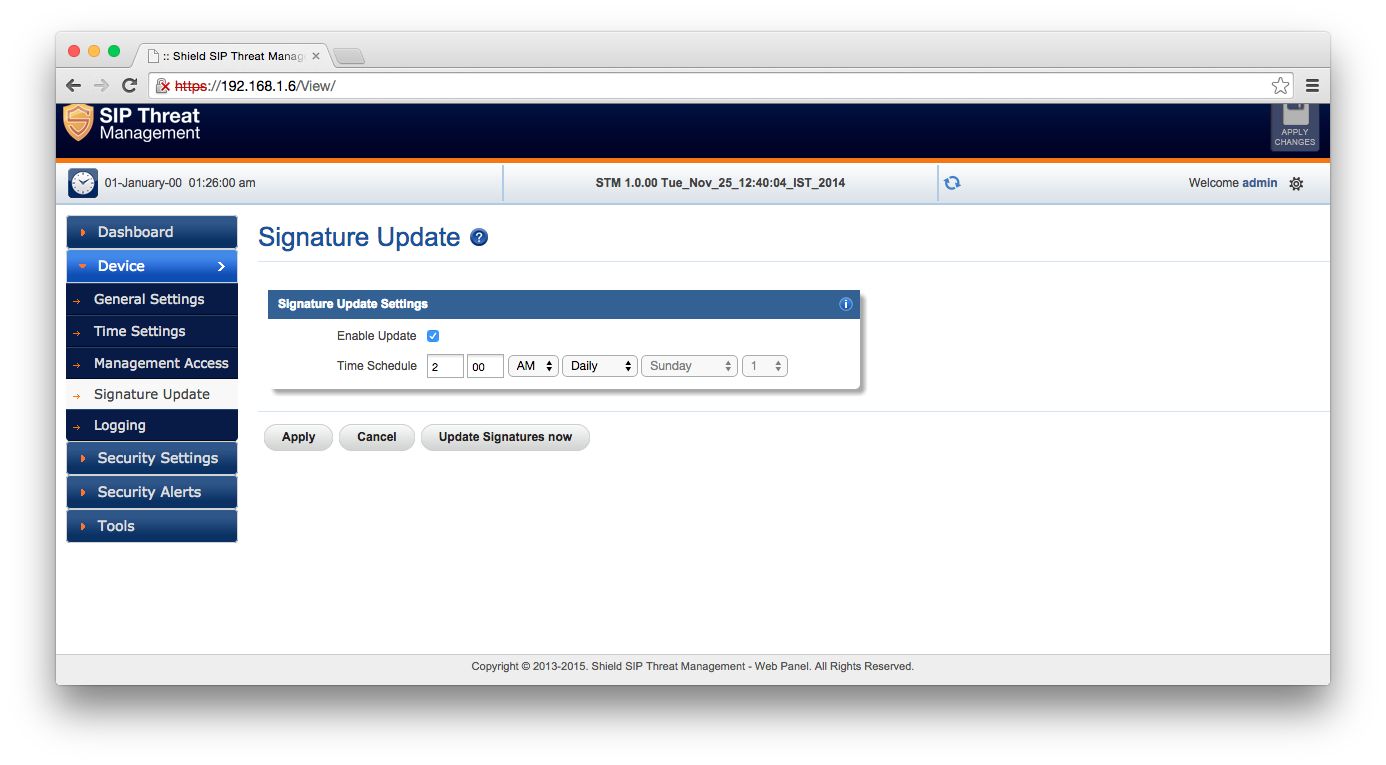
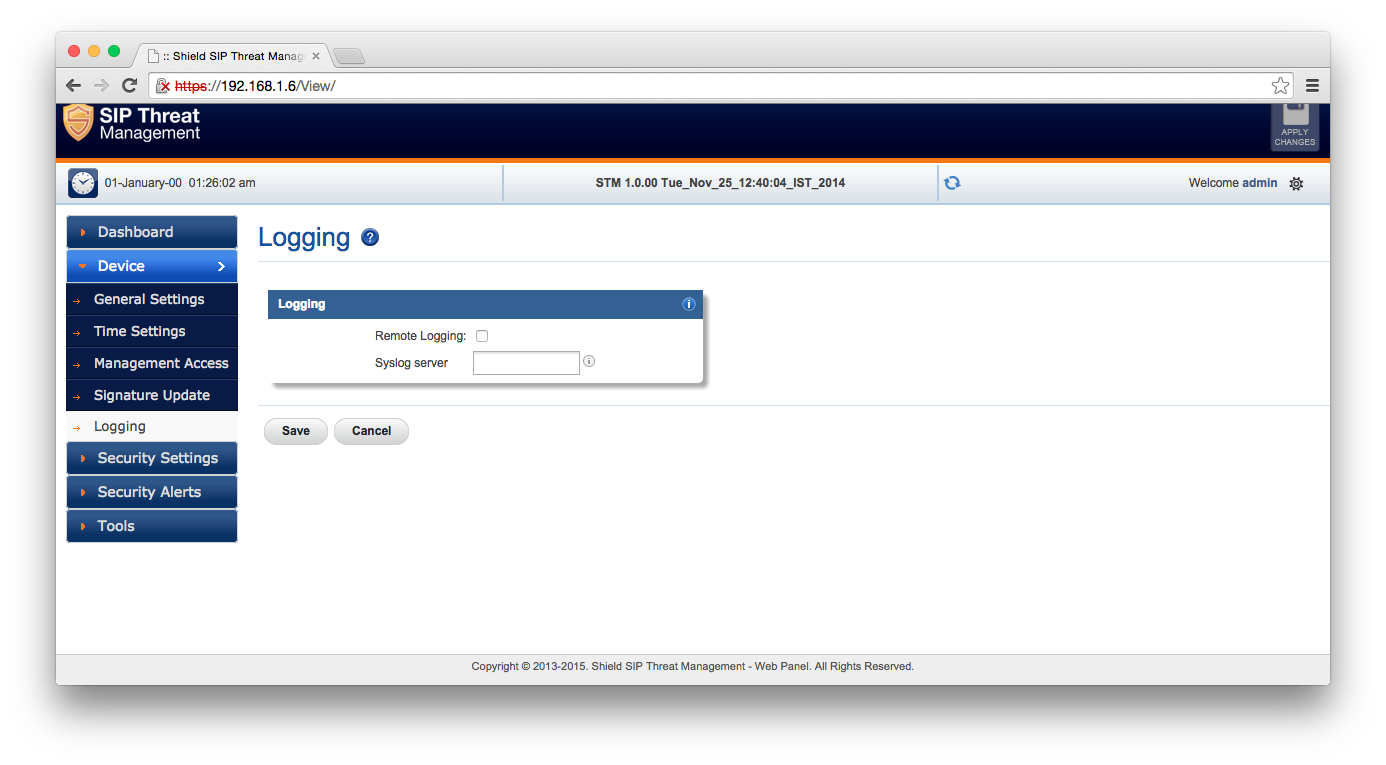
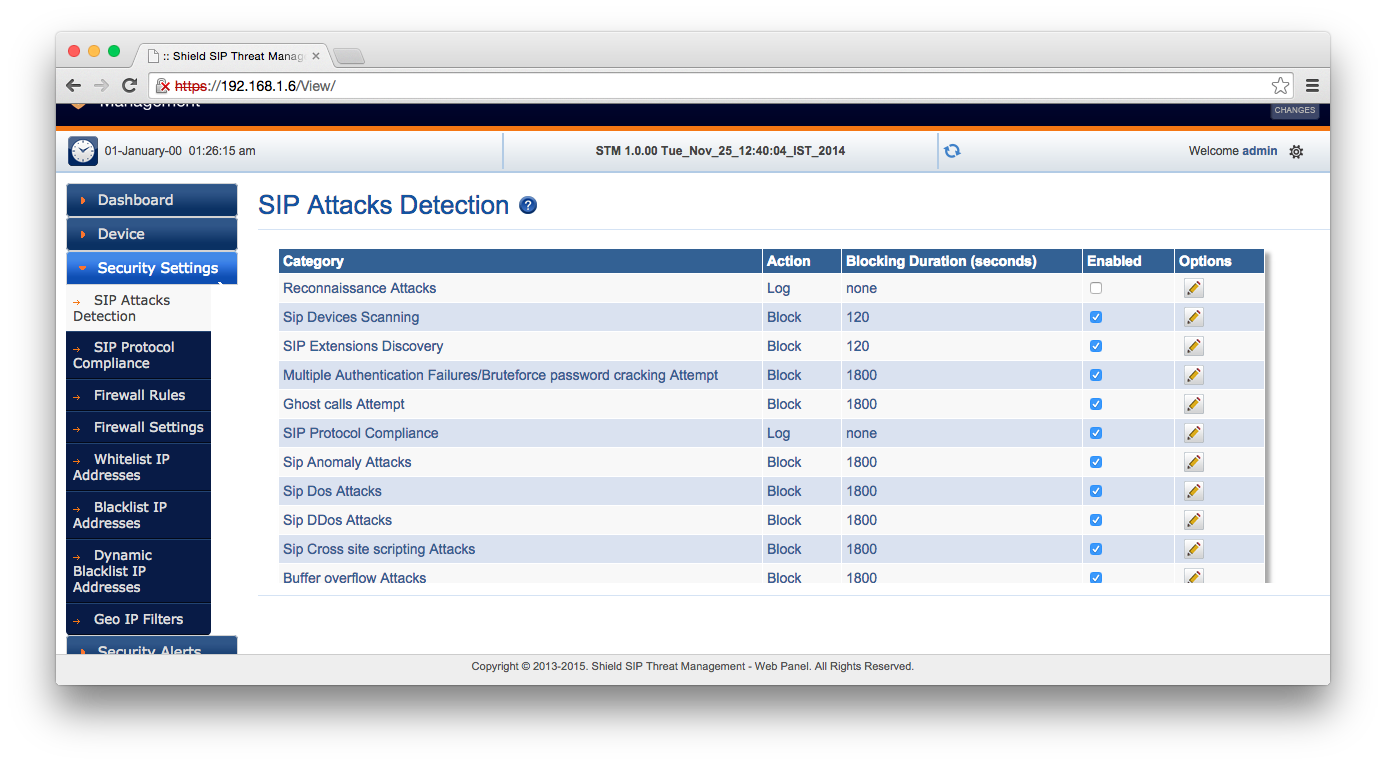
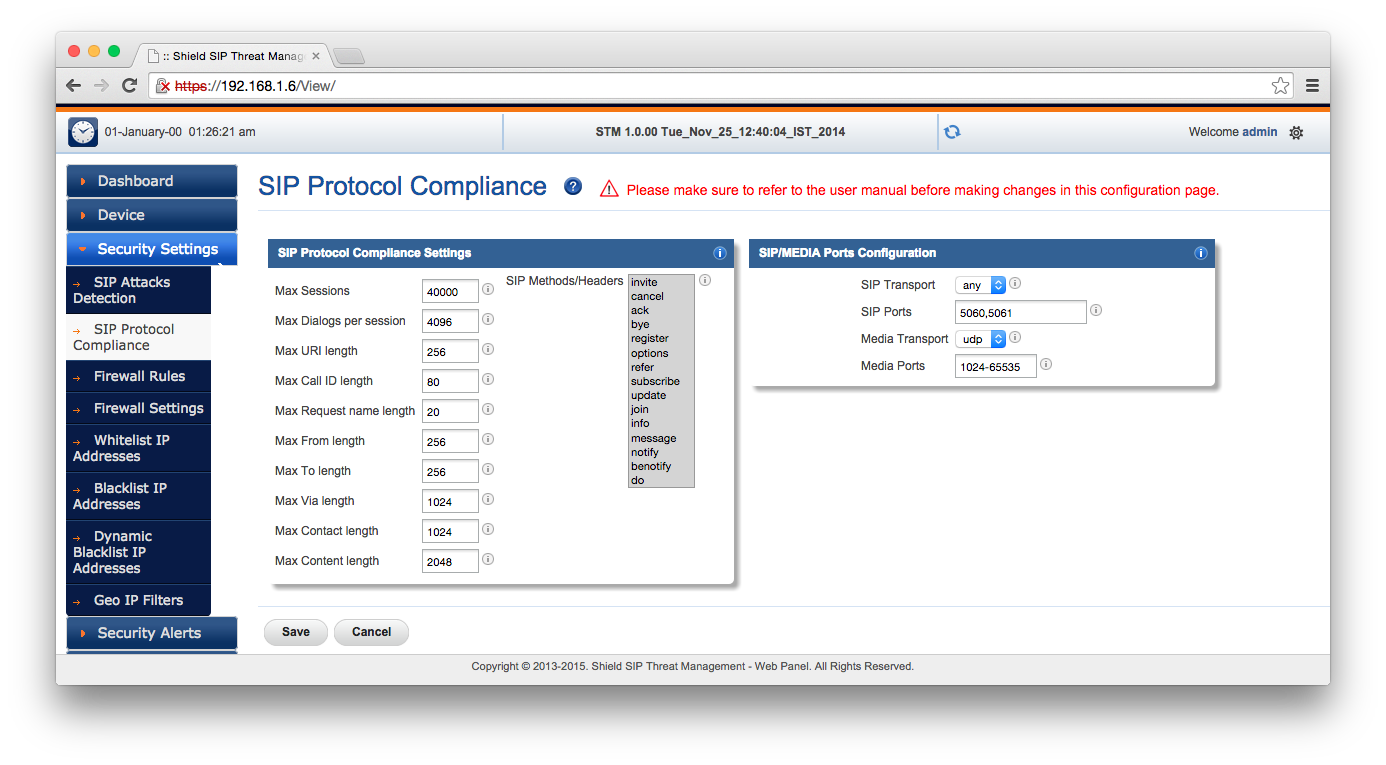
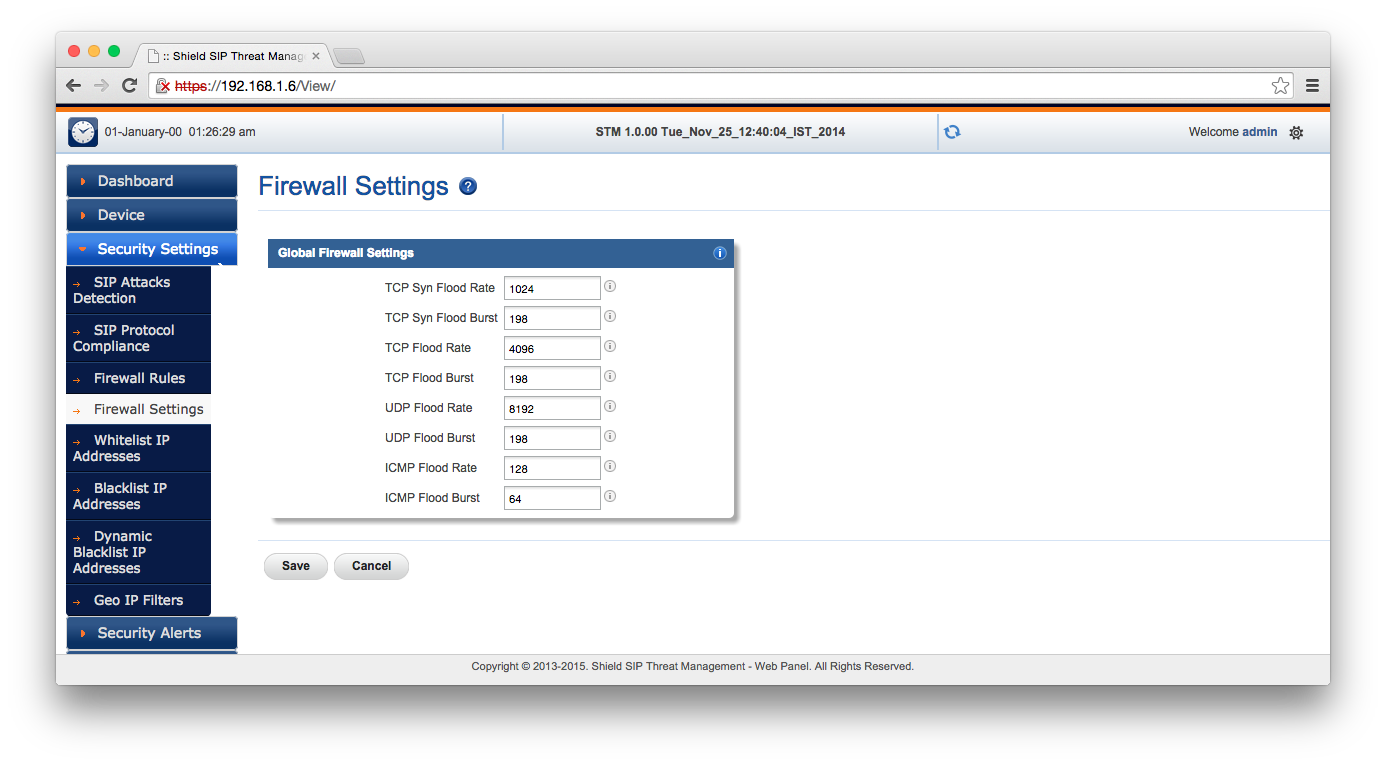
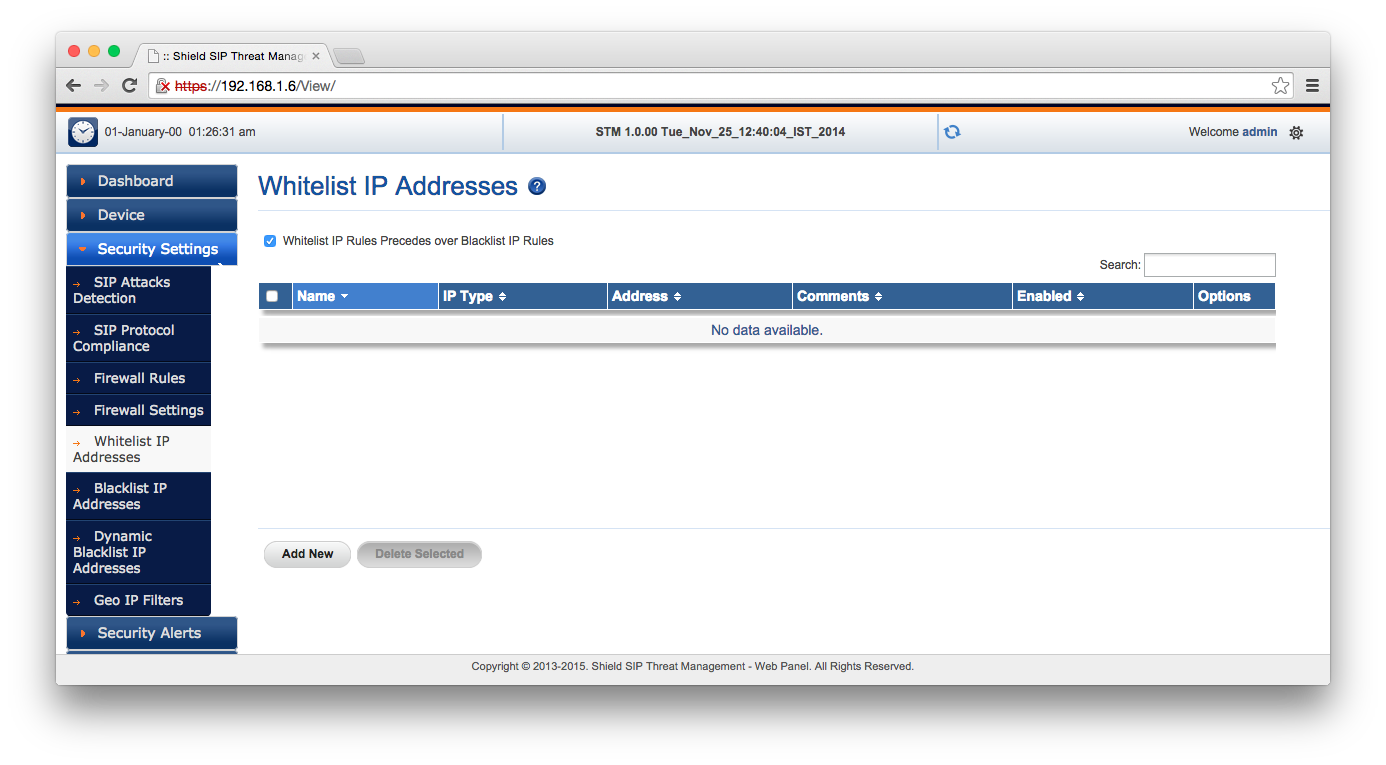
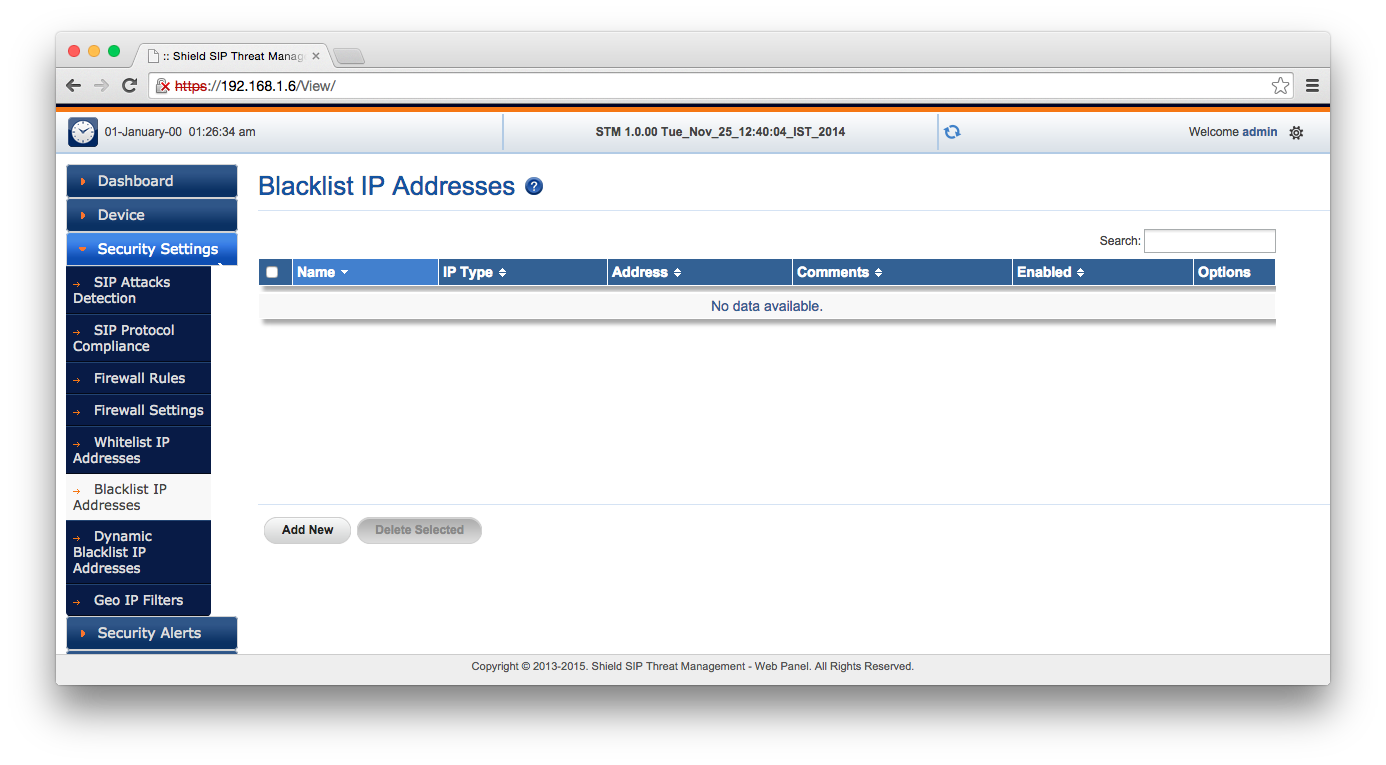
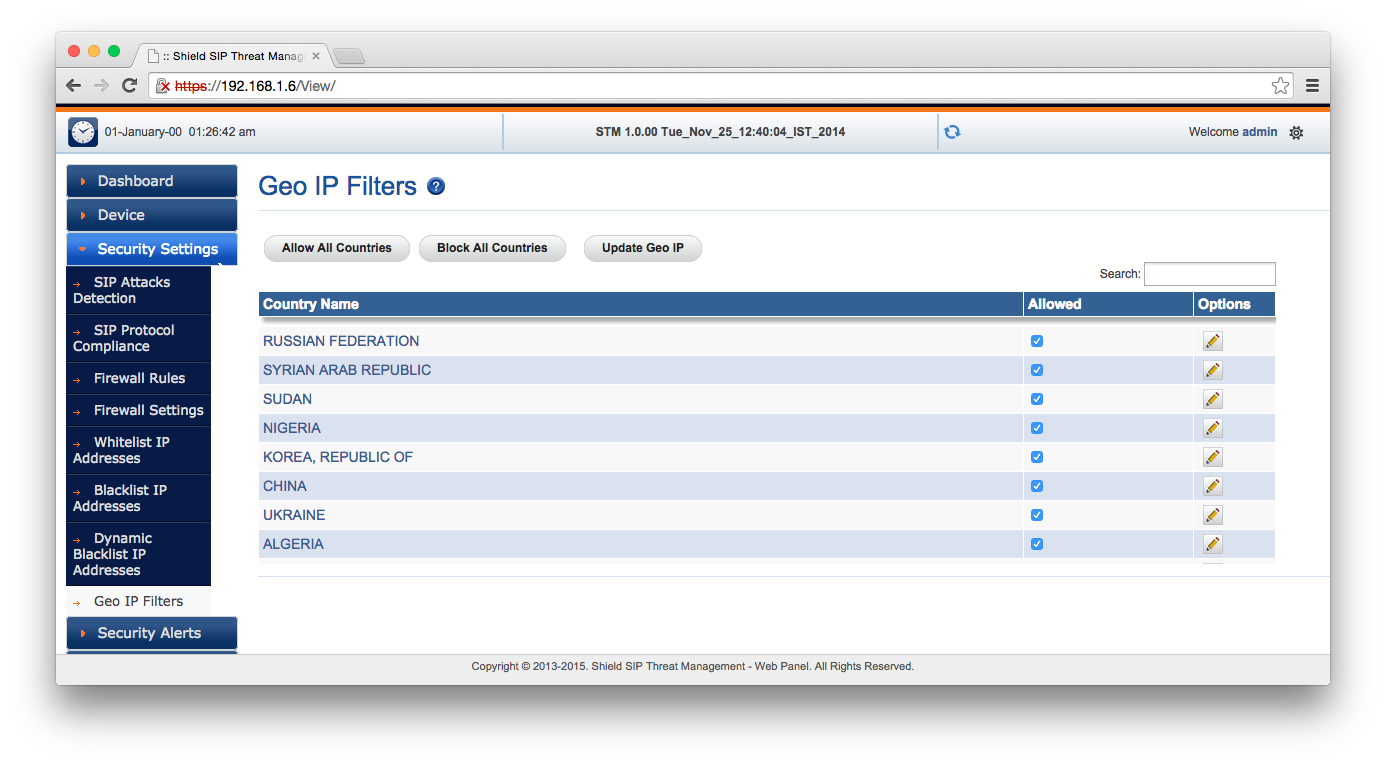
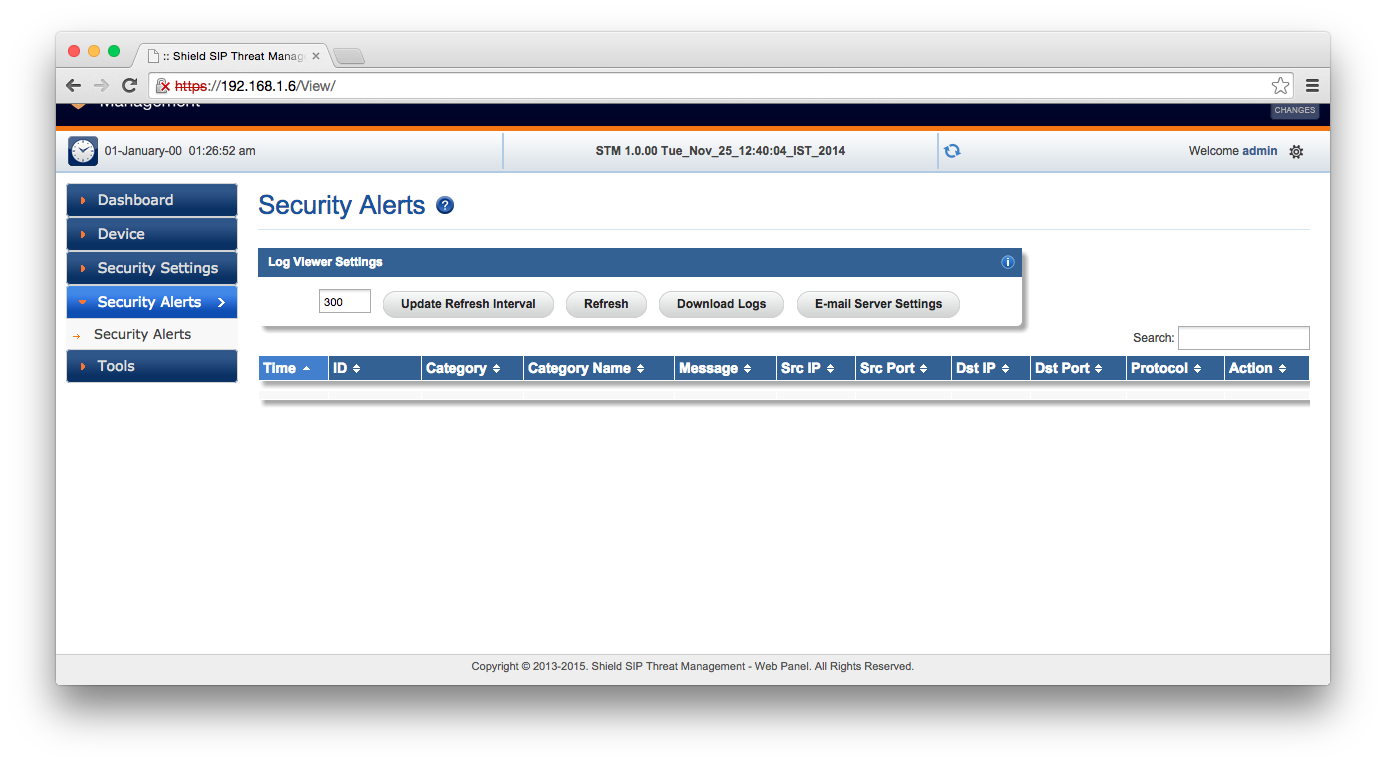
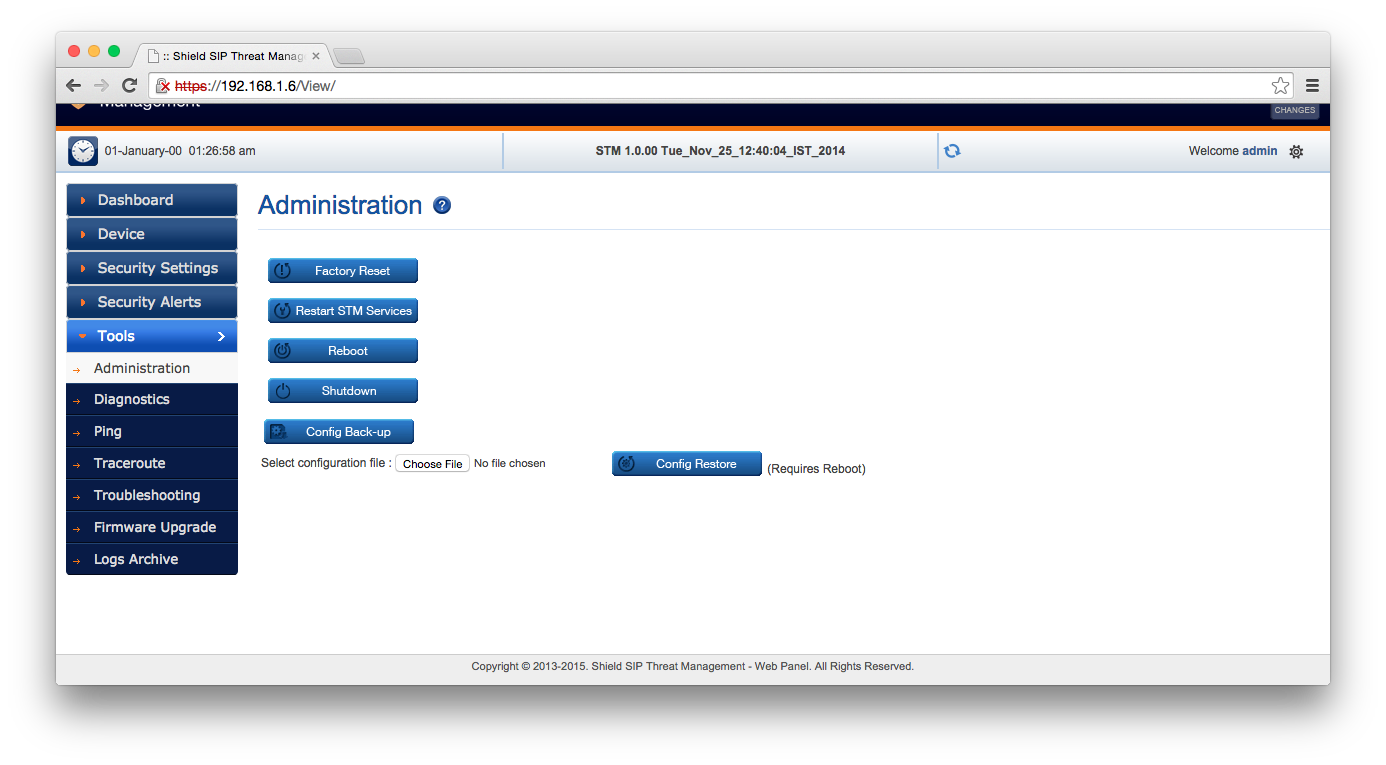
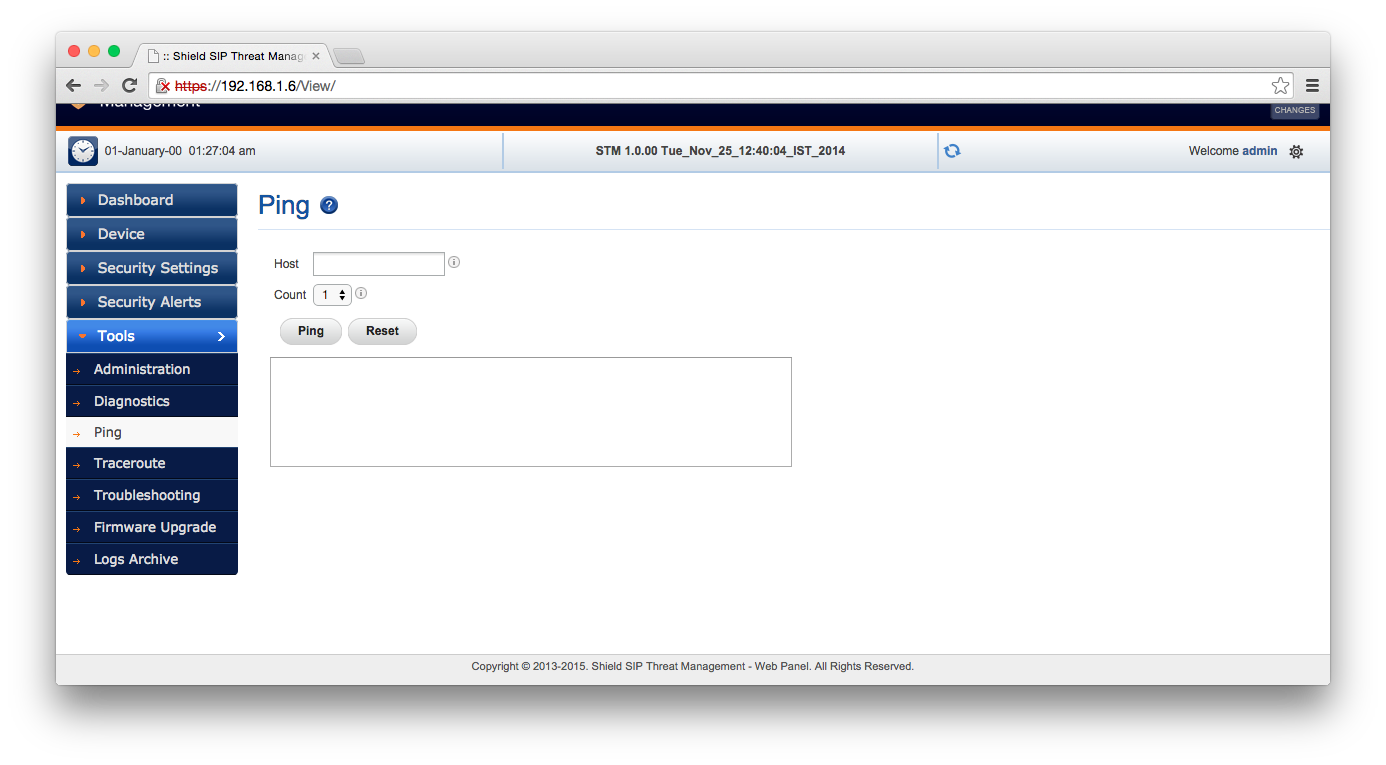
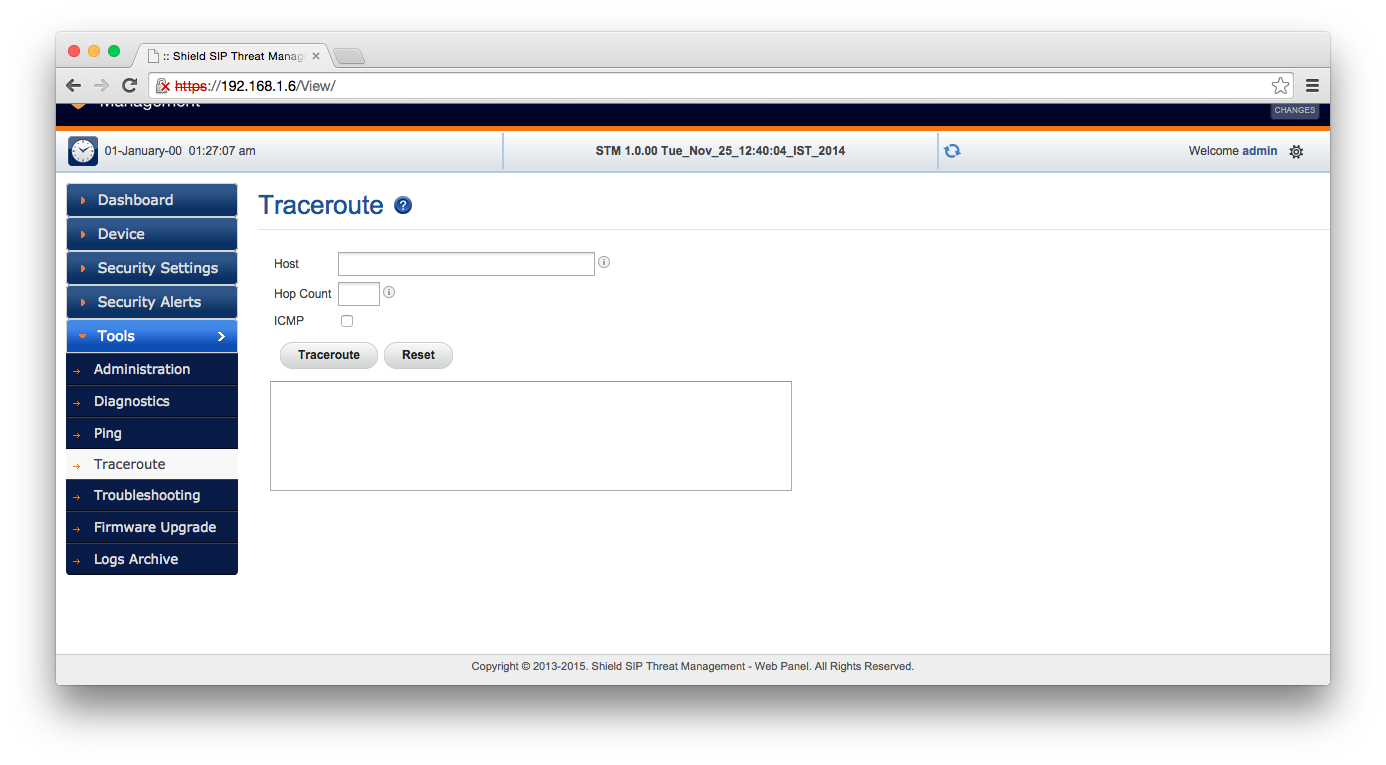
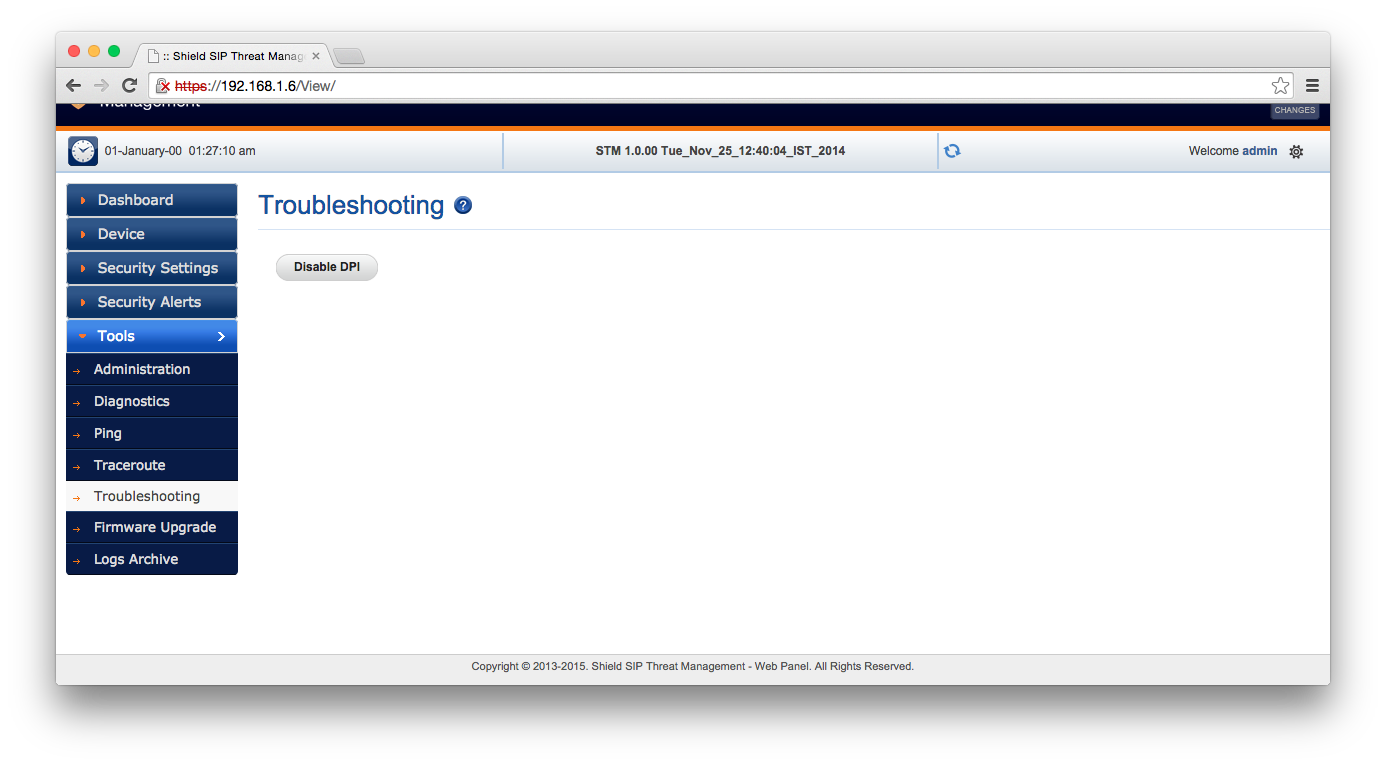
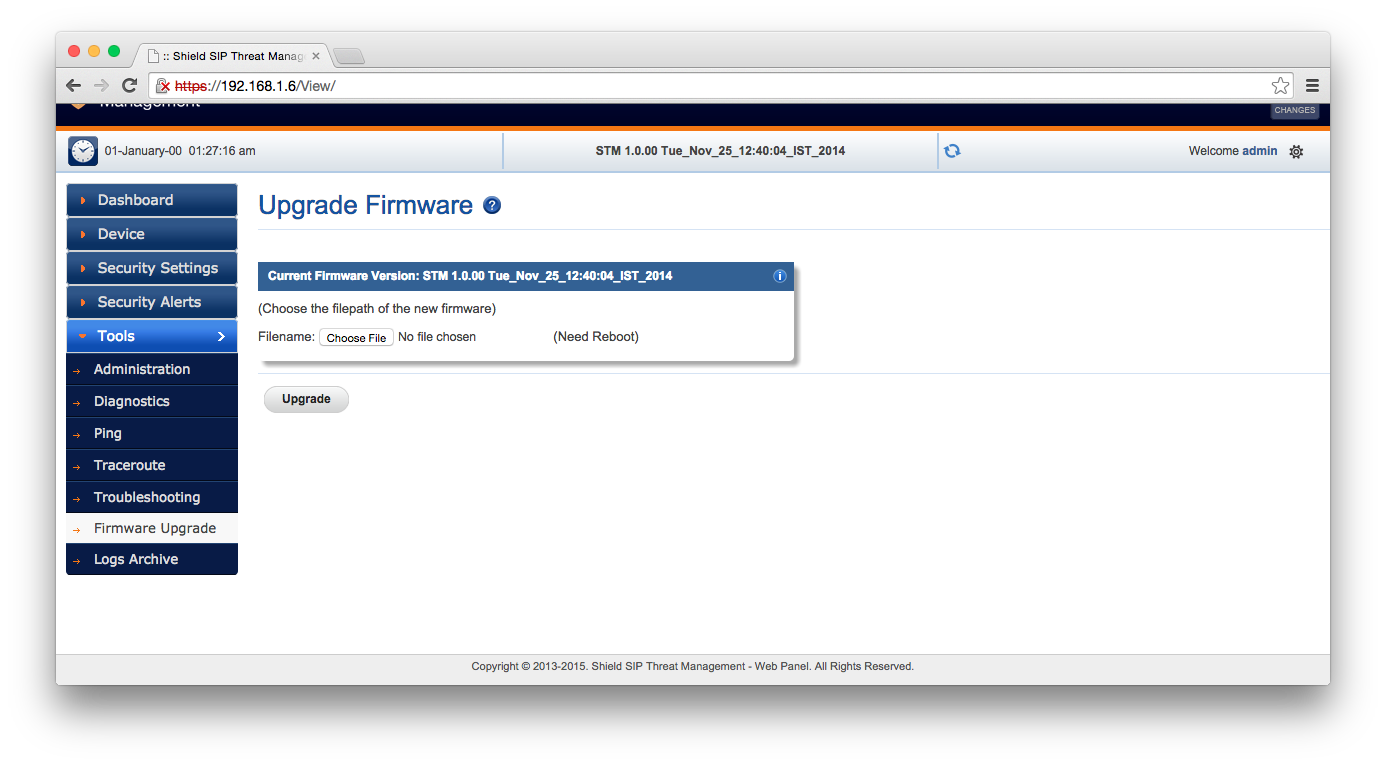
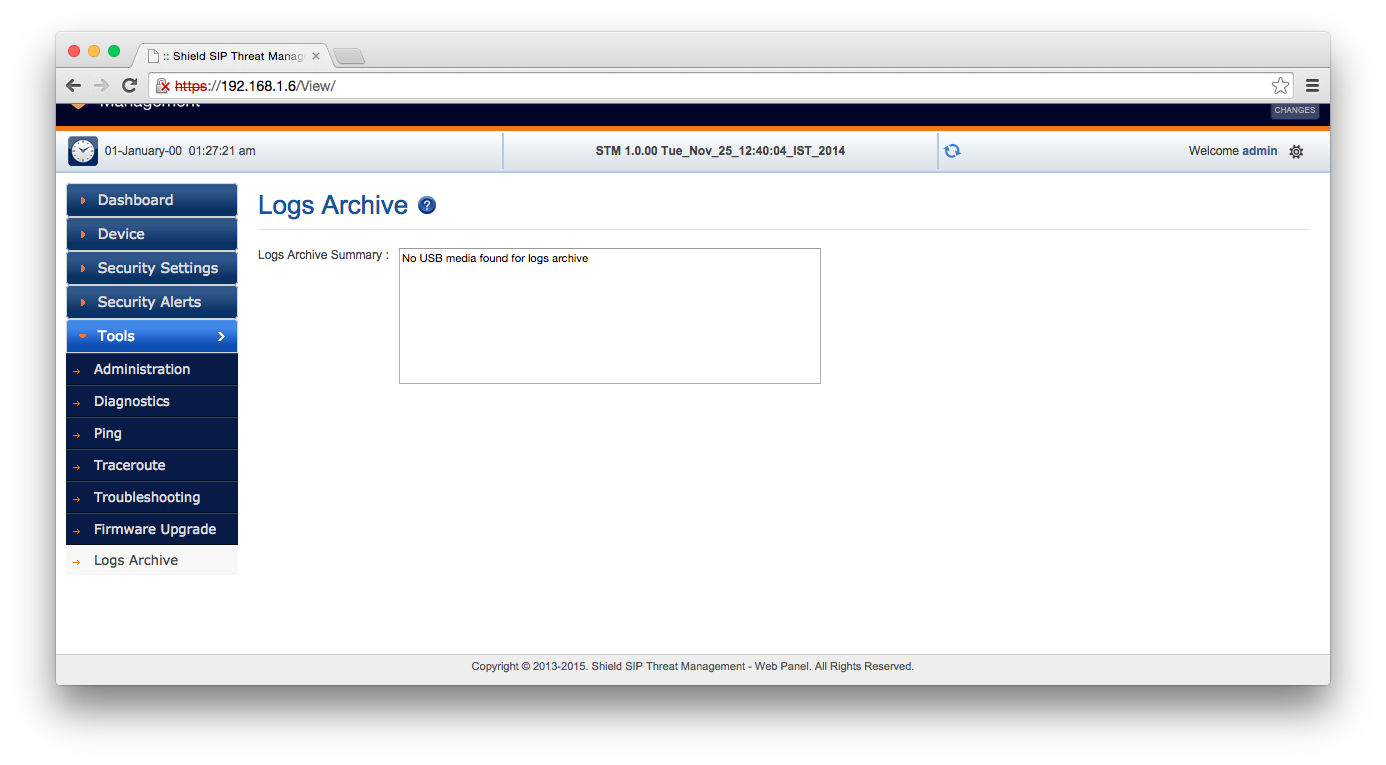
I quickly screen captured the available settings so that you can click through them. Some of these are SIP-specific, and others of which are general firewall features. One of the more interesting features which you can’t set up with iptables is location-based IP filtering. This could, for example, block problematic SIP calls coming from fraud hotspots in areas where your organisation doesn’t operate.


So once the network is set up on the STM, no changes need to be applied to your SIP server, other than its gateway or IP.
Notes
Whilst this box works as it’s supposed to, I found it to have an un-polished user experience.
- The network interface labels on the box had a label over them with the opposite information.
- The box is closed on port 80: It doesn’t reply to HTTP requests, even to redirect them to HTTPS.
- The command prompt wasn’t as useful as other network devices.
- I couldn’t get SSH login or NTP to work, although I didn’t investigate these in great detail.
- The LAN interface (but not the WAN interface) did not light up when connected to a Gigabit POE network, but did work on a 100 megabit network.
However, there are some positives: The 100 Mbit/s interfaces are more than sufficient for voice traffic, the configuration was simple, and USB is a good choice of power supply for equipment which can be connected directly to a server.
Do you really need another box?
This depends on your setup. If your VOIP server doesn’t speak to the Internet, then this box won’t fit into your topology.
If it only sees the outside world via an ISP-run SIP trunk, then this type of security is probably not necessary either. Security measures you would use instead are:
- Use firewall rules to restrict connections so that only the SIP trunk can speak to your VOIP server.
- Configure your VOIP server to “stay on the line” for calls (
directmedia=noin Asterisk) so that the phones do not speak directly to the trunk, and disallow registration from the Internet.
If your VOIP server accepts connections from the public internet throgh SIP, then some sort of separate, SIP-aware firewall or proxy is highly advisable.
Acknowledgement
Thanks to Allo (allo.com) for sending in the box which is used for this example setup.