I recently put together a small form factor PC to use with my TV, with the aim of building a Linux-based, console-like gaming setup. This mostly went to plan, and is certainly a big upgrade from my previous hardware, which was based on a retired desktop computer.
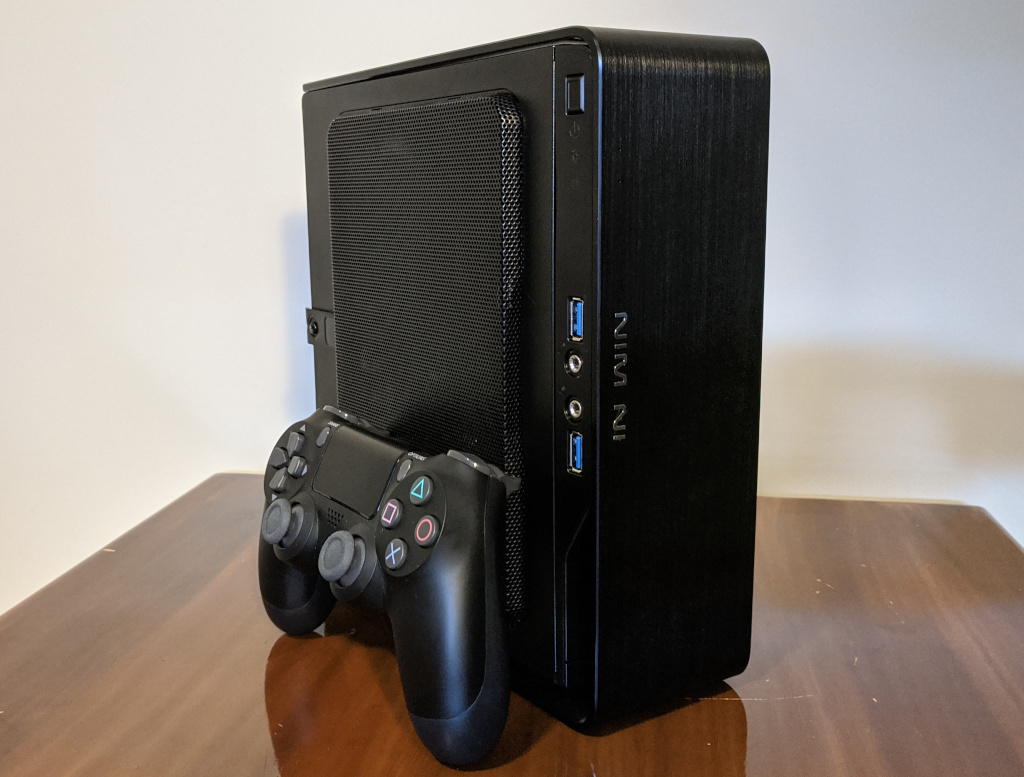
I am writing a bit about it today, partly because it’s been an interesting project, but also to show a working setup for anybody who is attempting something similar.
Quick reference
The build is based around these components (PC part picker list here):
- In Win Chopin case
- AMD Ryzen 5 3400G CPU
- Gigabyte B450 I AORUS PRO Motherboard
- Noctua NH-L9a-AM4 Cooler
- Corsair Vengeance LPX 16 GB (2x8GB) DDR4-3200 RAM
- Samsung 970 Evo 1 TB
Peripherals:
- Sony DualShock 4 controller - Works over Bluetooth and can be used as a touchpad.
- 8BitDo SF30 Pro controller - Also works over Bluetooth, and can emulate an Xbox controller.
- Logitech K400R wireless keyboard/mouse
Hardware setup
This is the smallest PC I’ve built with desktop parts, and there is not a lot of spare space in the case. I first put everything together on my desk confirm that it would POST, then disassembled the case to make some modifications.
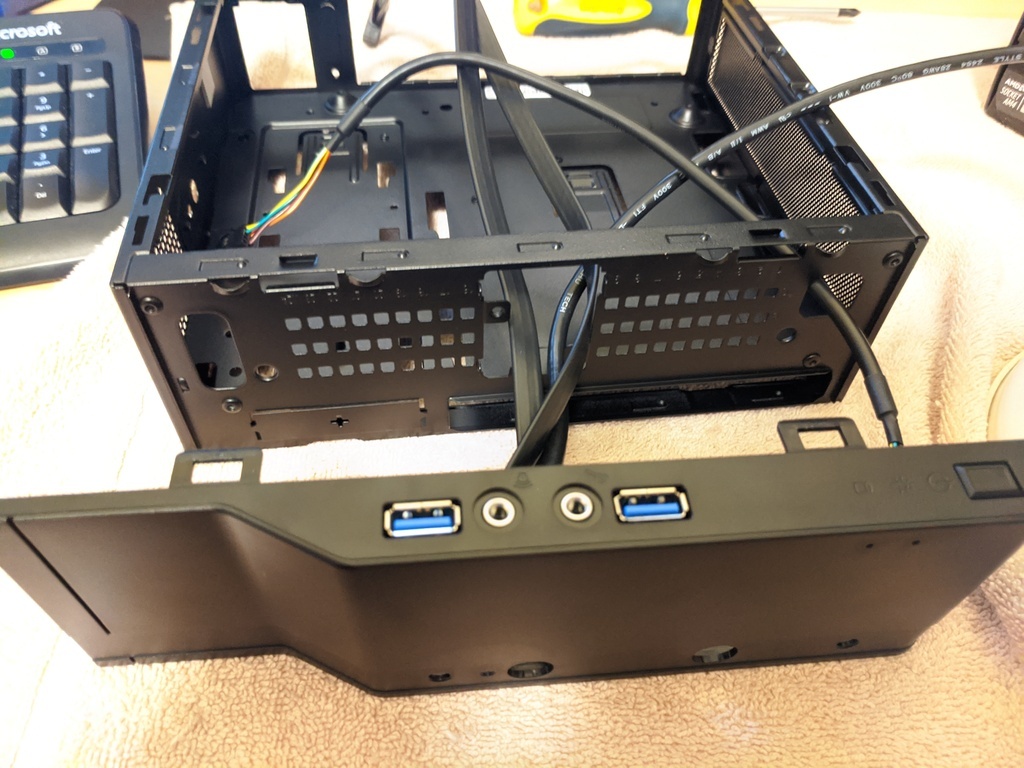
Three screws hold in the power supply, two torx screws hold the aluminium shell to the chassis, and two Phillips-head screws and some tabs hold the plastic front panel cover to the chassis.
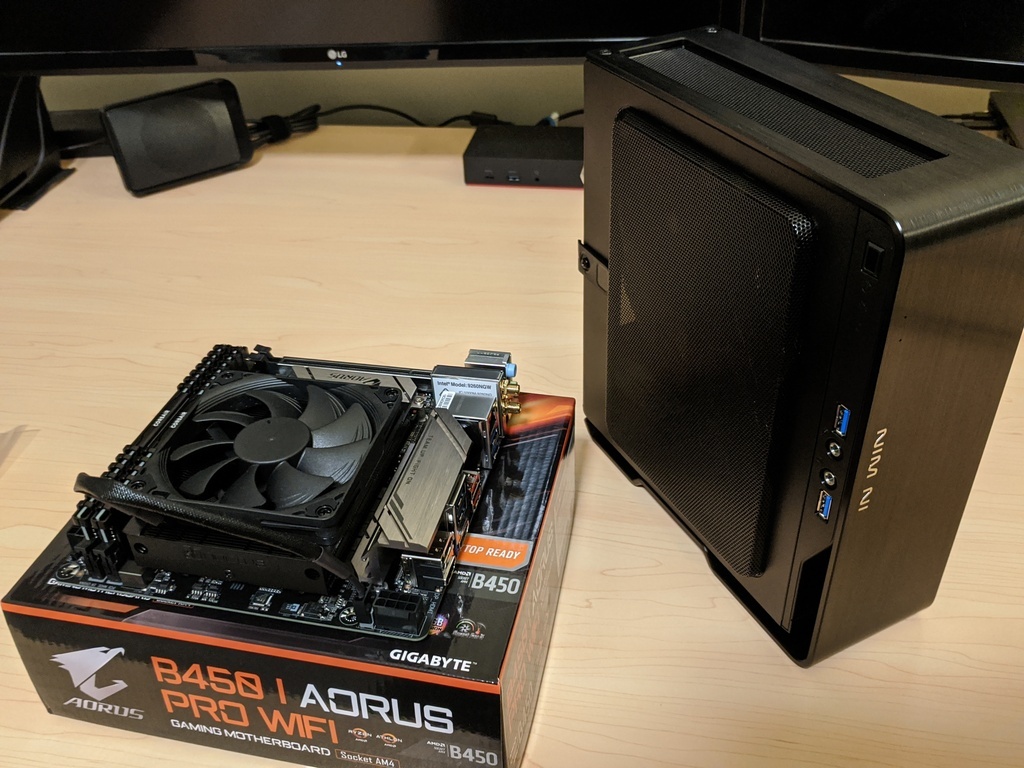
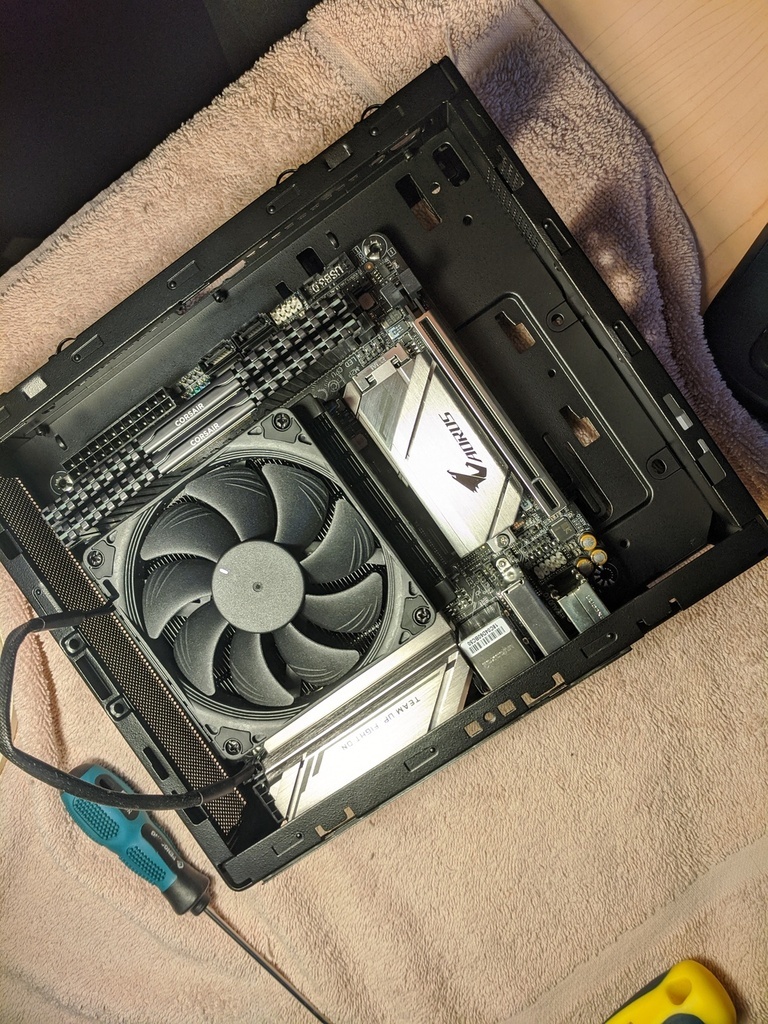
The motherboard almost fills the case, and a power supply has to fit in there as well.
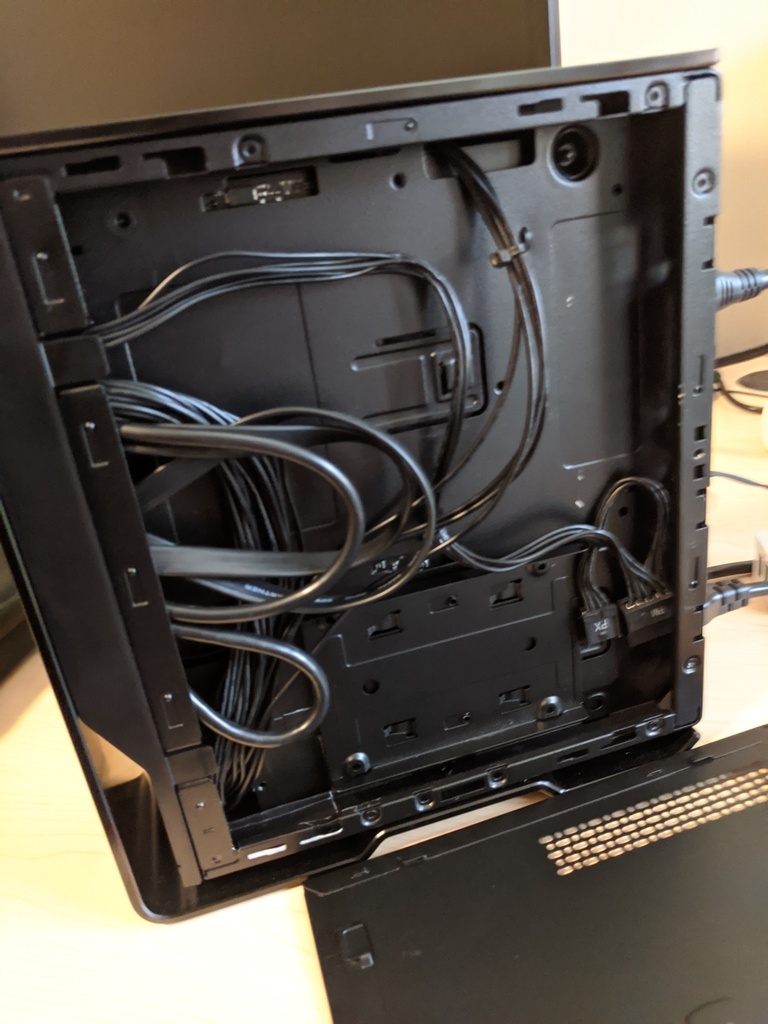
My plan was to route the power cables around the back of the case rather than leaving them in the main cavity. This involved cutting out a square near one of the drive trays for all of the power cables to exit, and another for the ATX power connector to connect to the motherboard. I also removed a metal tab from the power supply, since I had cut out the metal that it was supposed to be screwed to.
There was an existing hole which I could use for the CPU power connector, which was already the correct size.
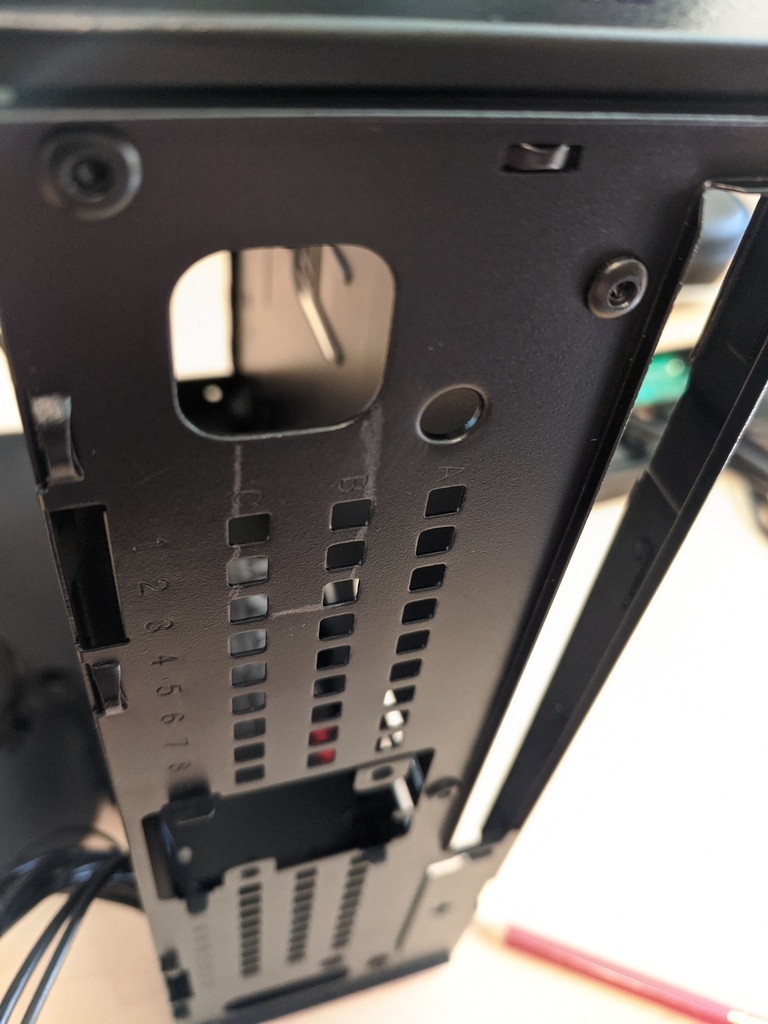
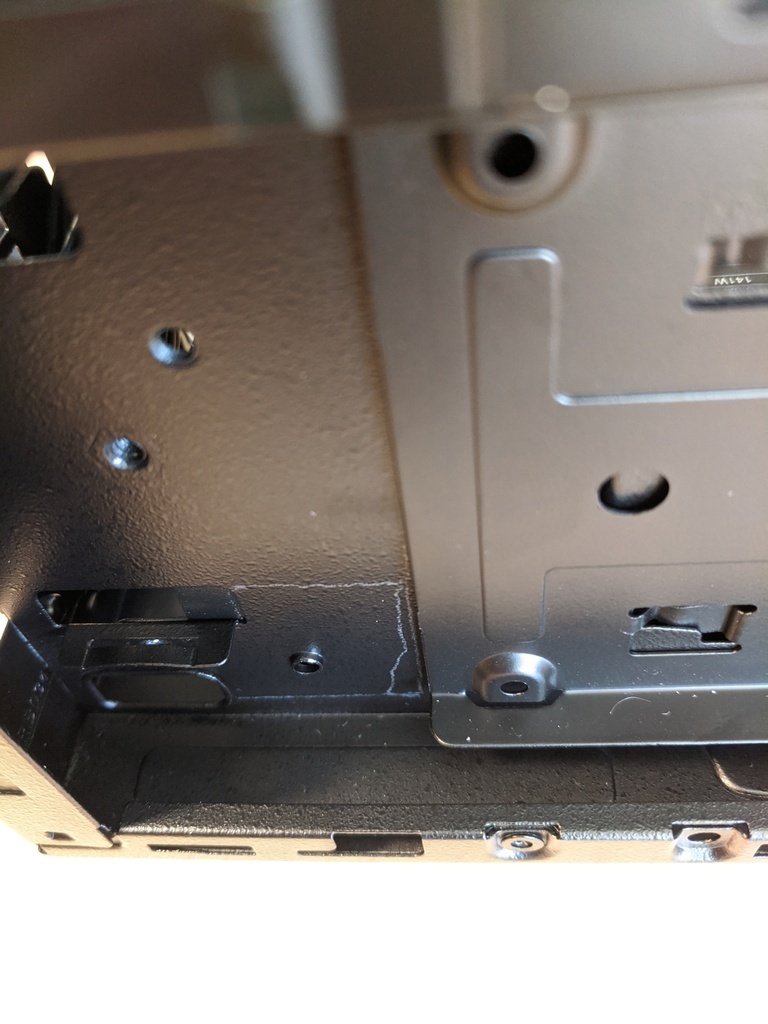
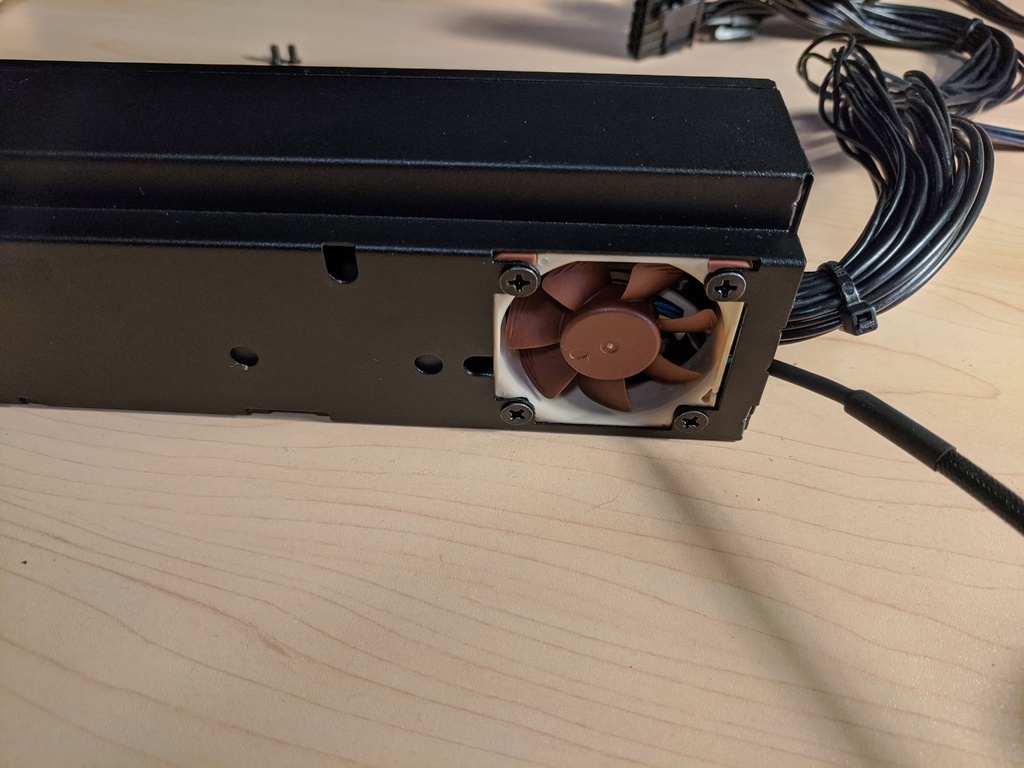
I then swapped the power supply fan for a Noctua A4x10 PWM so that I could control the fan speed from software. I do not recommend this, since it is unnecessary, and opening a power supply is an electrocution hazard.
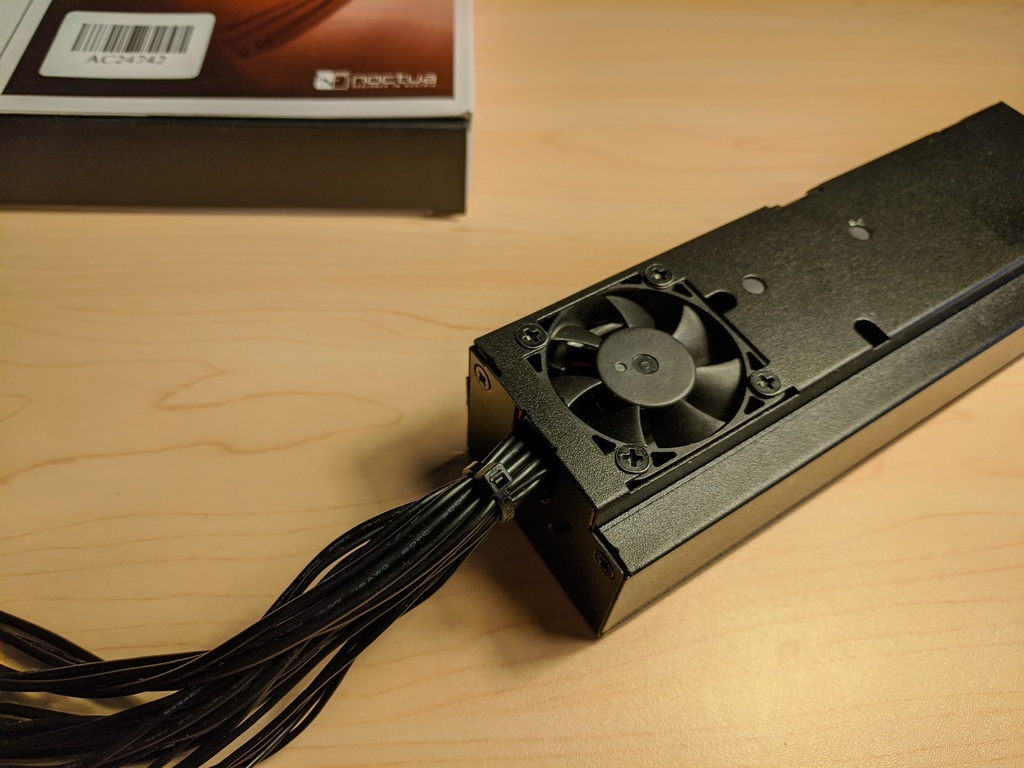
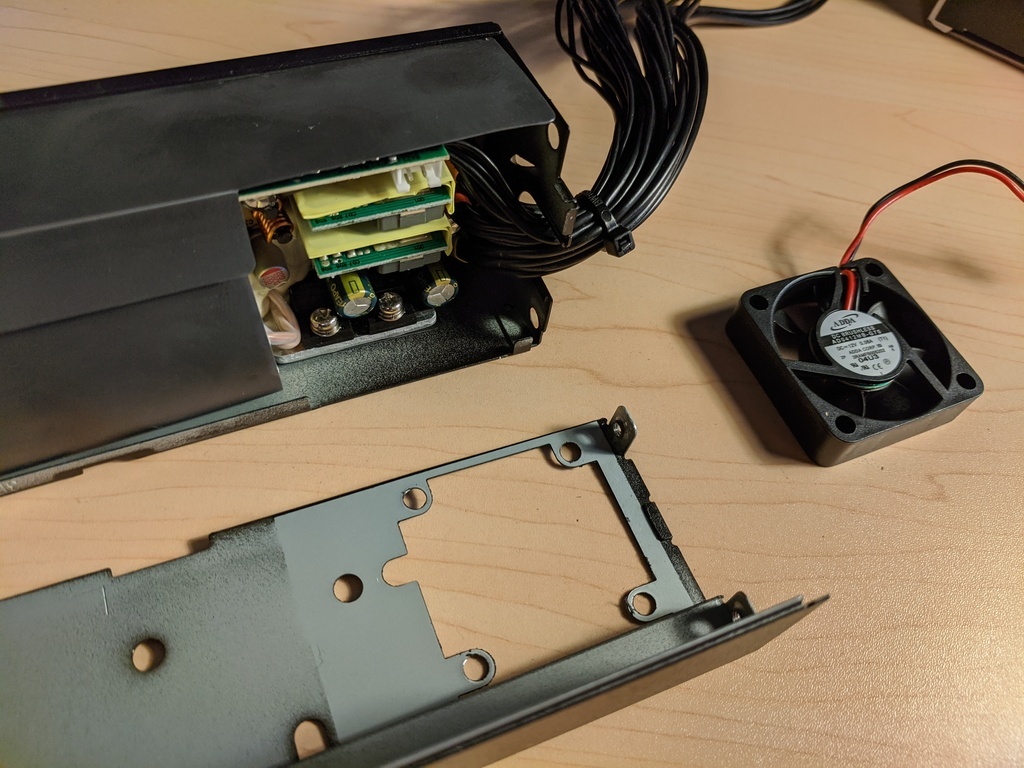
Next, I got all of the cables into place, since there is no space to do this after the motherboard is installed
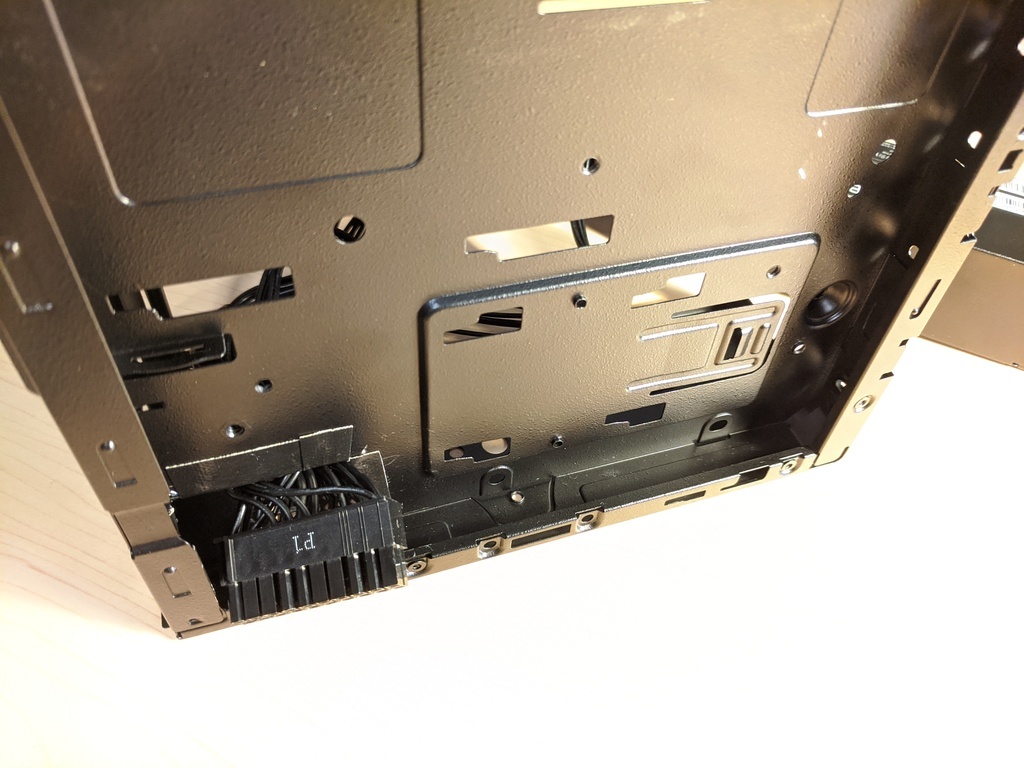
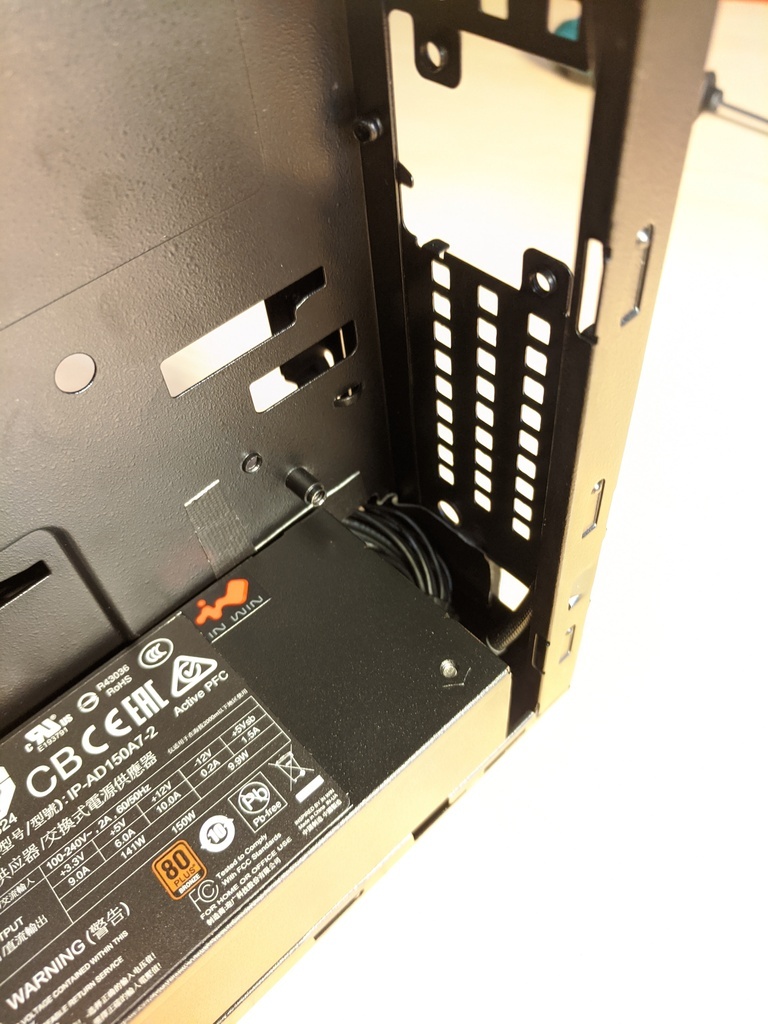
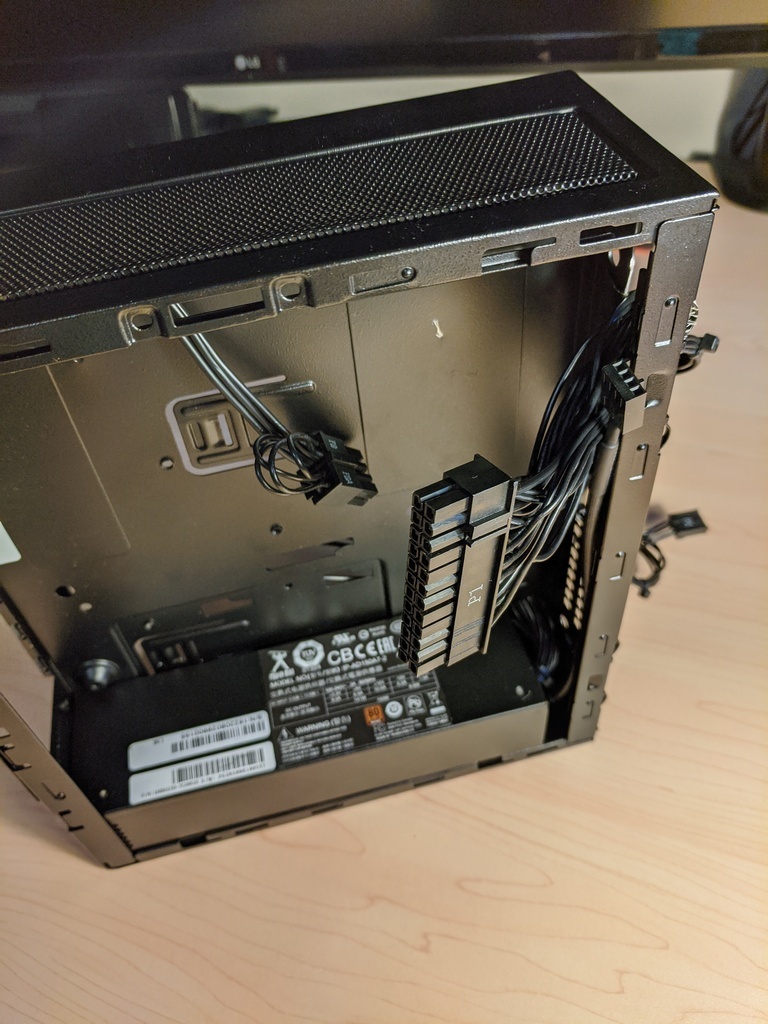
Once the power cables were in the right place, I added the motherboard, then connected the front panel I/O, feeding all of the excess cables to the space behind the case. This is a very tight fit, and I accidentally bent the case and squashed some cables before finally getting the plastic front panel to attach.
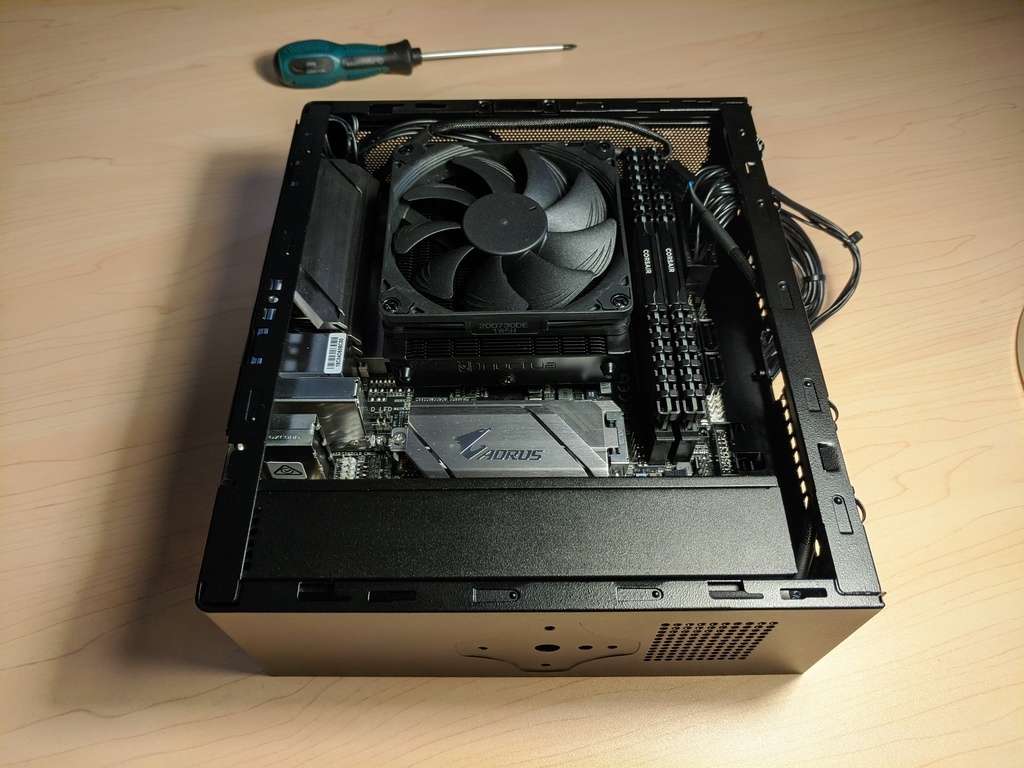
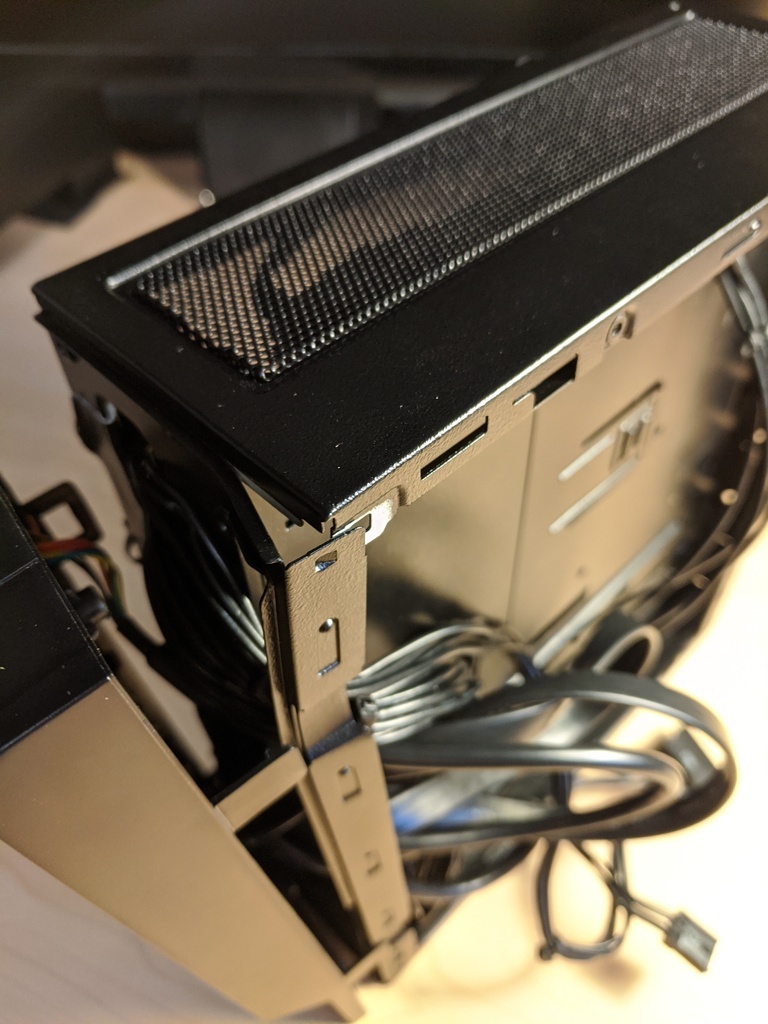
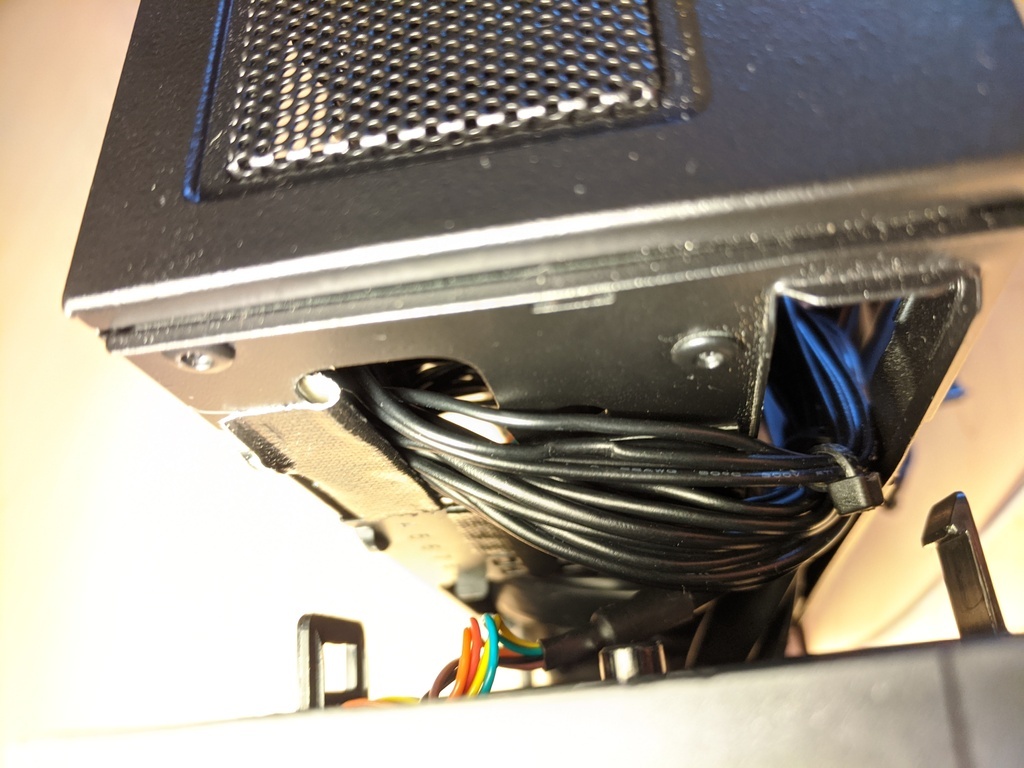
After finally lining everything up, I checked that the case closed, and re-attached the shell.
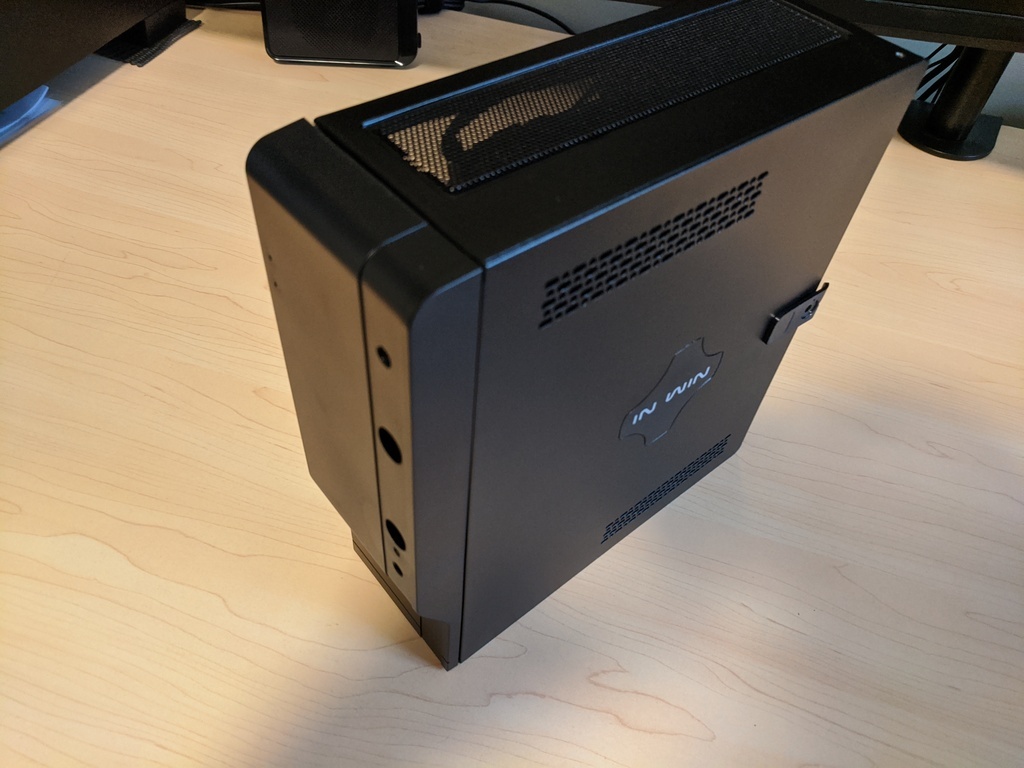
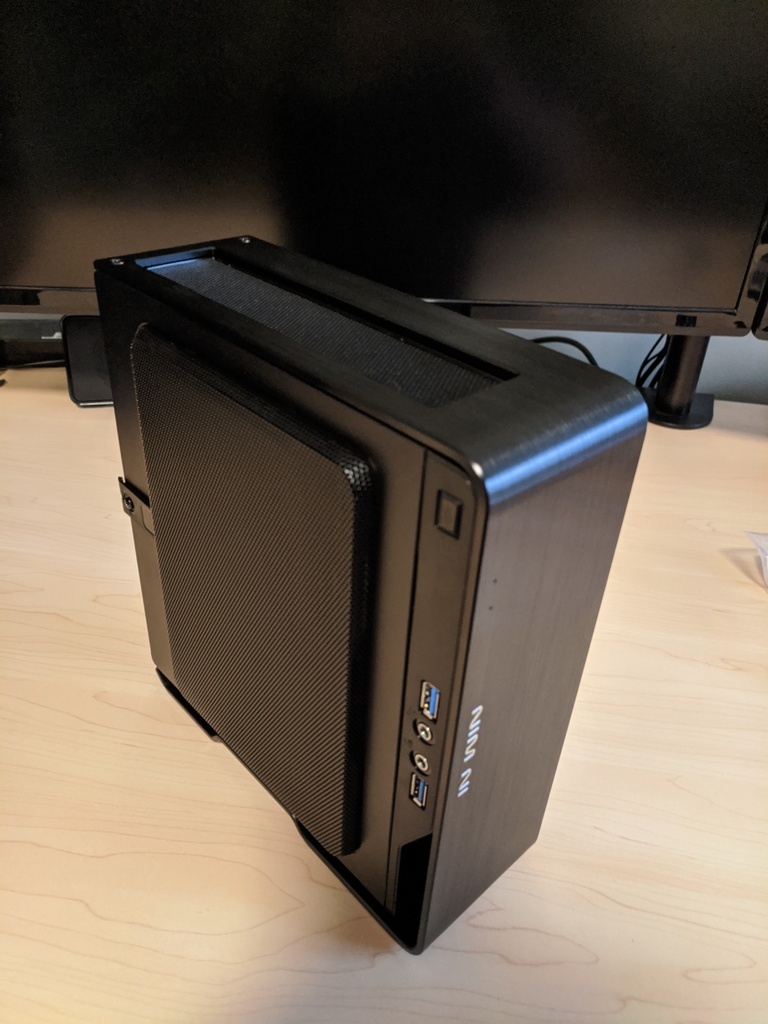
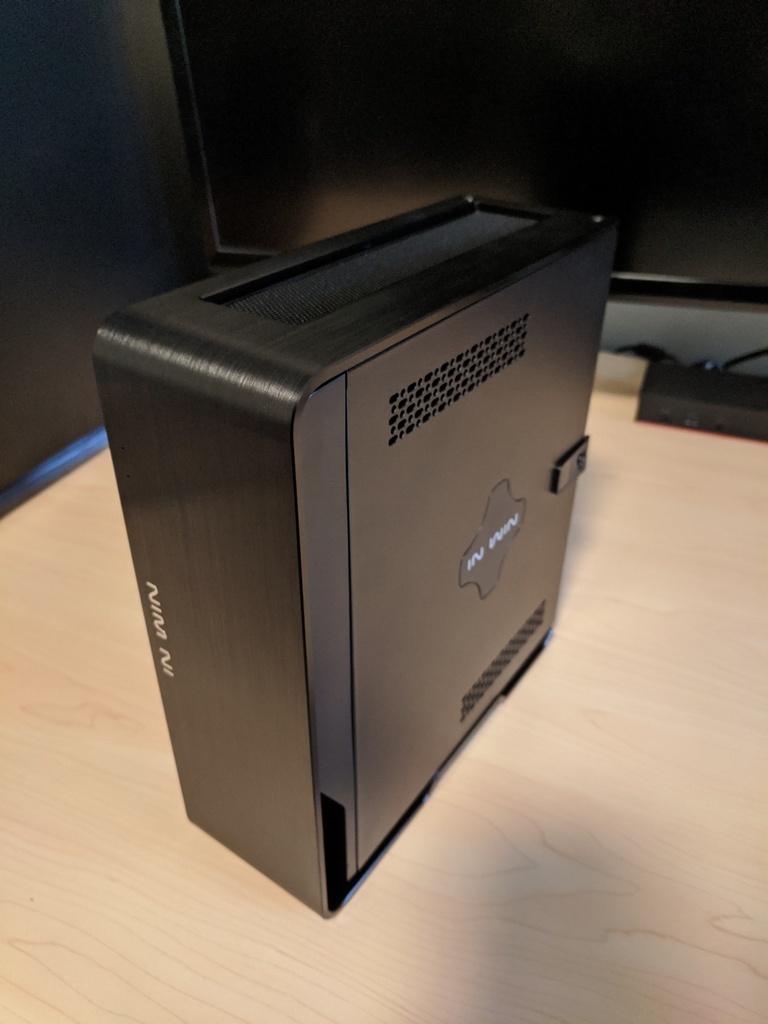
Lastly, I was able to re-fit one of the two drive trays, in case that is ever needed in future.
BIOS setup
This build uses integrated graphics, so the system memory is also being used as video memory. This means that RAM speed is more important than usual.
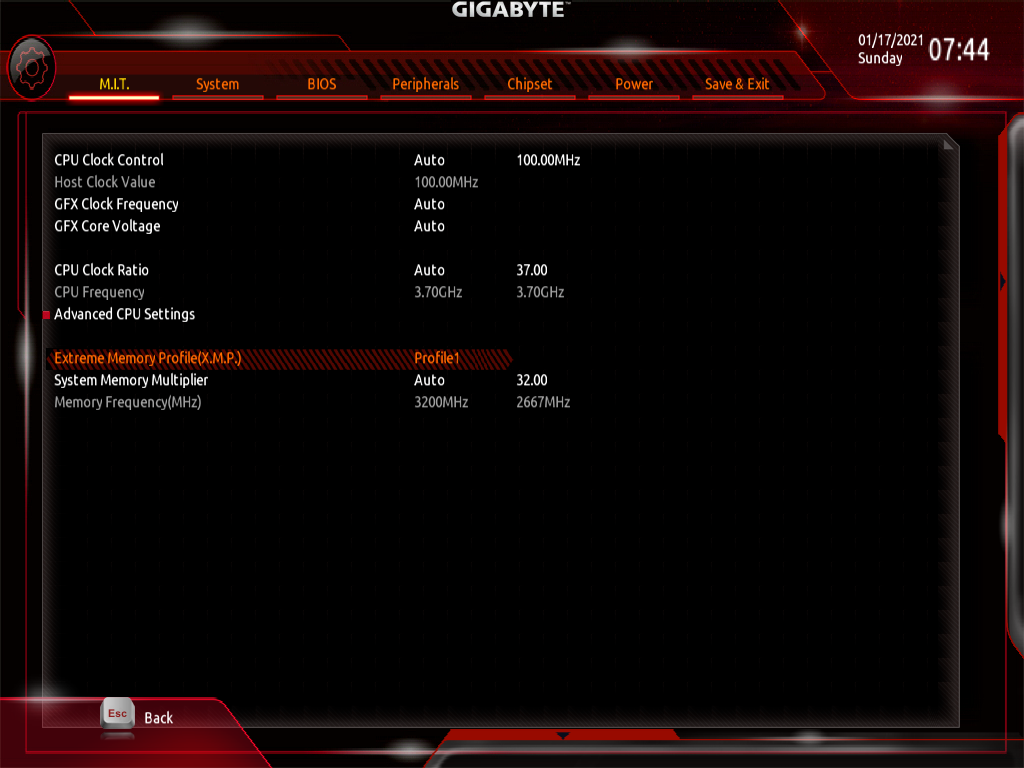
I enabled XMP to run the RAM at its rated 3200 MHz speed. This is higher than the highest officially supported speed of 2933 MHz for this CPU, but for me that was not an issue.
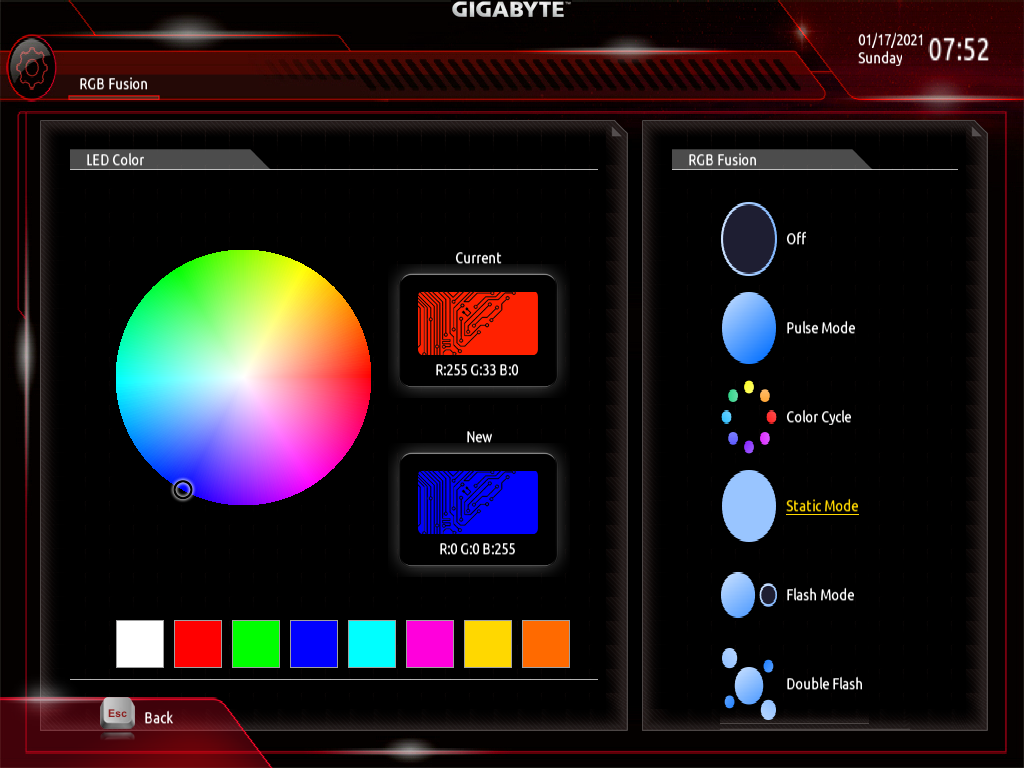
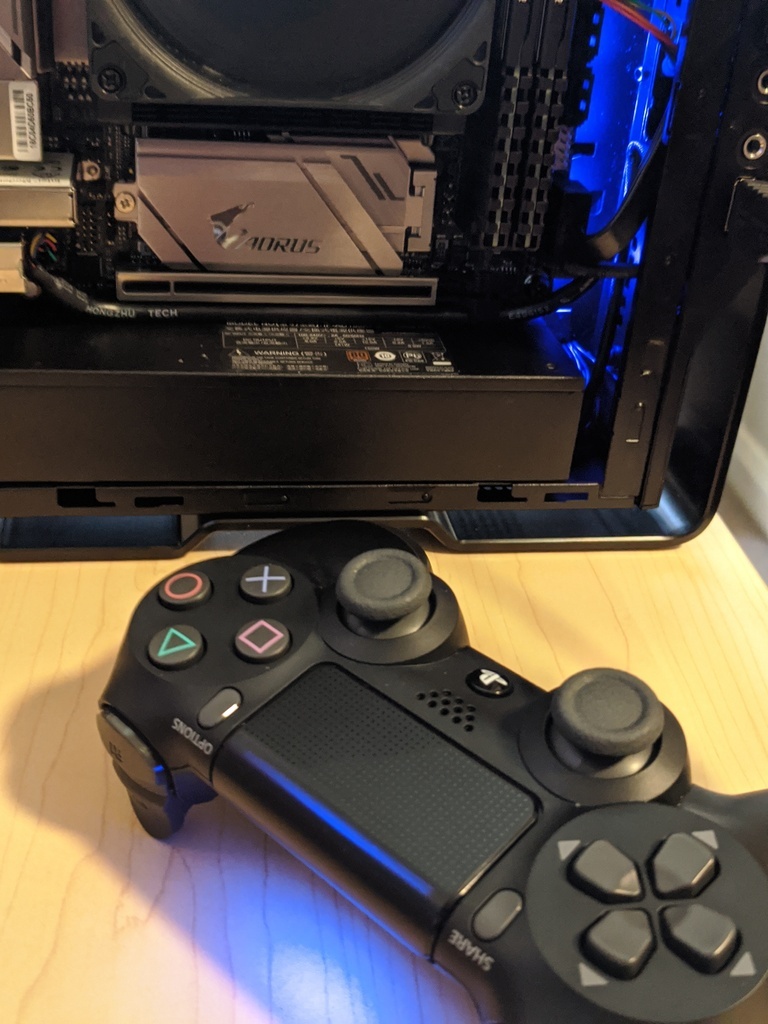
I set the built-in motherboard LED’s to blue, to match the default colour on the Sony DualShock 4 controller. This also meant that I would not need to get any RGB software working on Linux.
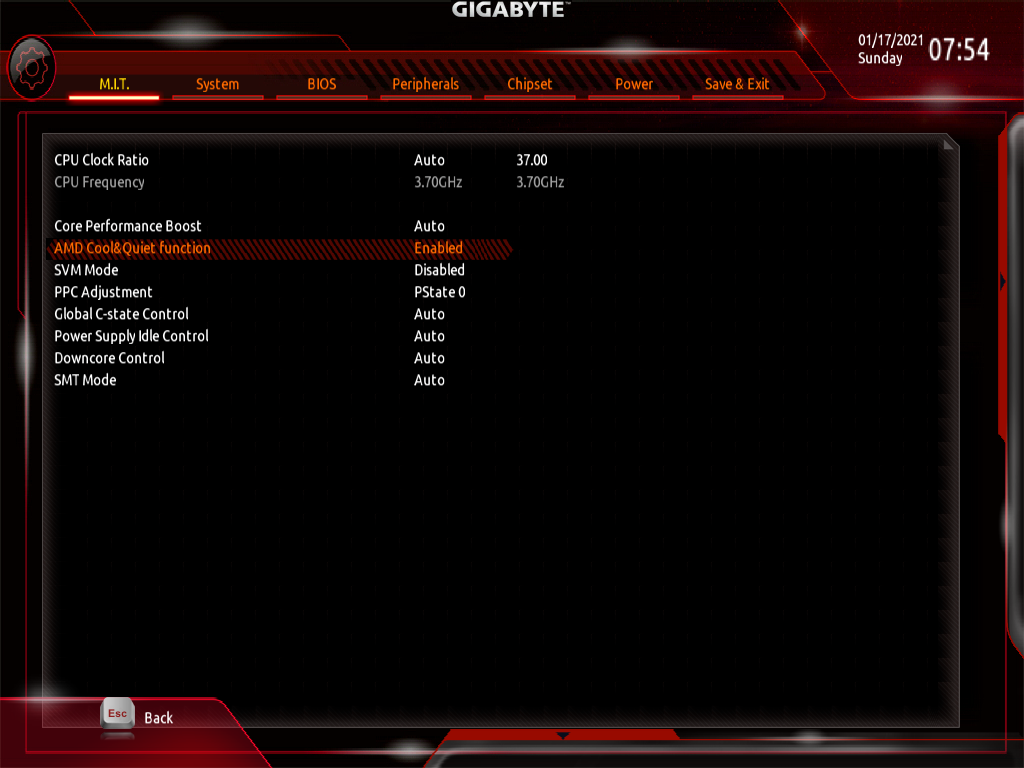
Some online sources suggest disabling the AMD Cool & Quiet function to get extra gaming performance, but I consider this advice to be out-dated, unless you’re overclocking. Instead, I am leaving this setting enabled, then automatically setting the CPU to ‘performance’ mode while gaming via software.
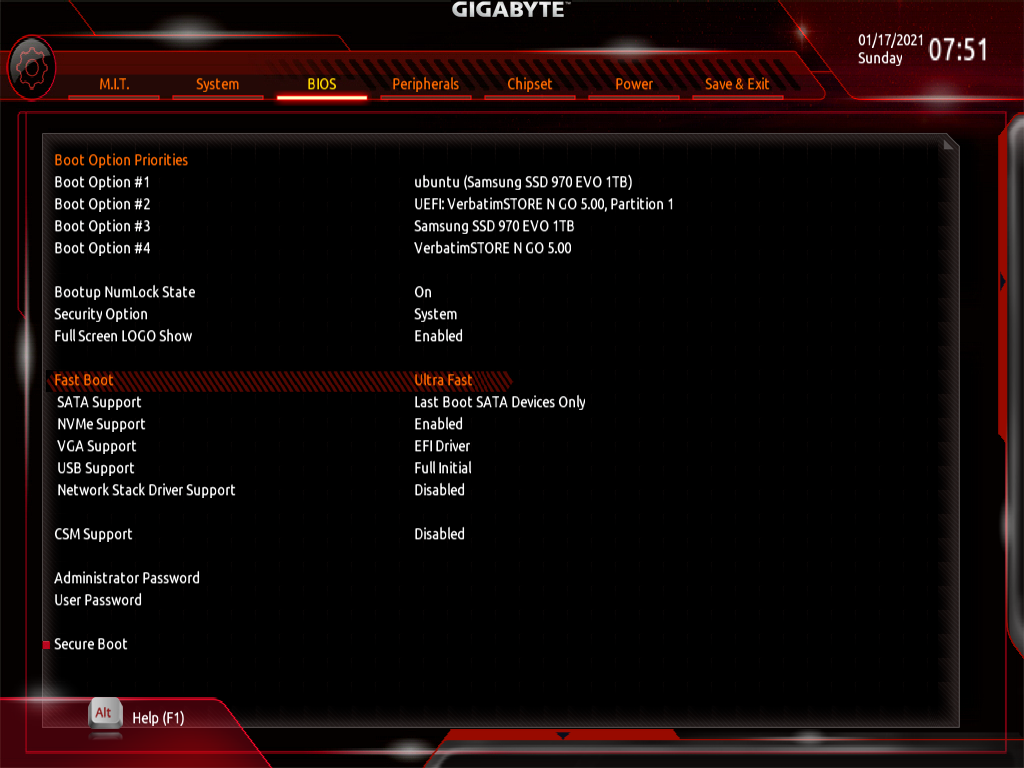
Once I got everything working, I disabled everything that I wasn’t using, and enabled Ultra Fast Boot. This makes the system start faster, but also removes the ability to re-configure the BIOS, because the keyboard will not work. The settings can be reset via a jumper on the motherboard if I need to get back into it.
Software setup
I installed Ubuntu 20.04 LTS. I would suggest sticking with the Long Term Support version of Ubuntu if you are using it for gaming, since Steam is available in the package manager. Bluetooth, Wi-Fi, sound and 3D-accelerated graphics all worked out of the box.
Configuring Ubuntu
These settings make Ubuntu act less like a desktop, and more like a Home Theater PC.
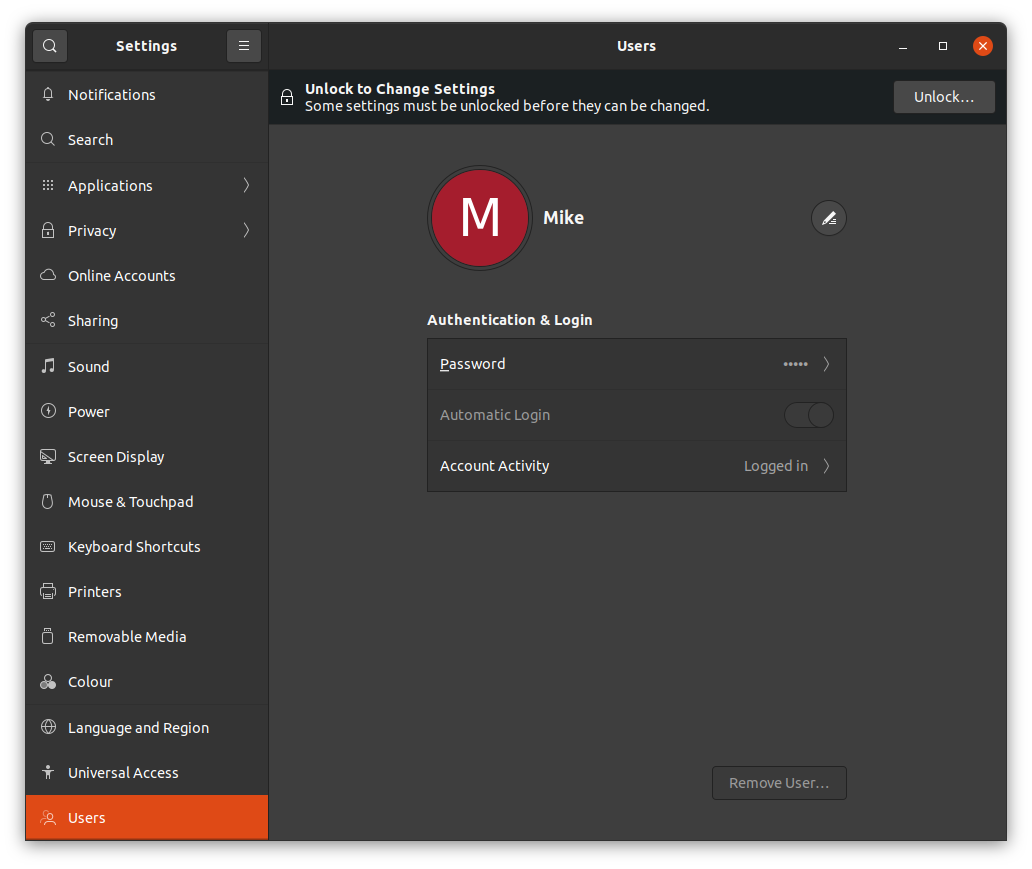
First I enabled automatic login, then cleared the password for the login keyring. This avoids needing to use a keyboard on startup, or getting prompted for a password when web browsers attempt to access the keyring.

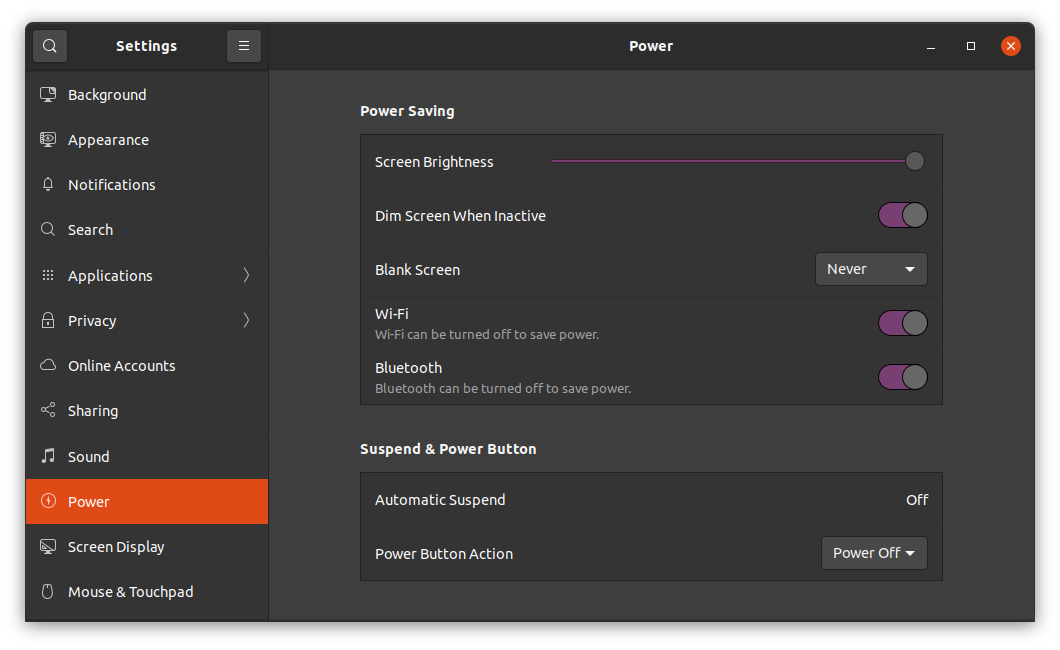
Under power settings, I set “Blank Screen” to “Never”, and Automatic Suspend to “Off”.
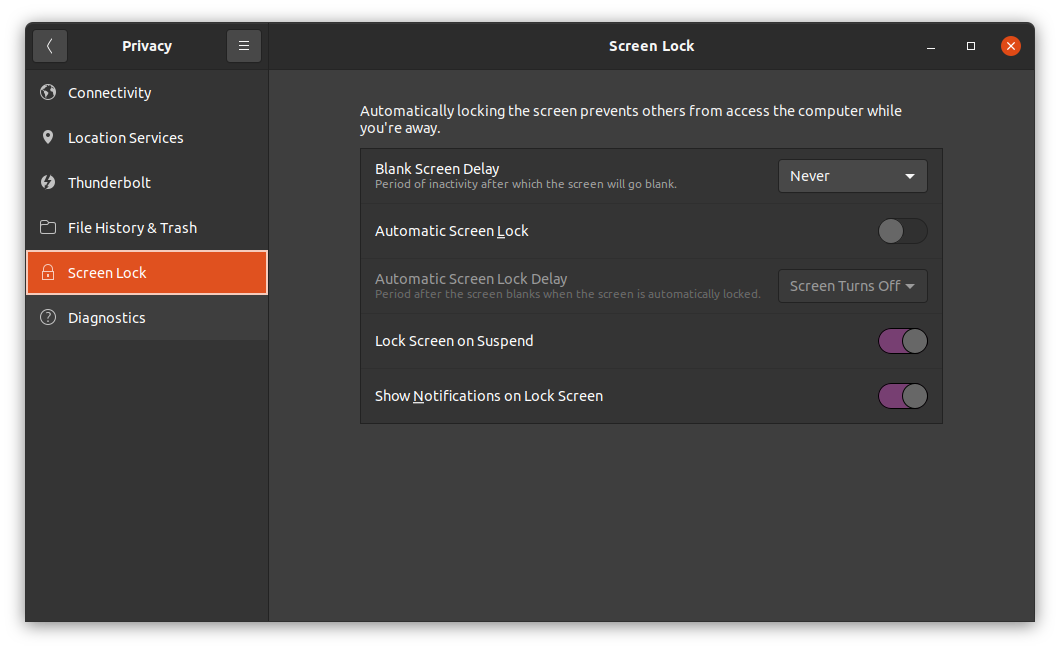
Under screen lock settings, I set “Blank Screen Delay” to “Never”, and disabled “Automatic Screen Lock”.
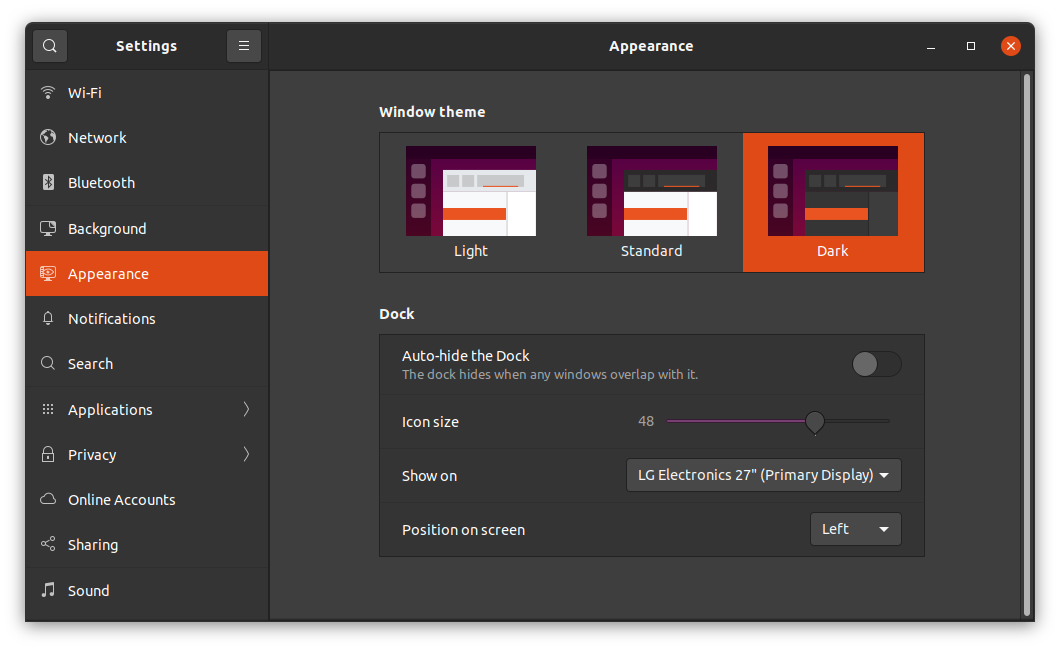
Next, I set the theme to dark mode, the display output to 1920x1080 60Hz, and the audio output device to HDMI. The display is 4K, but compatibility will be challenging enough without adding scaling issues in there, so I’m using a lower resolution for now.
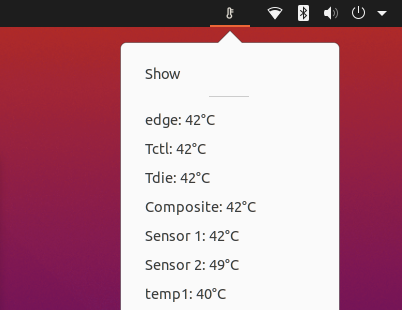
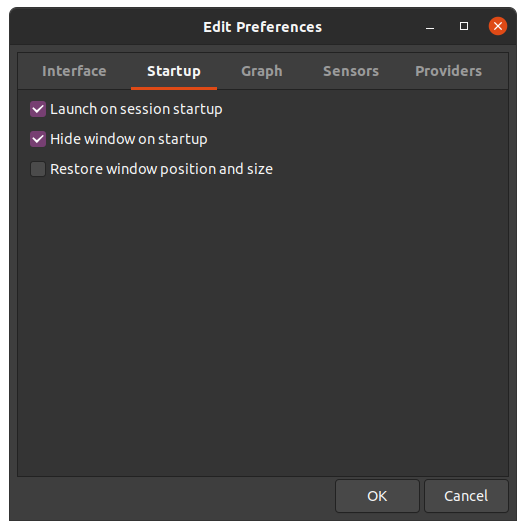
Lastly, I set up a tool called psensor to start on boot, so that I could check temperatures.
Installing applications
Linux gaming has advanced a fair bit recently, and since it is a large topic, I won’t try to cover in too much detail here. I’m connecting this computer up to a TV, so this type of setup is only suitable for games with controller support. Still, this includes:
- Native Linux games.
- Windows games running via a compatibility layer (WINE/DXVK or Proton).
- Games for other systems played through an emulator.
An extensive catalogue is available through the Linux version of Steam, which I installed via the Ubuntu package manager. I could have set Steam to launch on startup and call it a day, but there are two other launchers which I installed alongside it:
- Lutris (from the
lutris-team/lutrisPPA). - Retroarch (from the
libretro/testingPPA)
Next, I installed WINE (32 bit and 64 bit), winetricks, and gamemode from the Ubuntu package manager, then Proton GE from GitHub. Proton GE is a widely-used Proton fork, which integrates fixes from upstream WINE. This gave me several different run-times for Windows applications, and simply switching between them or adding some environment variables has been sufficient to work around every compatibility issue that I’ve encountered so-far.
Lastly, I installed Kodi from the team-xbmc/ppa PPA.
Game testing
For this section, I’m listing out a few games from my library that I’ve tested. As a quick reminder, this is all running on integrated graphics, on Linux.
I was mainly checking that I could get a (subjectively) playable frame-rate, and that I could get two controllers to work in local multiplayer where available.
Steam
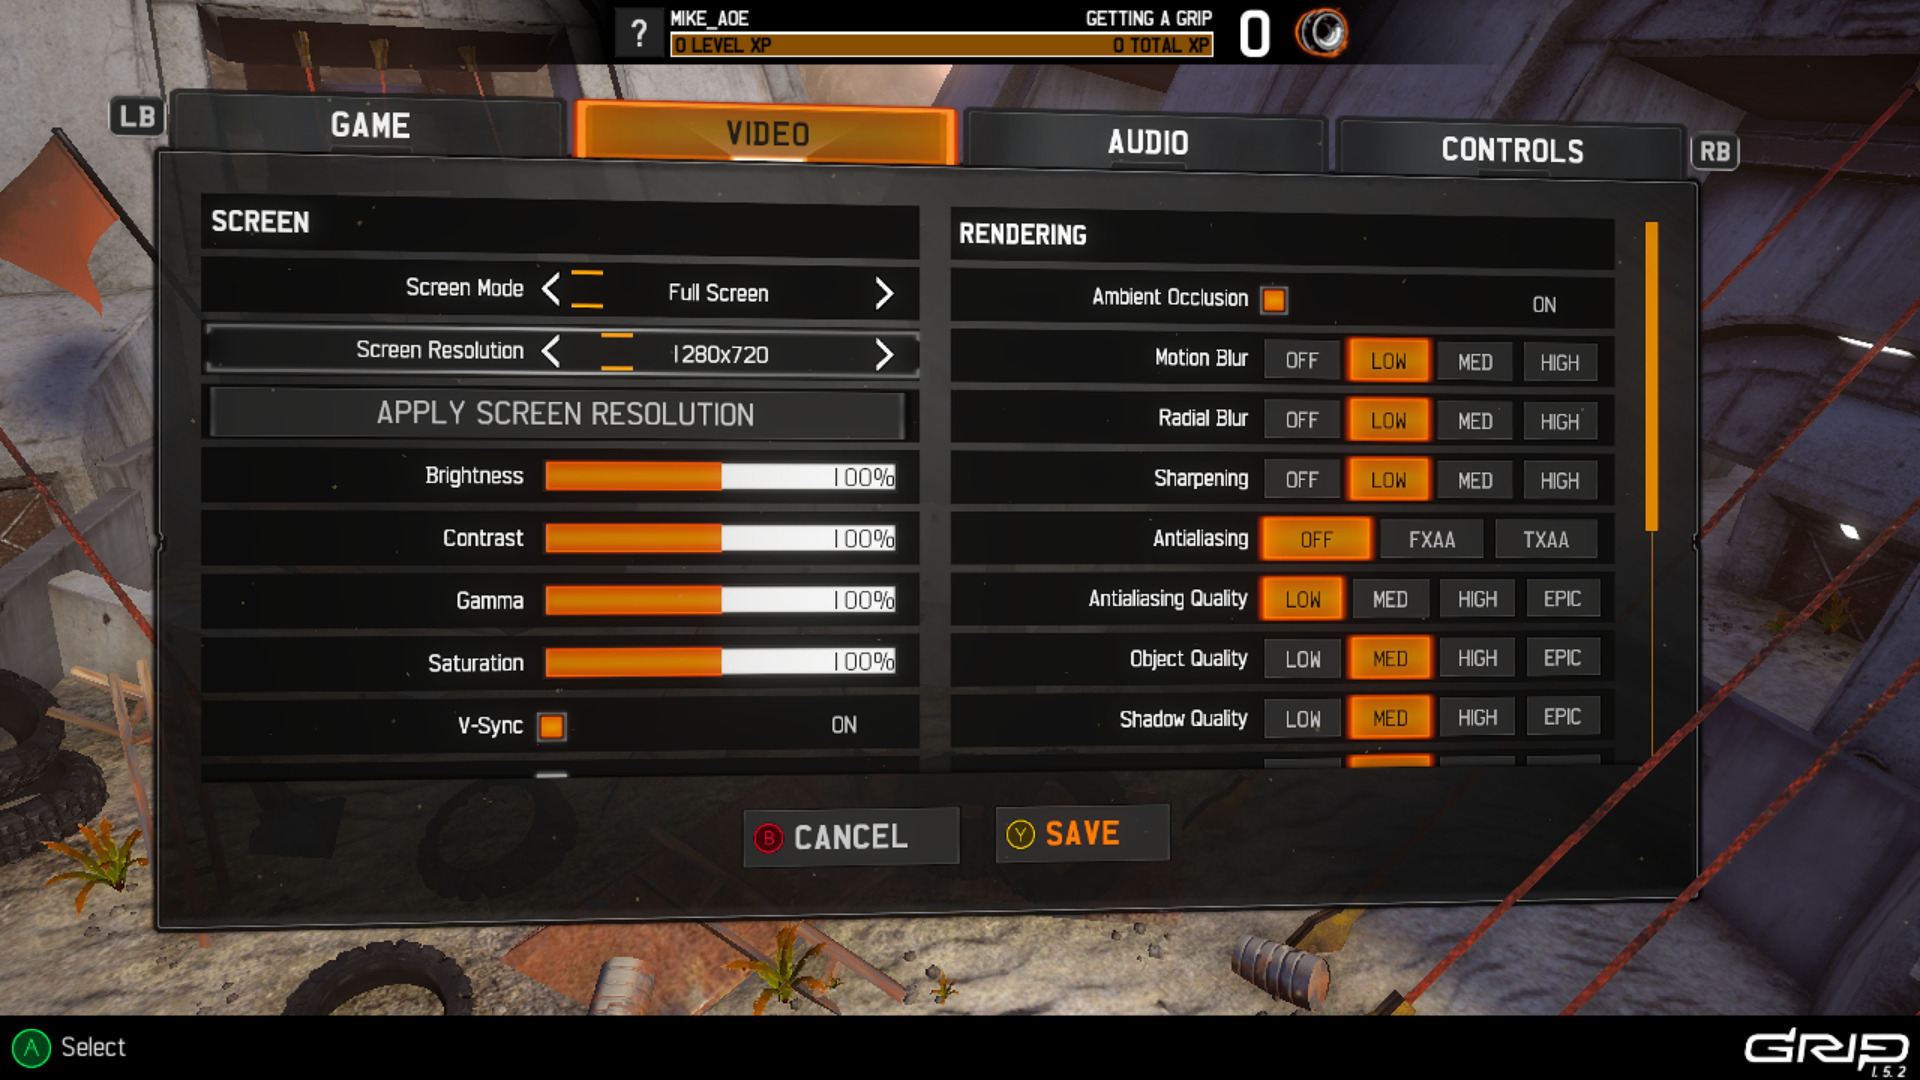
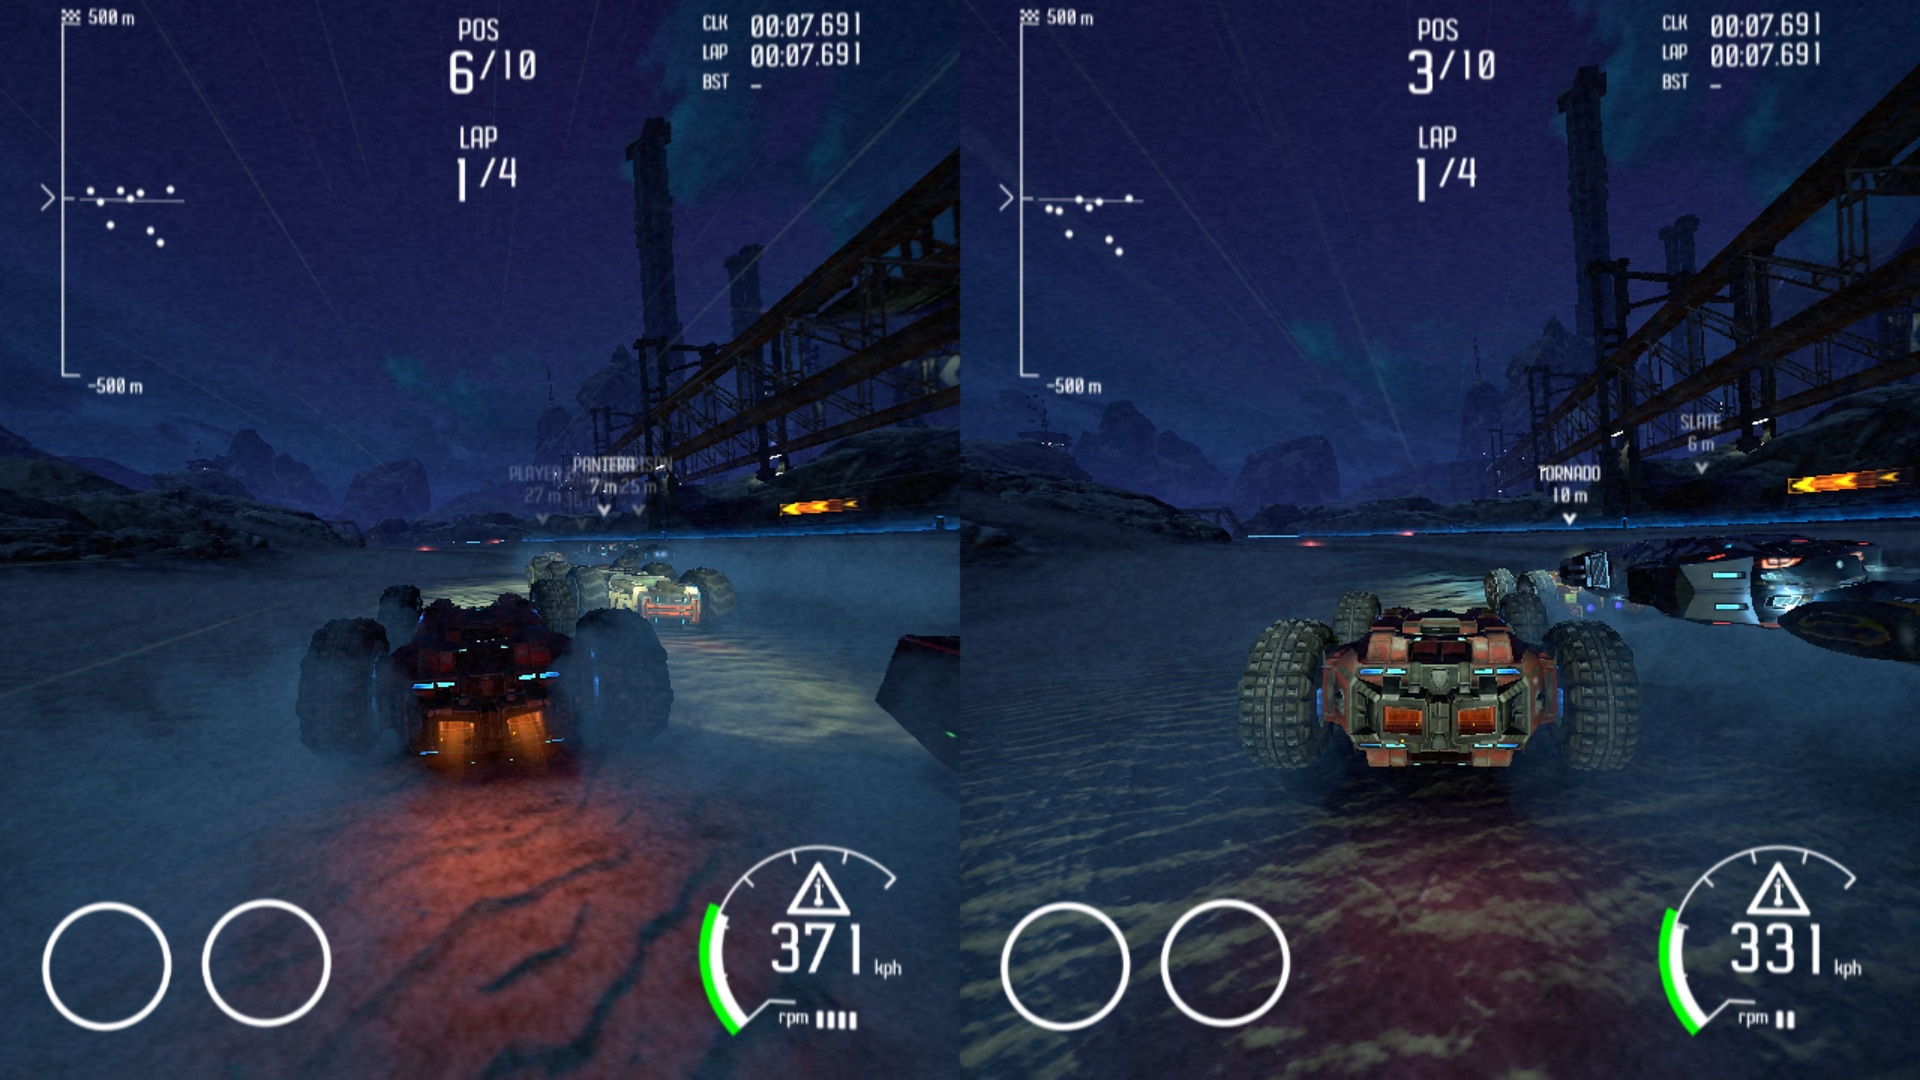
GRIP combat racing runs via Proton. It is a fast-paced racing game, has local split-screen multiplayer, and runs very smoothly at 720p.
Untitled Goose Game also runs via Proton. It has recently added a 2-player mode, and runs at 1080p with no hiccups.


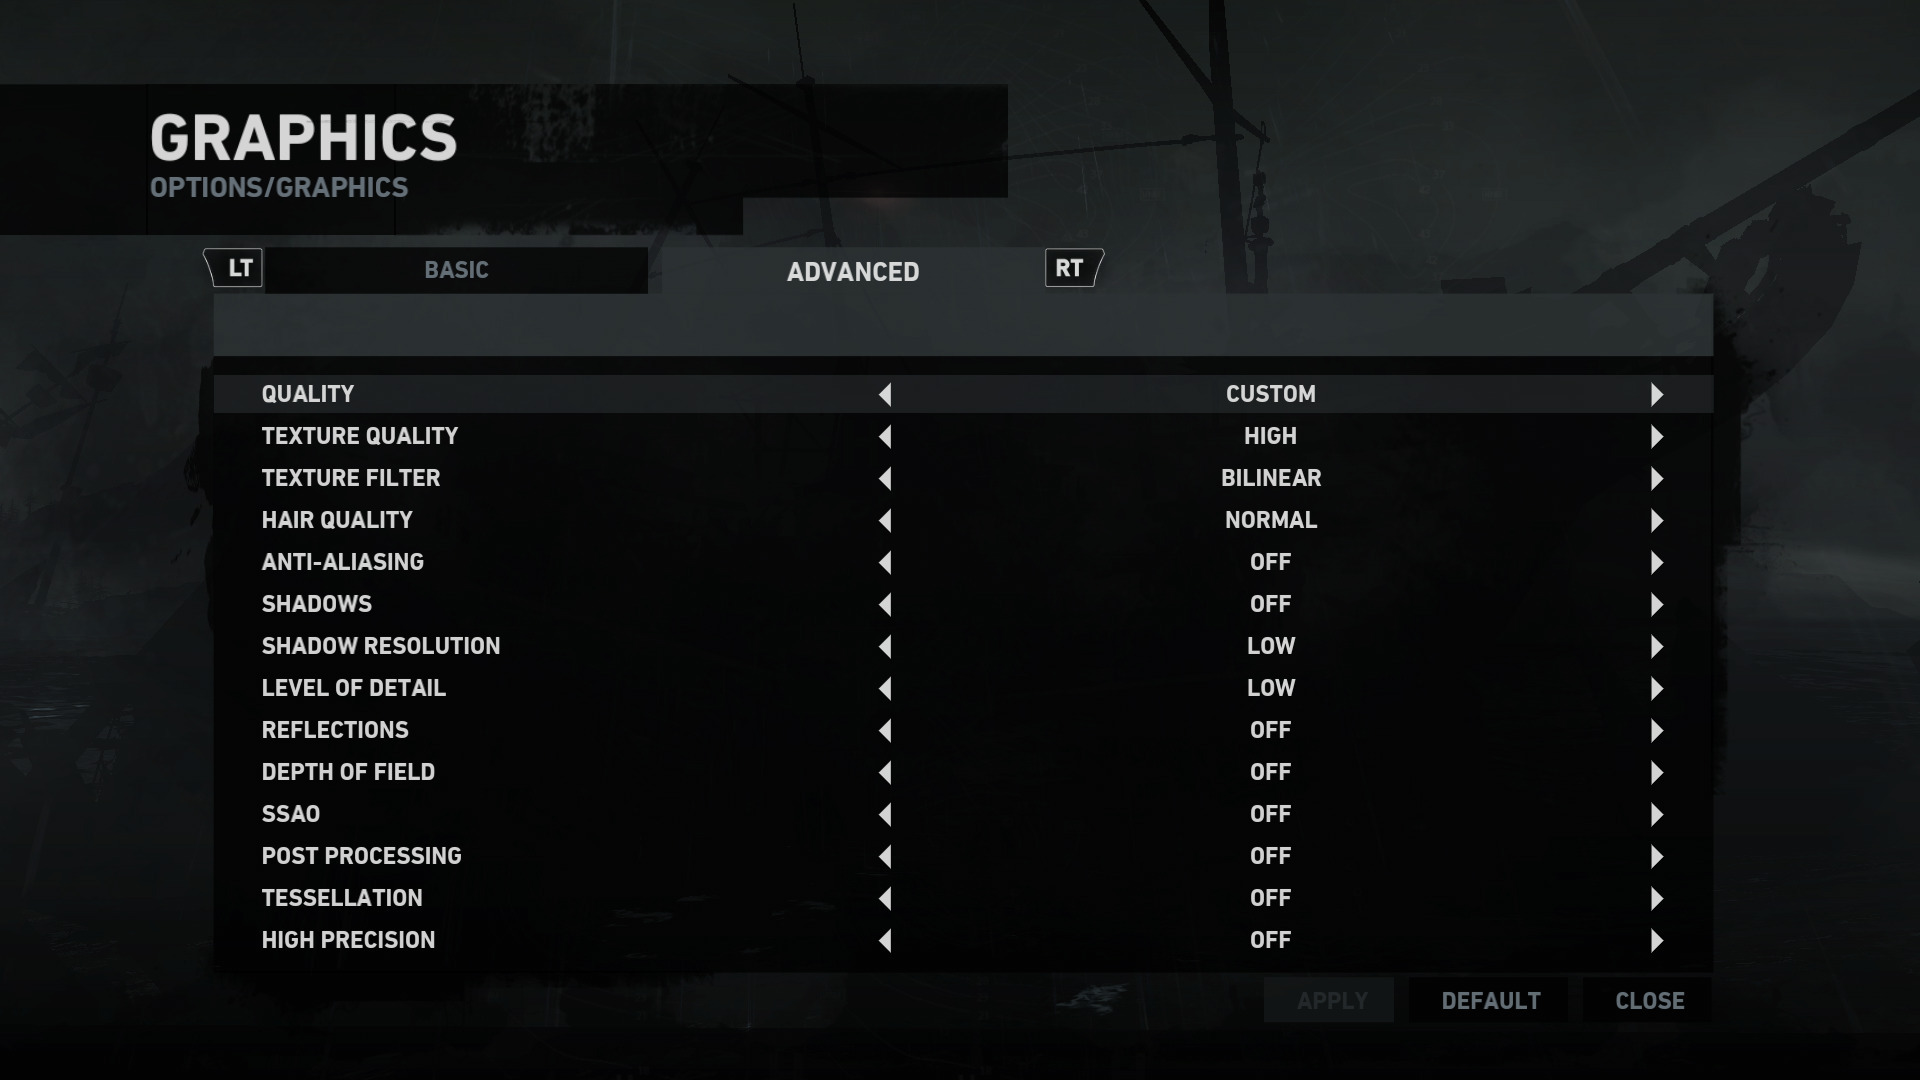
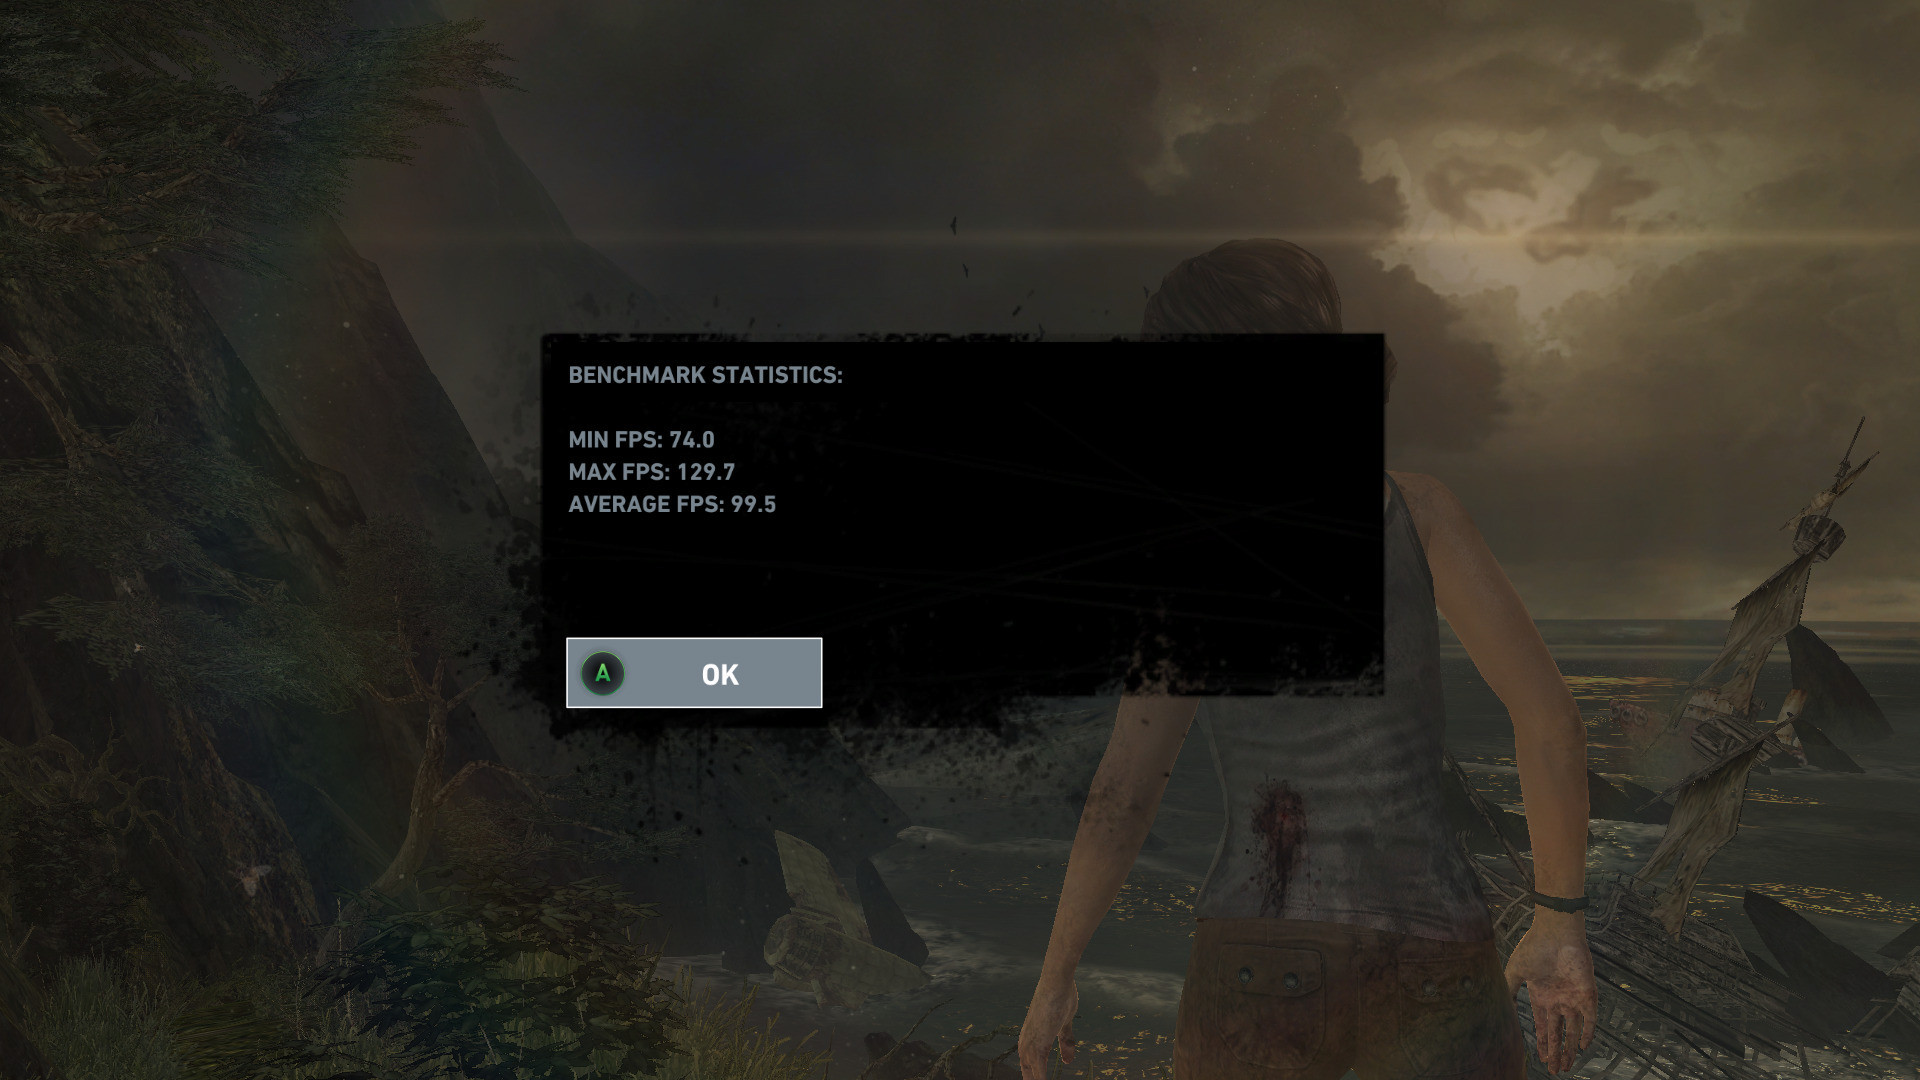
The Tomb Raider reboot is available native for Linux. With low settings, it runs fine at 1080p, with the benchmark indicating a 99 FPS average.
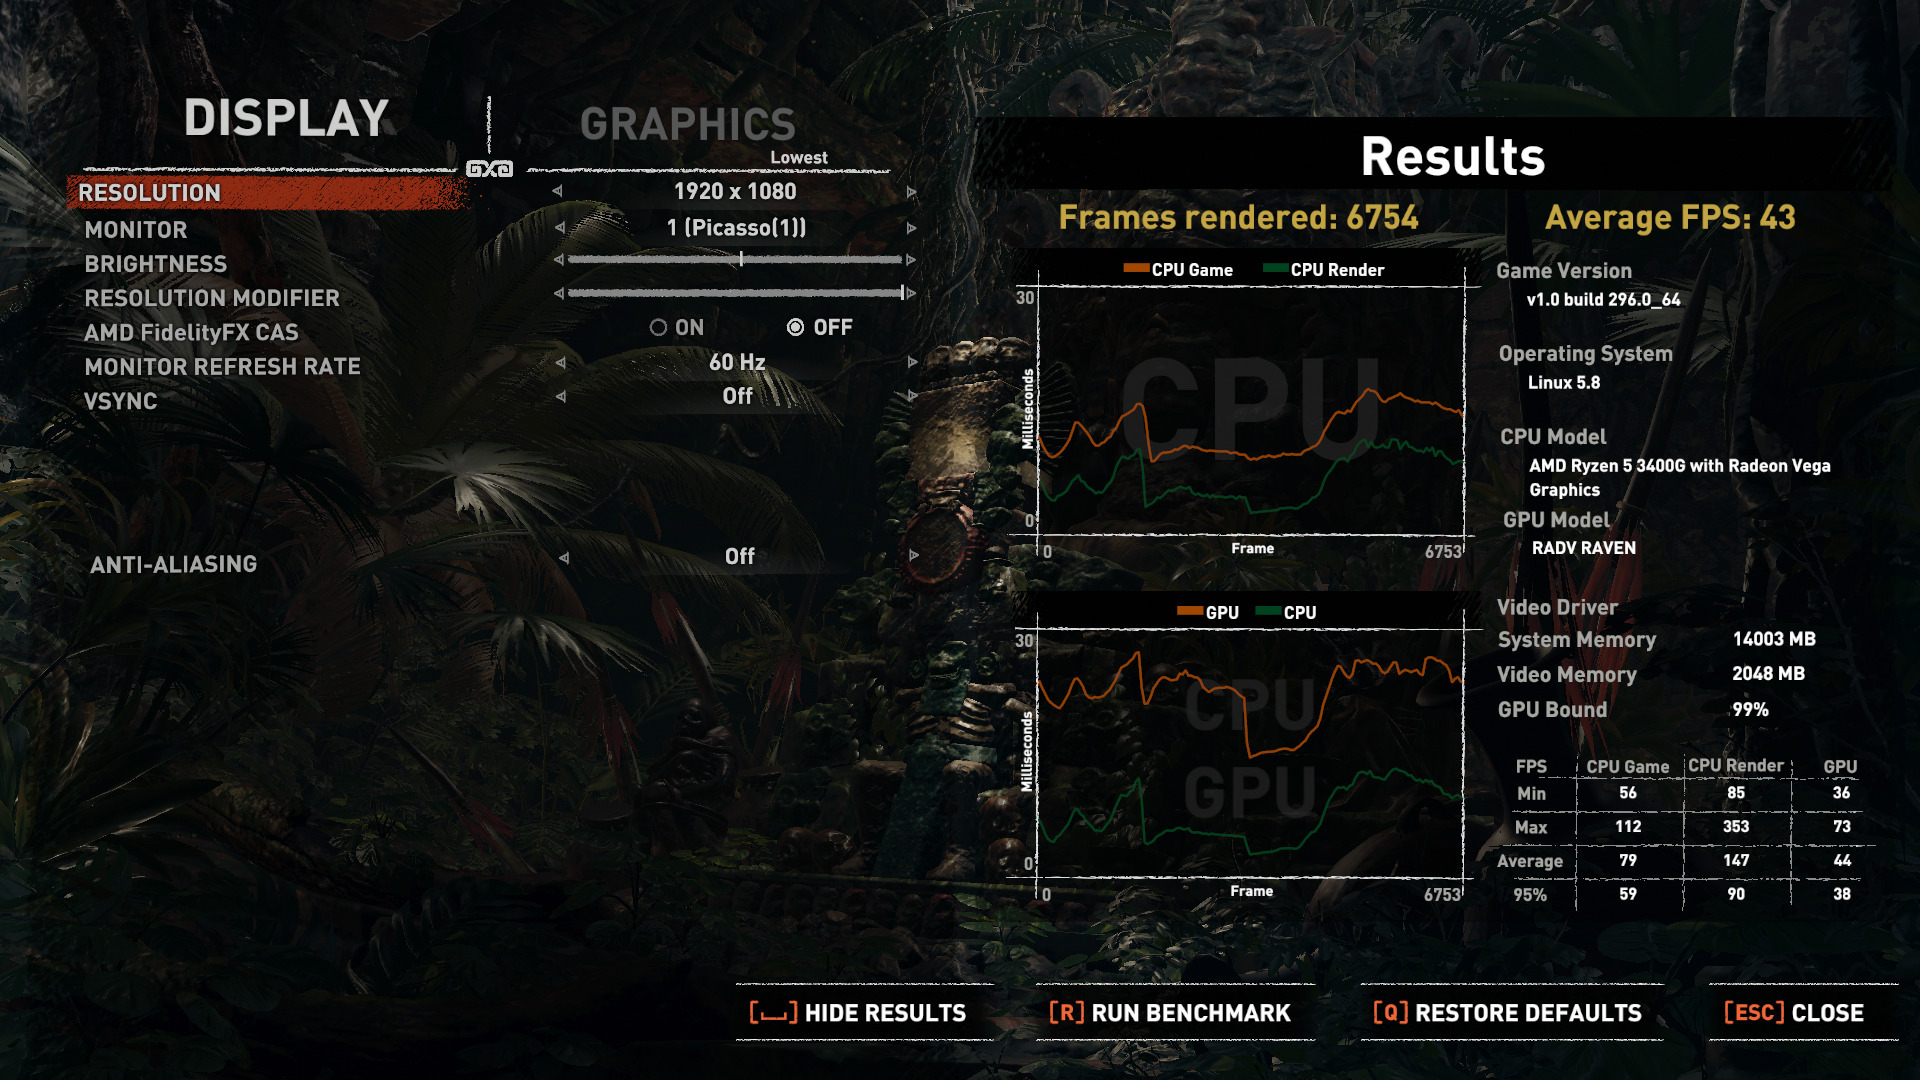
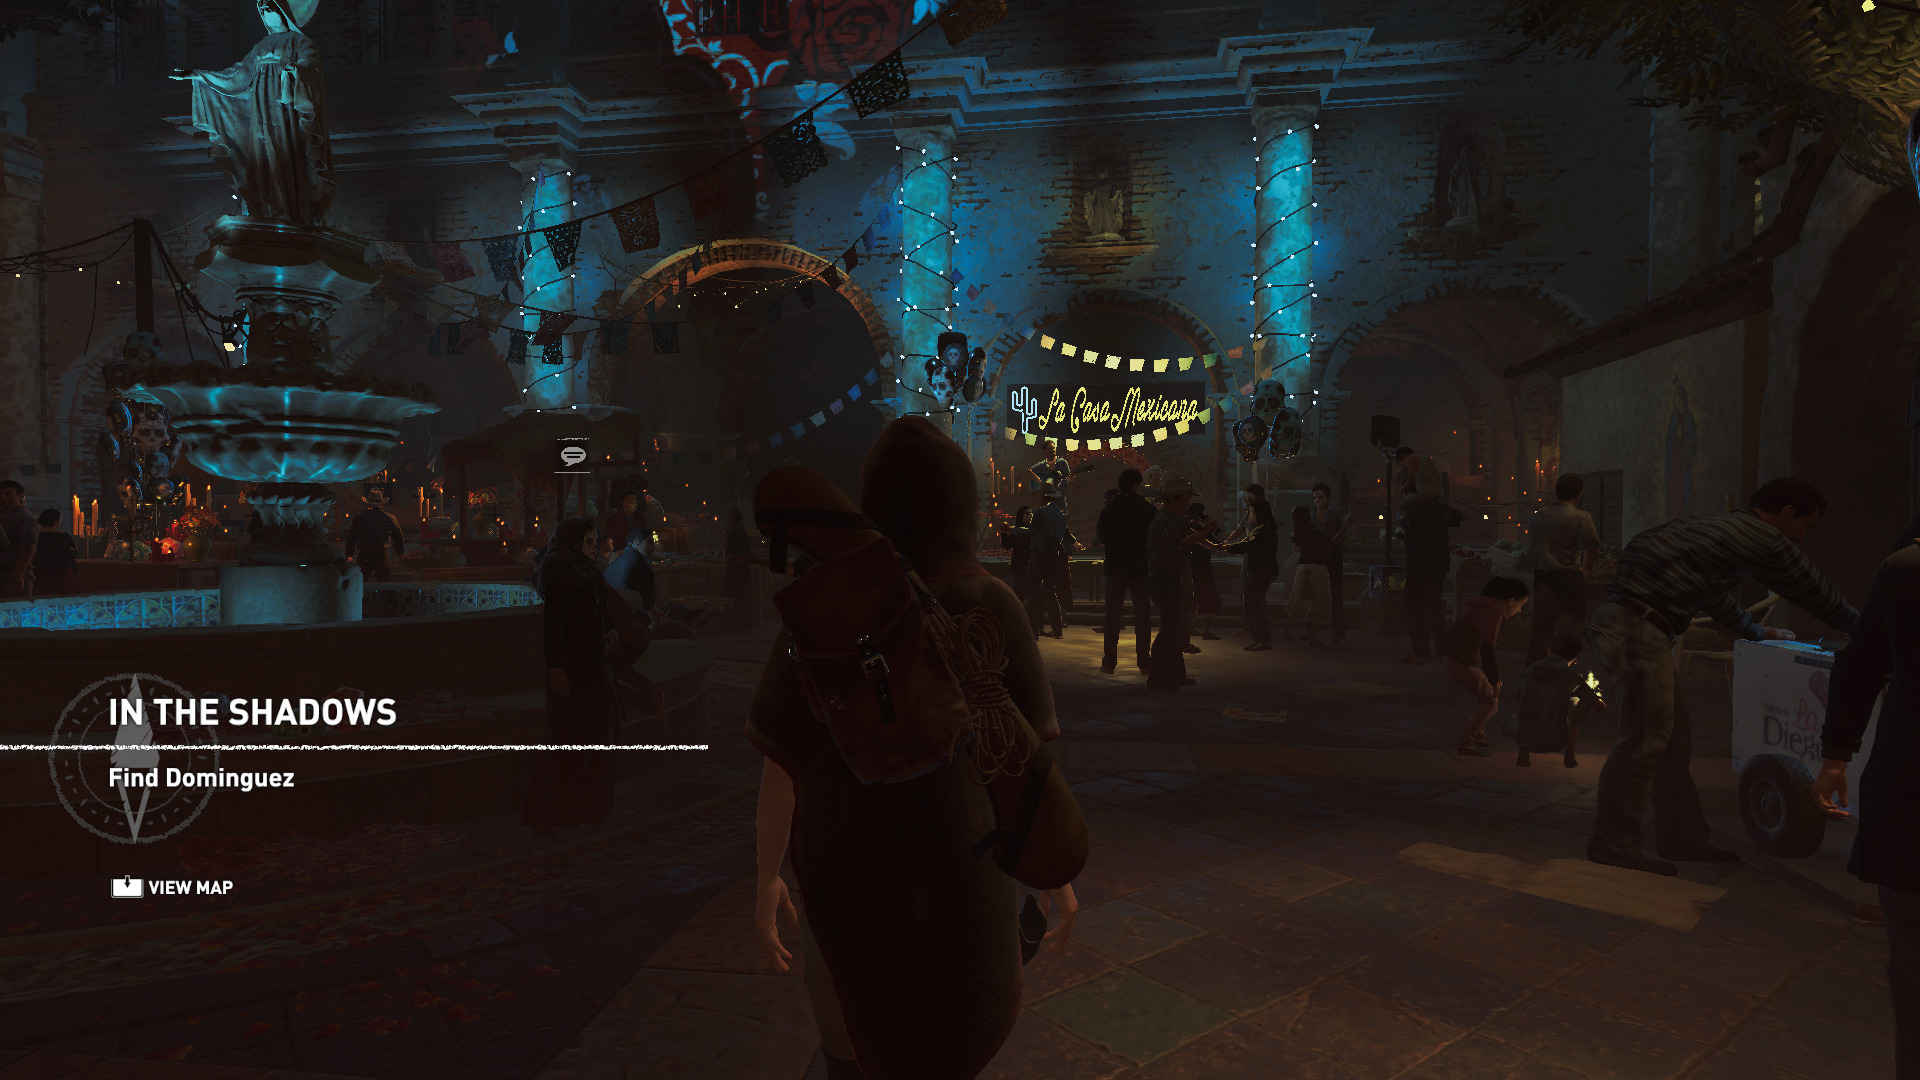
Shadow of the Tomb Raider, also available native for Linux, is a real challenge for this integrated GPU. I am running it at 1080p, lowest settings, though the benchmark comes back with just a 43 FPS average.
Lutris
Lutris has an Epic Games store installer, which runs the store-front under WINE. I decided to try it out, though it is easily the most buggy software mentioned in this blog post.
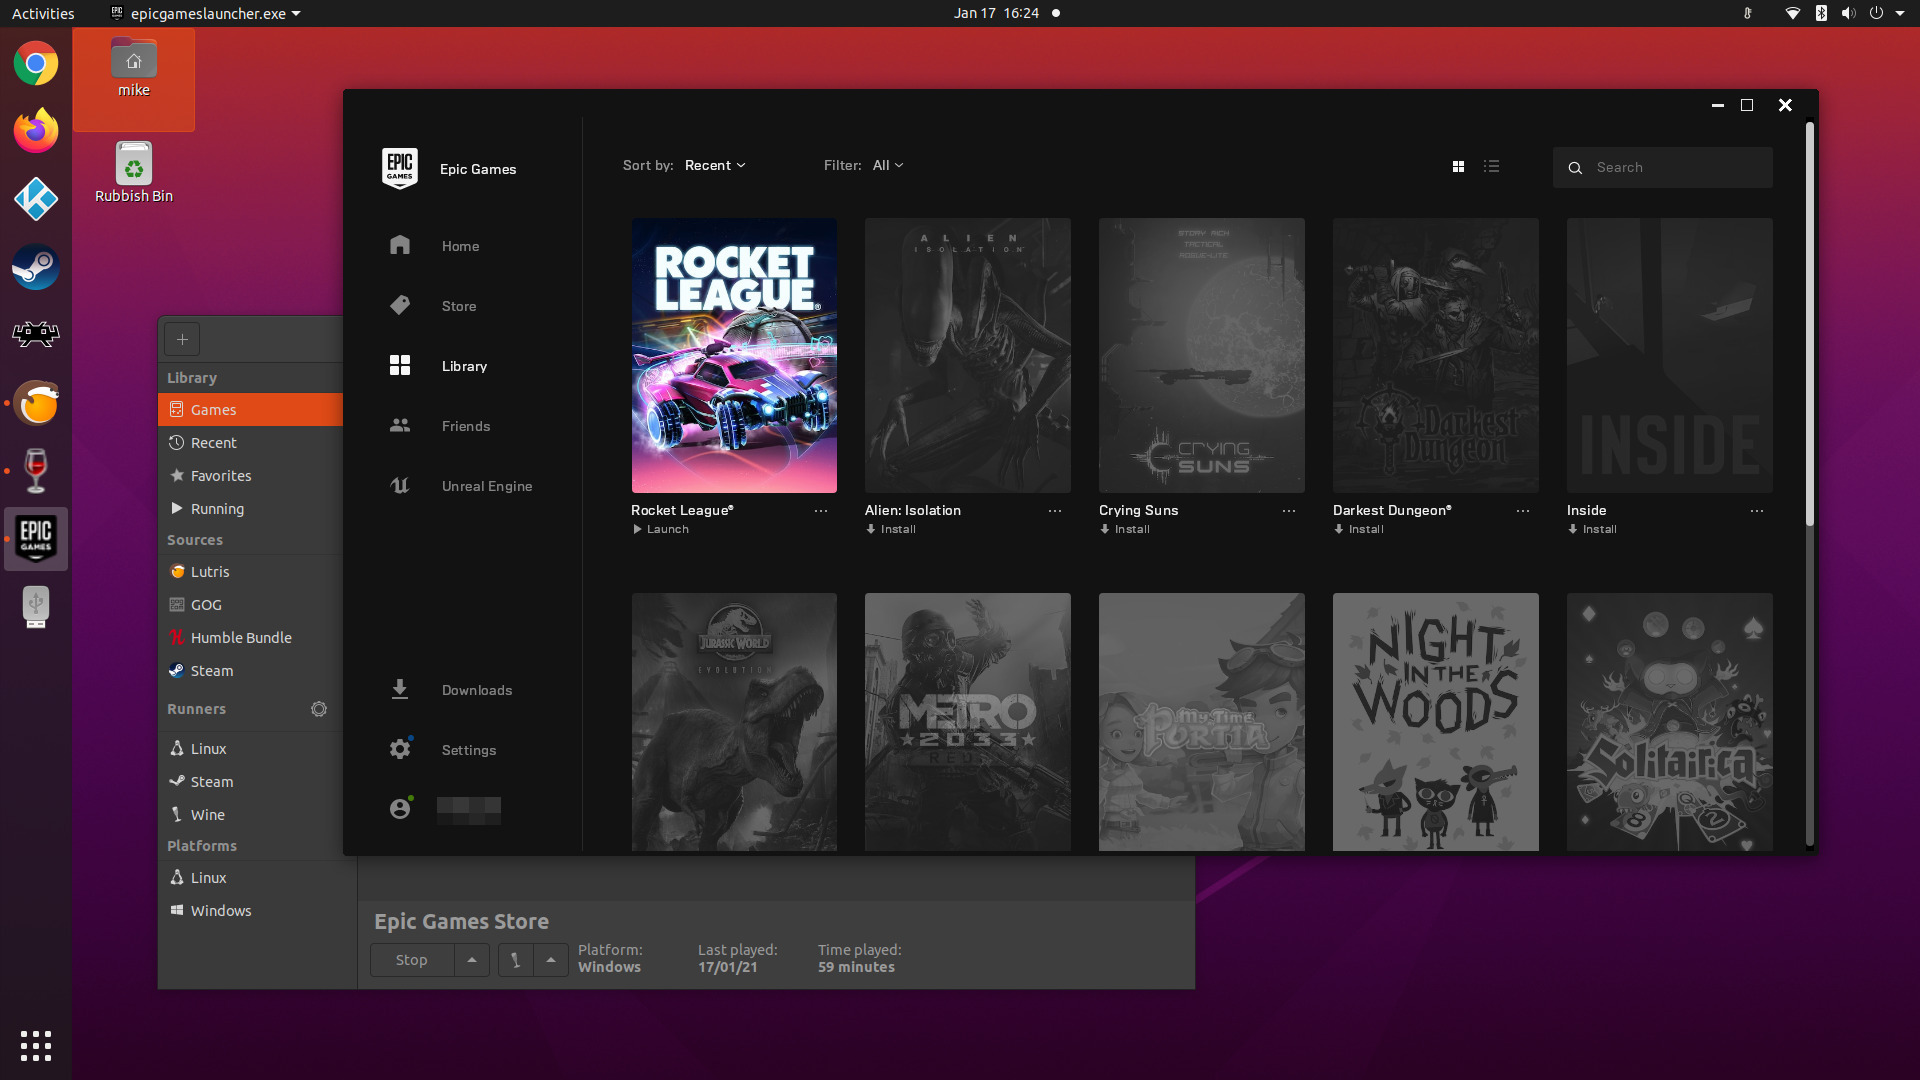
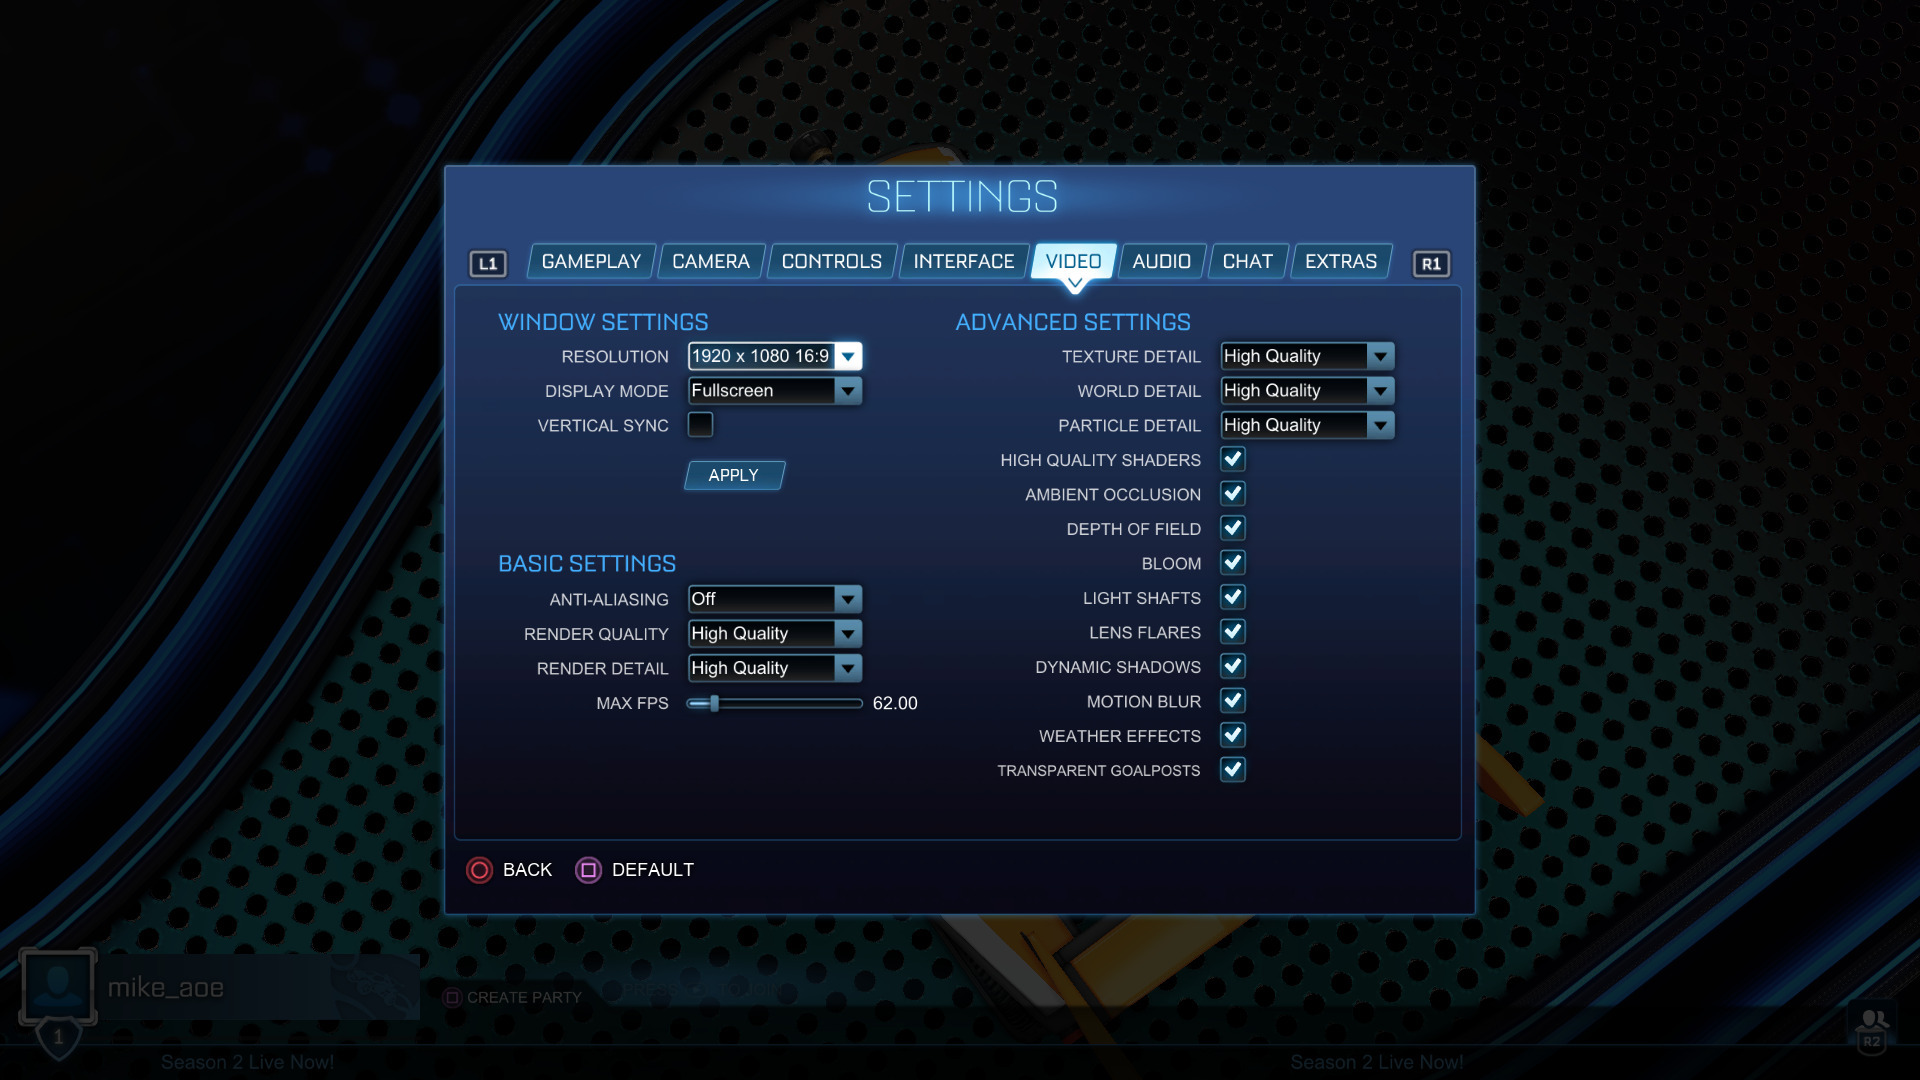
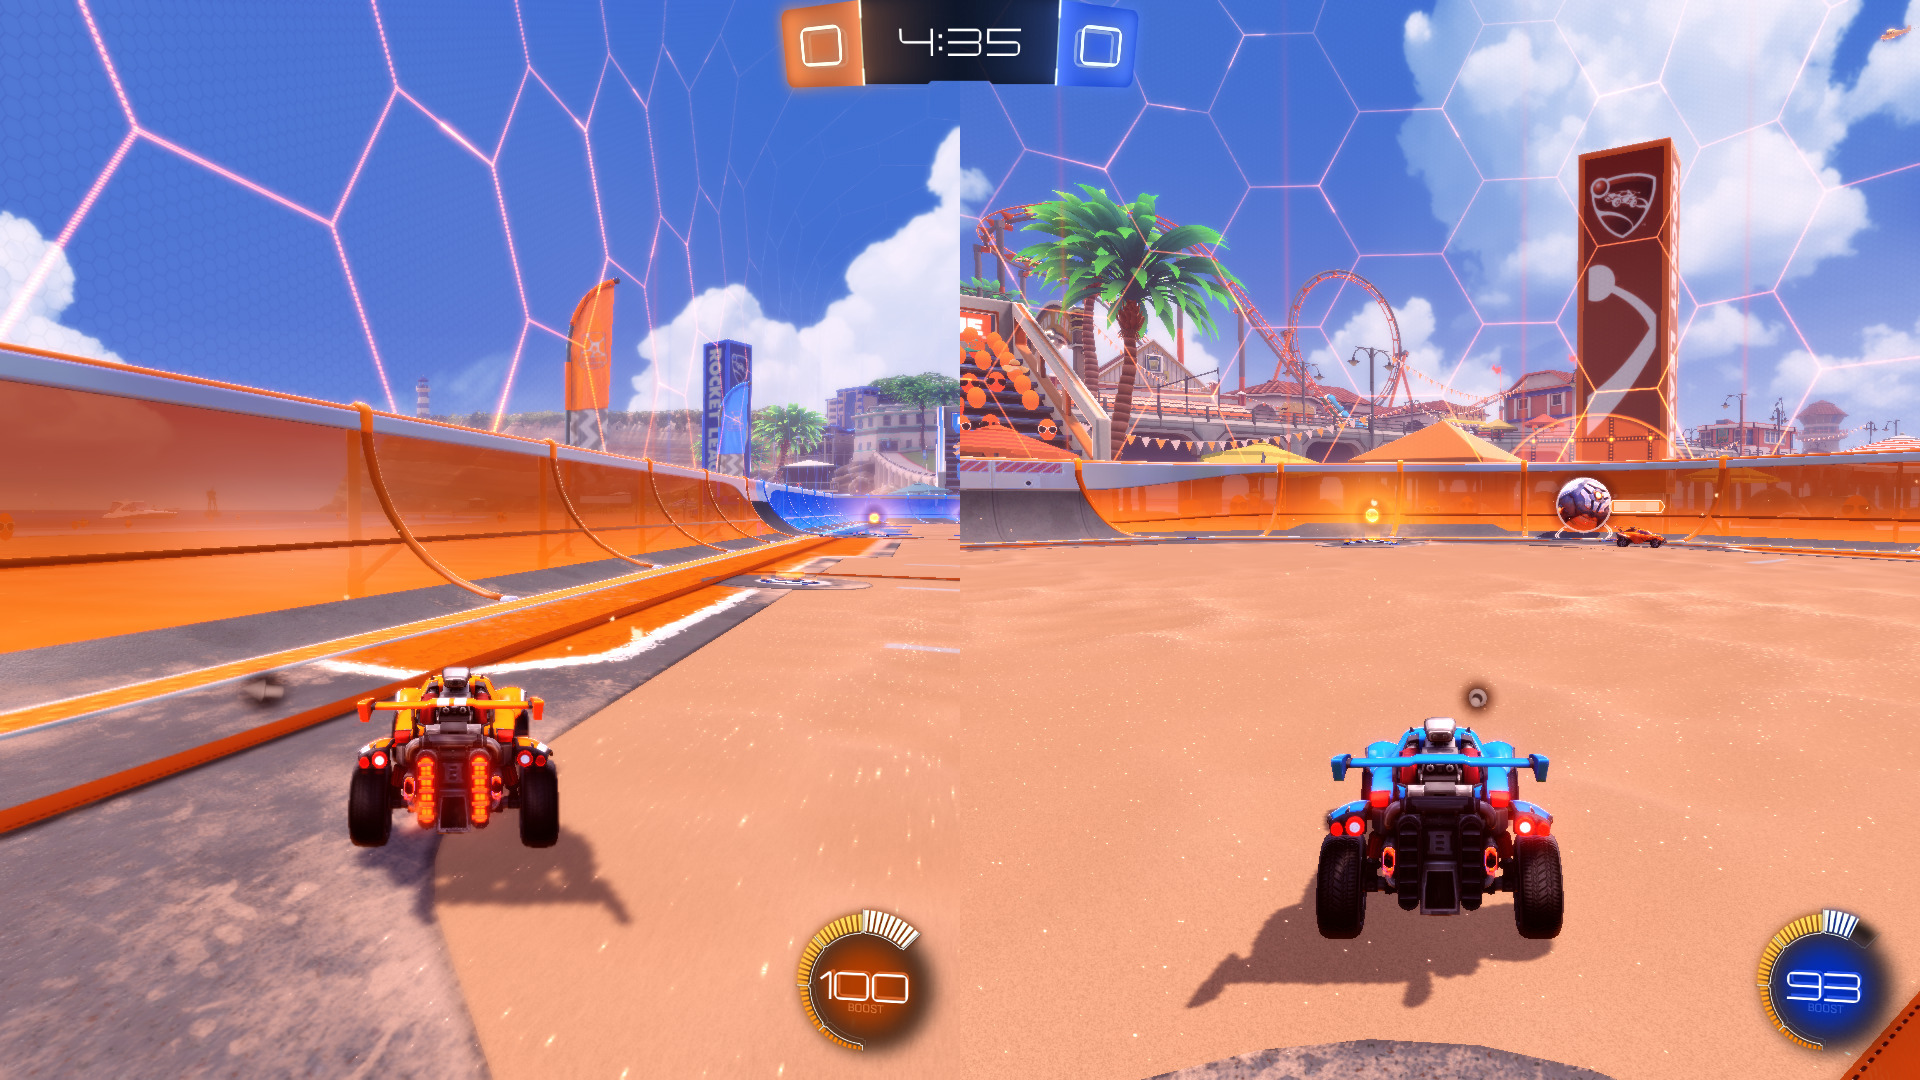
The only game I tested from there was Rocket League. Native Linux support was recently dropped from this title on Steam, but the Windows version from Epic runs just fine on integrated graphics, and has local multiplayer. I run it at 1080p.
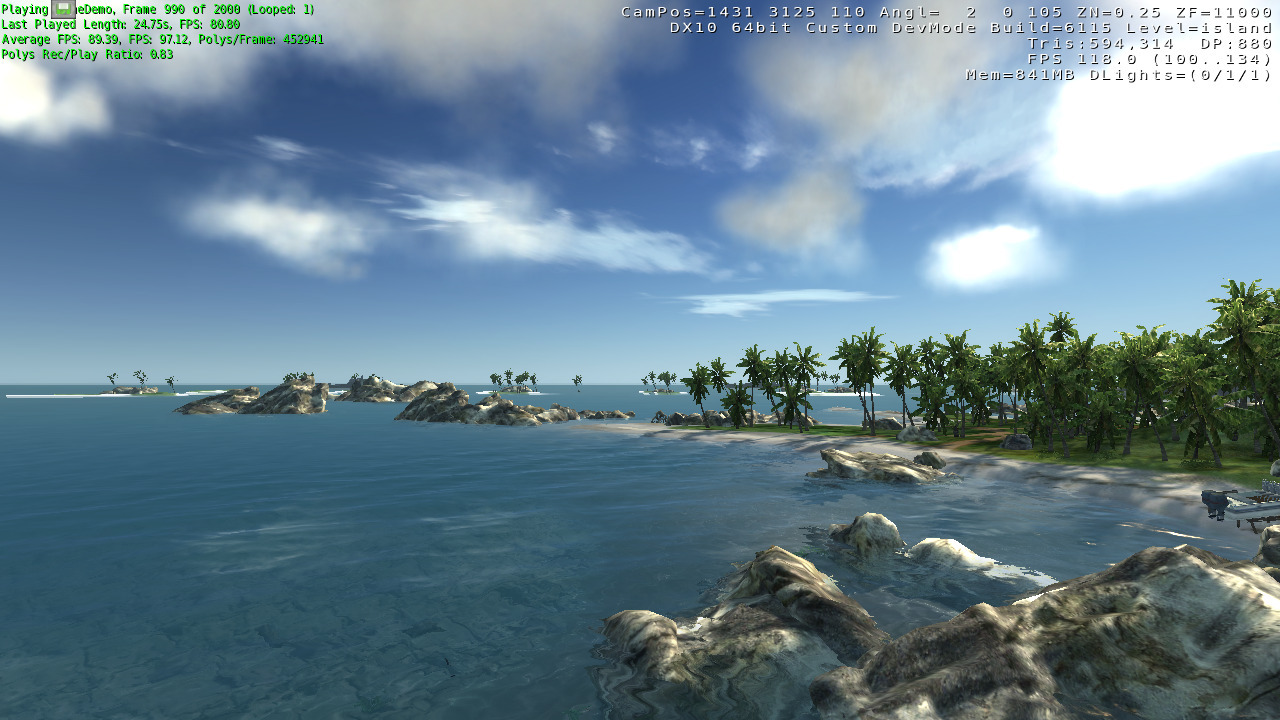
I also tested the original Crysis by manually setting up a WINE prefix and adding it to Lutris. I run this at 720p, medium settings. After a few loops, the benchmark indicates that this averages 112 FPS, so I could probably increase the quality or resolution.

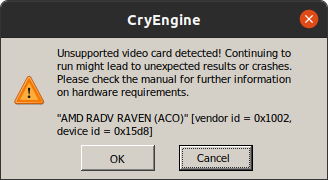
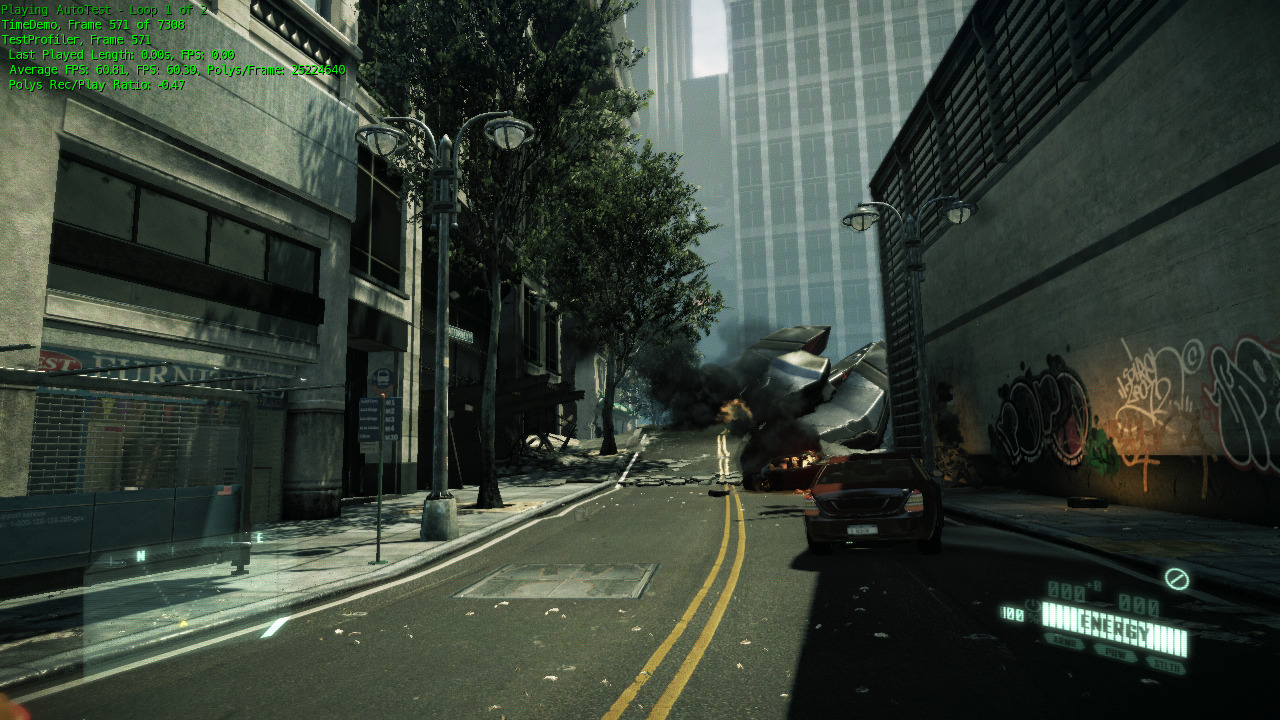
I also tested Crysis 2 via WINE, which had some concerns about my graphics card. I also run it at 720p, using the ‘Gamer’ profile. The benchmark indicates that this averages 60 FPS.

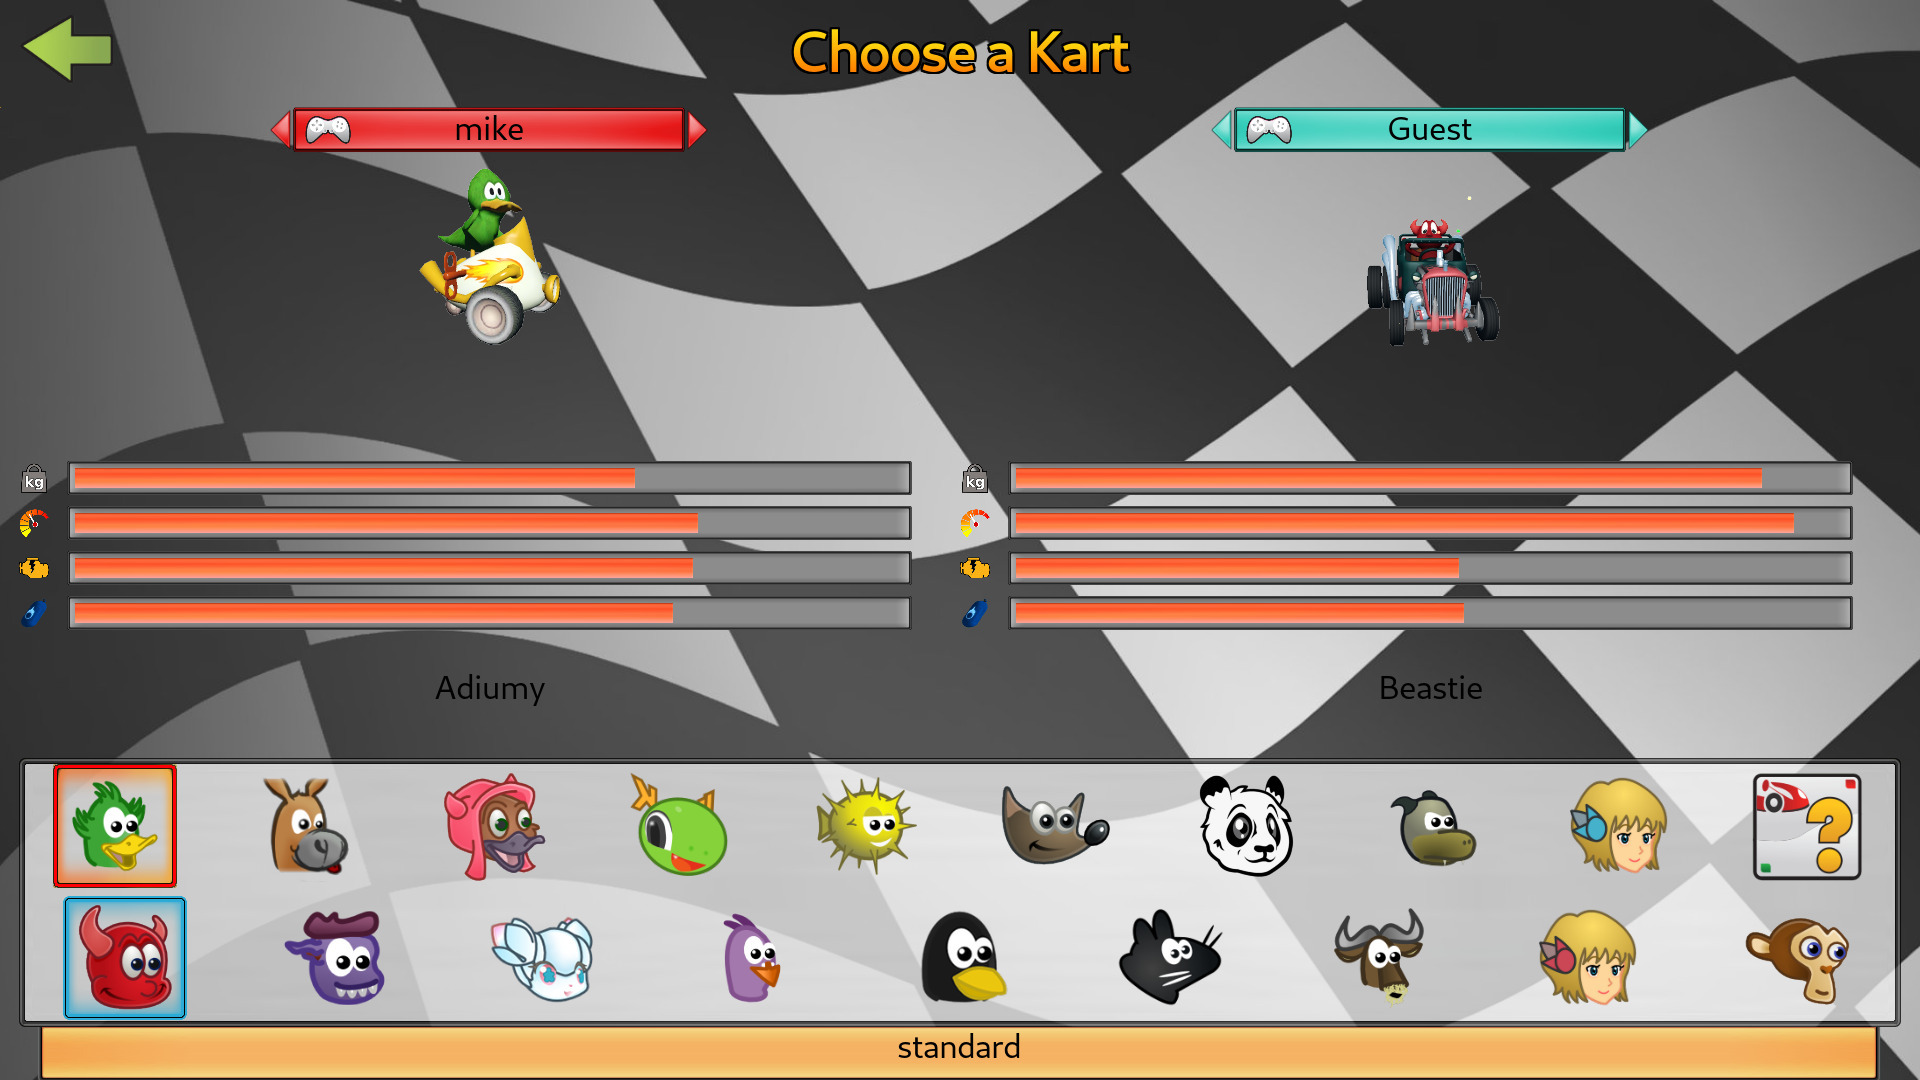
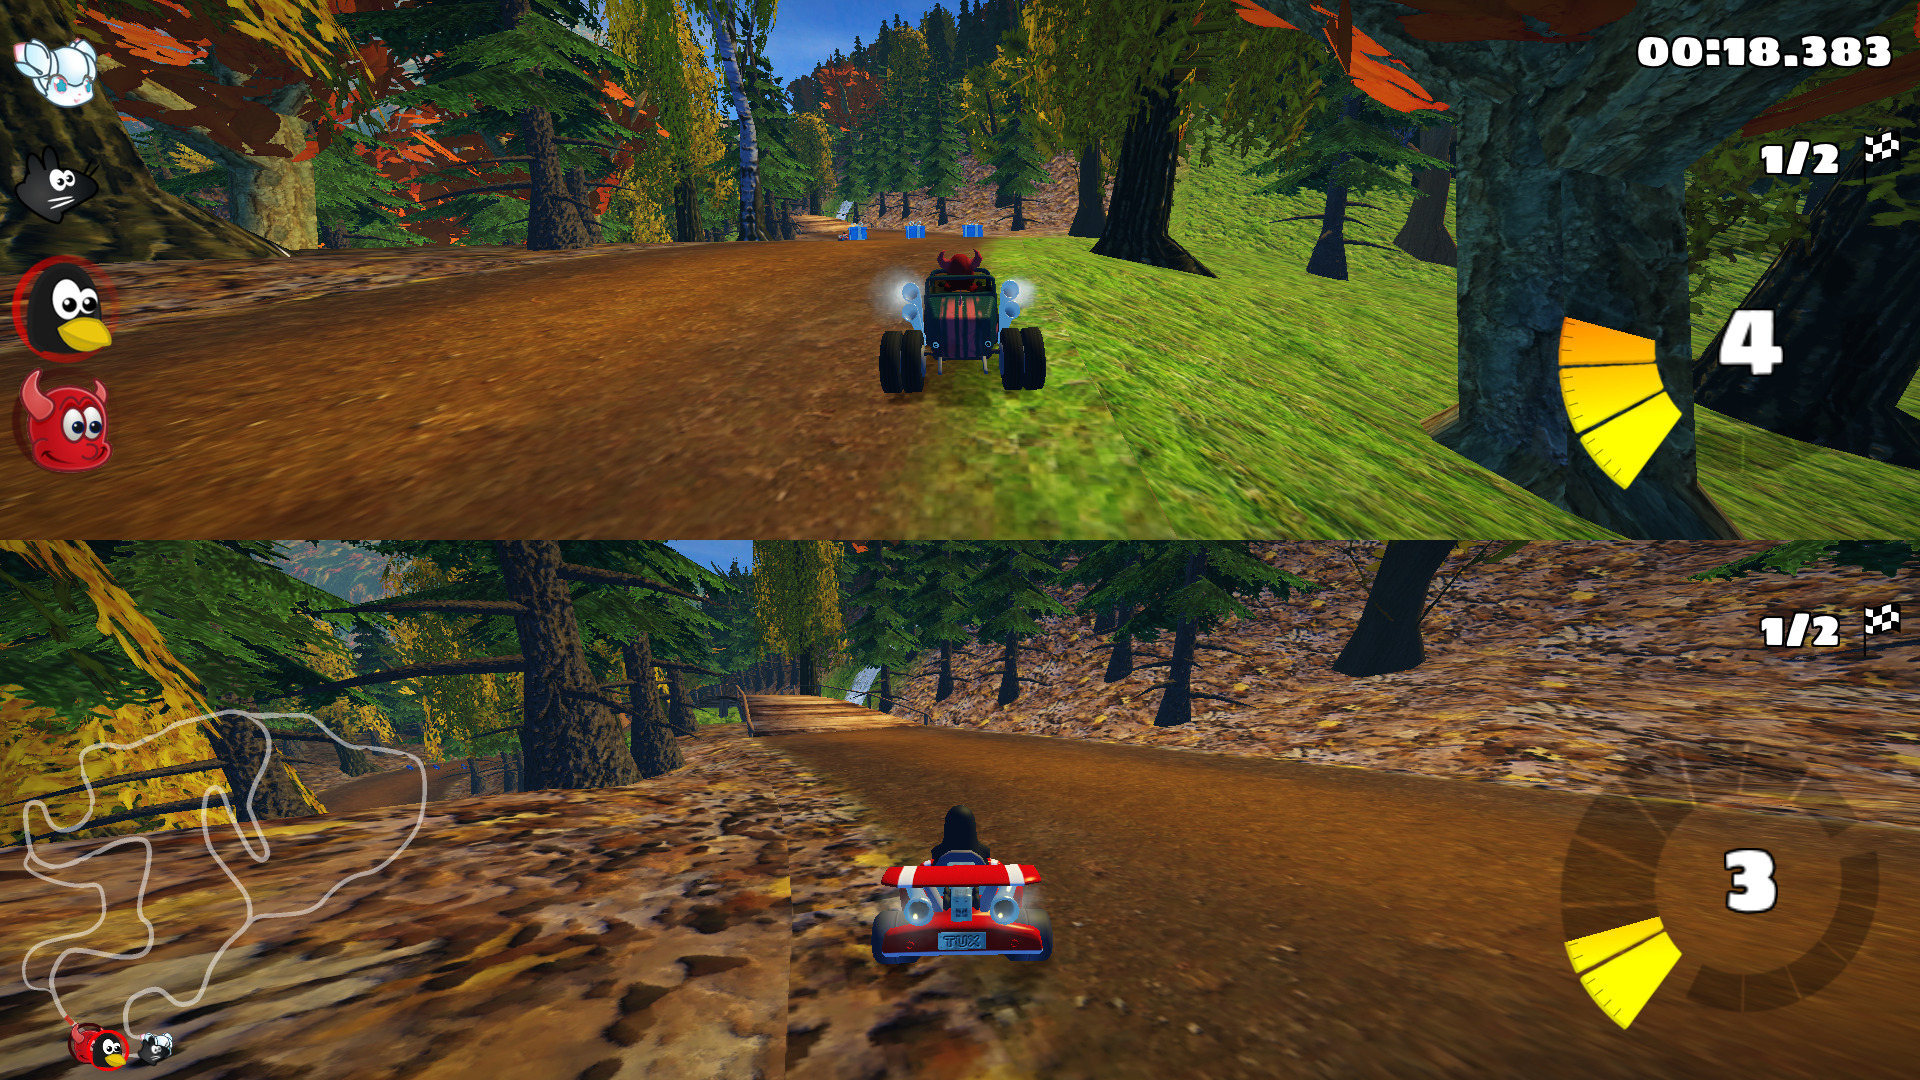
Super Tux Kart is an open source racing game, which can be installed via Lutris. This is a native Linux build, and runs just fine at 1080p. It has controller support and local multiplayer.
Wrap-up
This blog post touches on quite a few topics, so I’ve left out a lot of the details. If you’ve read this far, though, then it’s time to talk about down-sides. Some things did not work as planned.
- Reading/controlling fan speeds did not work from Linux on this Gigabyte motherboard. This has worked so consistently for me on other hardware that I did not even think to check for compatibility here. This means I can only set fan speeds in the BIOS.
- The power supply is noisier than I expected under load. This is due to coil whine, not fan noise.
- When using the 8BitDo SF30 controller over Bluetooth, RetroArch would pause for 10 or 15 seconds at a time. I tracked this down to the fact that I am connecting it as an Xbox controller, and RetroArch was attempting (and failing) to check its battery level. Connecting the controller after a core has launched avoids the problem.
- I had hoped to run everything under Wayland, but the Epic Games store had terrible graphical glitches. Everything else on this page (Steam, Lutris, Retroarch) worked on Wayland, and this is apparently due to the way that this app uses OpenGL.
This setup works very well for me, and I am glad to be able to show that it’s possible to do some basic gaming without Microsoft Windows or a dedicated GPU. Still, there are a lot of trade-offs that come from this form-factor and platform, and that’s not for everybody.