Sometimes, you need to use a tricky windows-only program on a Linux desktop. If you have a Windows install disk and licence at your disposal, then this post will show you how to get a Windows environment running without dual-booting.
The host here is a Debian box, and the guest is running Windows 7. The instructions will work with slight modifications for any mix of Linux and Windows
On the desktop, some things are not as important as the server world. Some things are excluded for simplicity: network bridging, para-virtualised disks, migration between hosts, and disk replication.
Software setup
Everything required from the host machine can be pulled in via Debian’s qemu-kvm package.
sudo apt-get install qemu-kvm
Virtual machine setup
Prepare a disk image for Windows. The qcow2 format is suggested for the desktop as it will not expand the file to the full size until the guest uses the space:
qemu-img create -f qcow2 windows.img 30G
Launch the Windows installer in KVM with a command that looks something like this:
kvm -hda windows.img --cdrom windows-install-disc.iso -vga std -localtime -net nic,model=ne2k_pci -m 2048
Note the -m option is the number of megabytes of RAM to allocate. You can set it a little lower if you don’t have much to spare, but if it’s too low you’ll get this screen:

If you have a physical disk but no .iso of it, then using the disk drive via --cdrom /dev/cdrom will work.
Windows installer
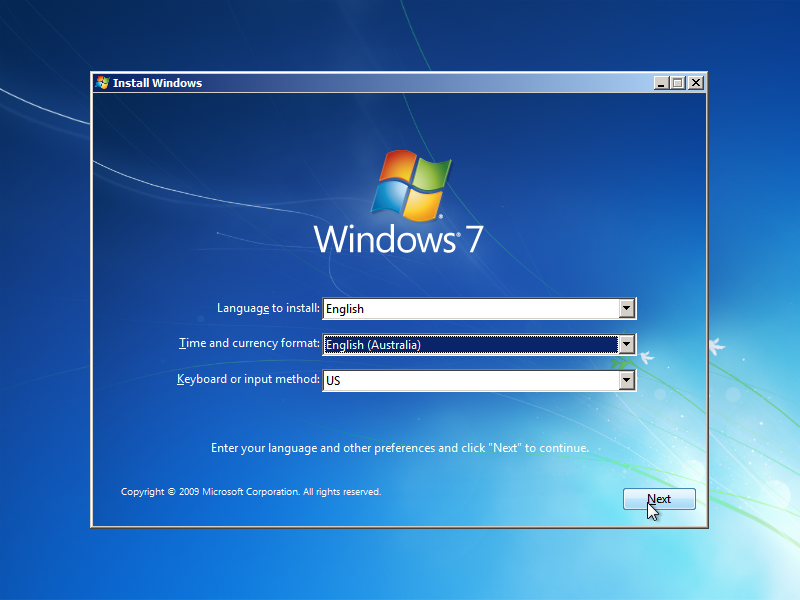
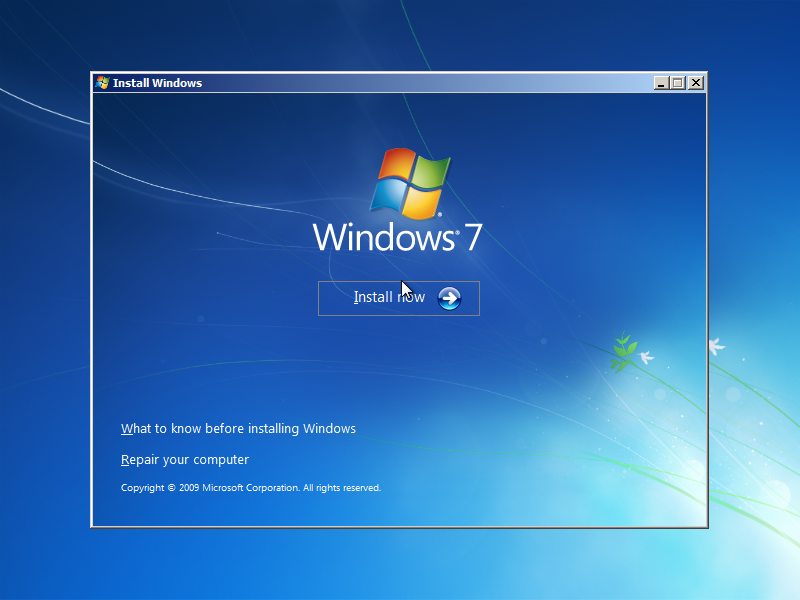
I’ve included a walkthrough here of what the Windows 7 installer will prompt for, since it does work a bit differently to a typical Linux installer.
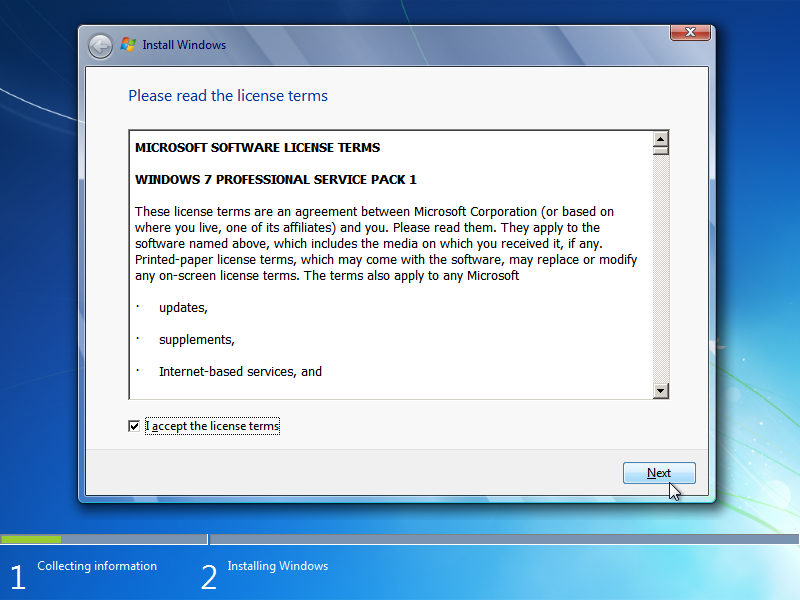
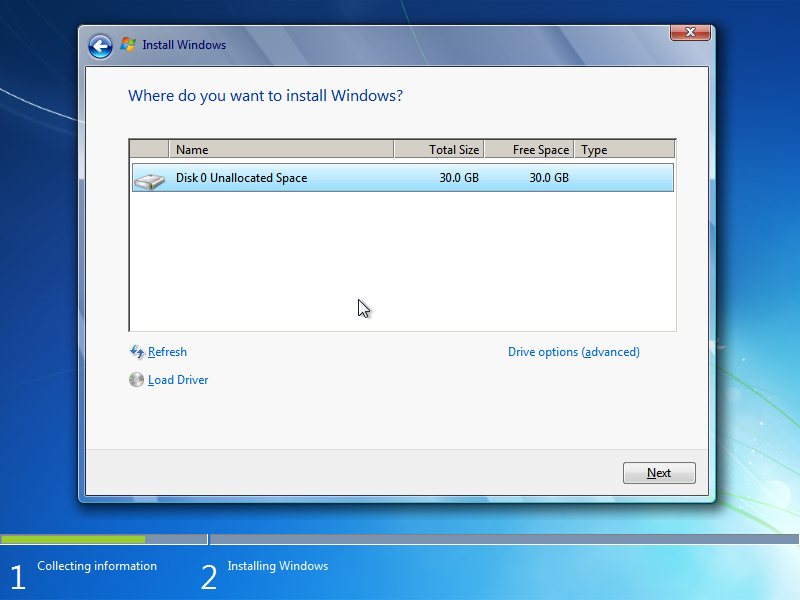
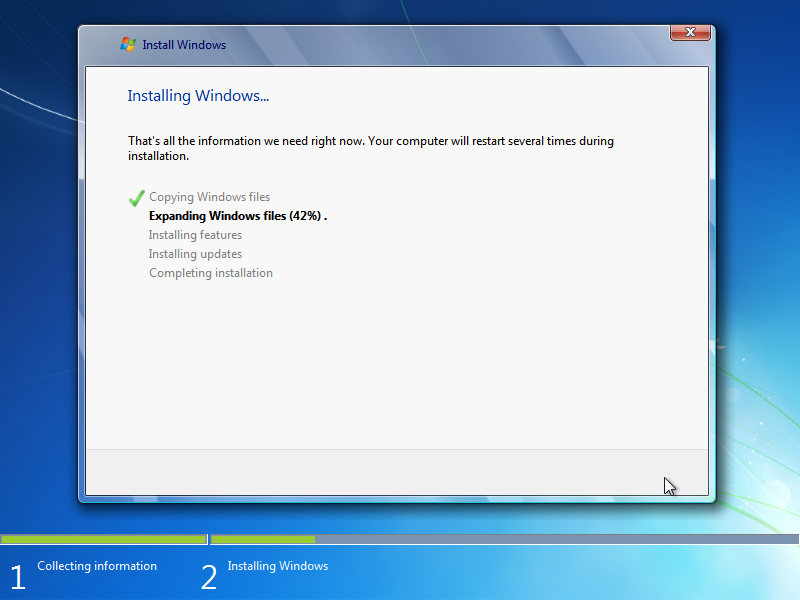
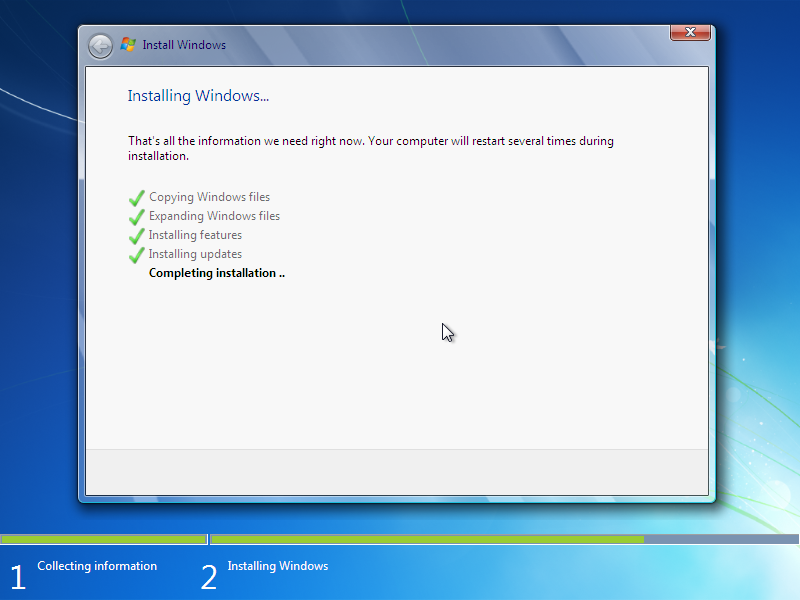
Select language, accept the licence agreement, choose the target disk, and let the files copy:
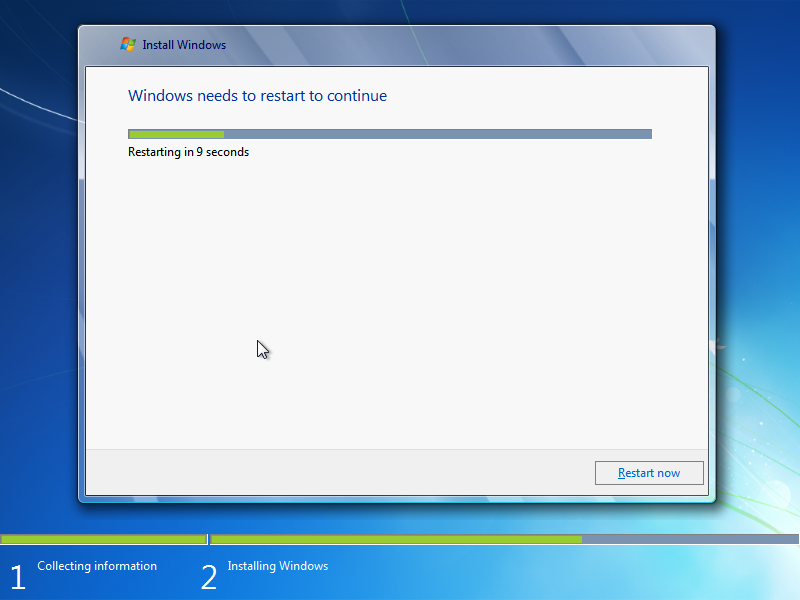
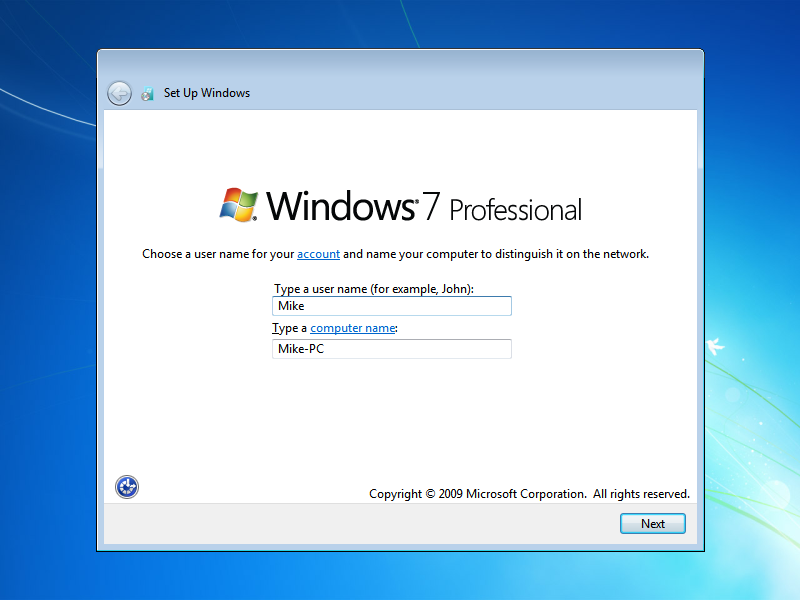
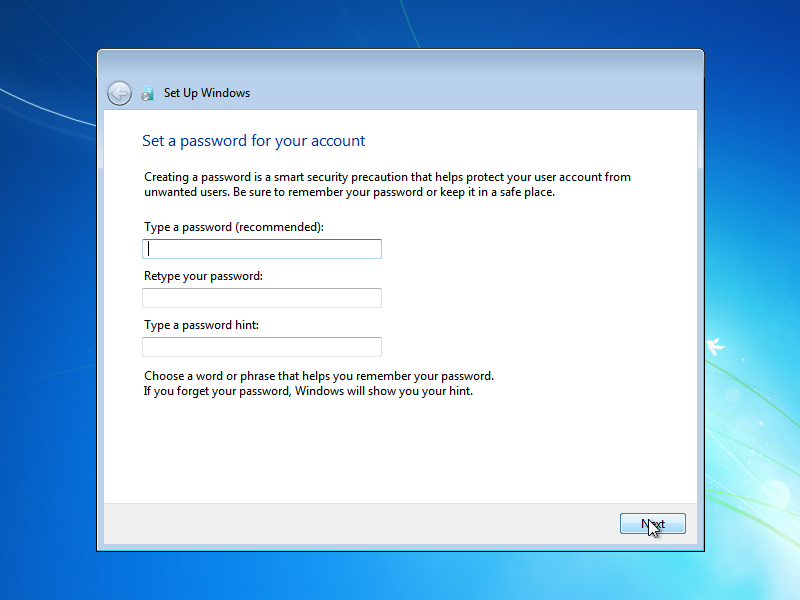
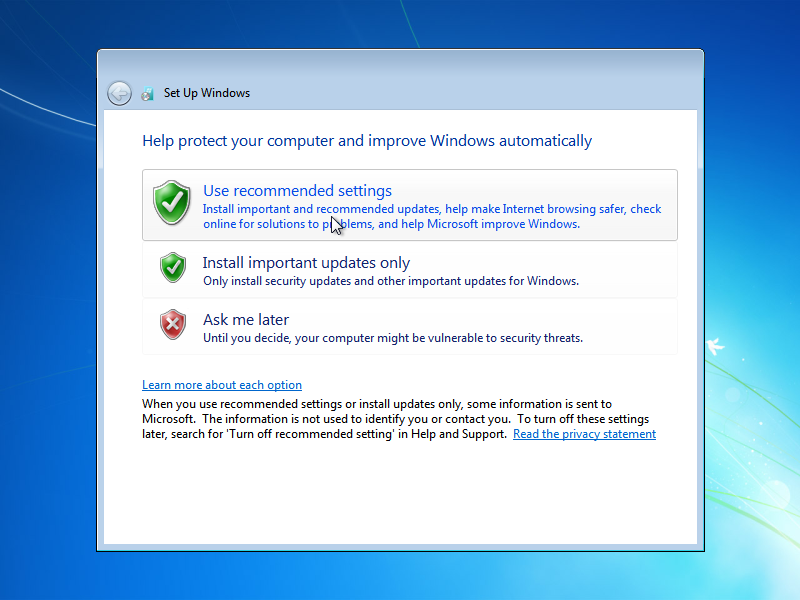
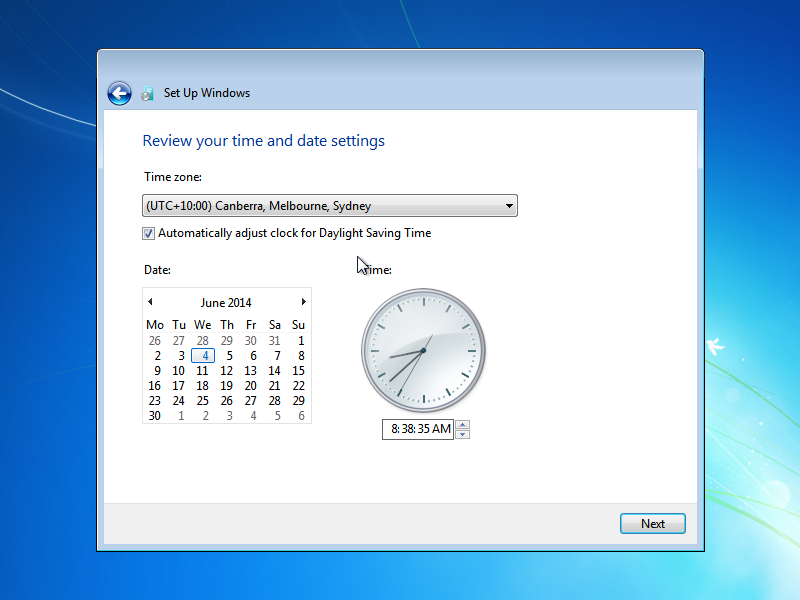
After reboot, enter the user details, licence key, update settings and timezone:

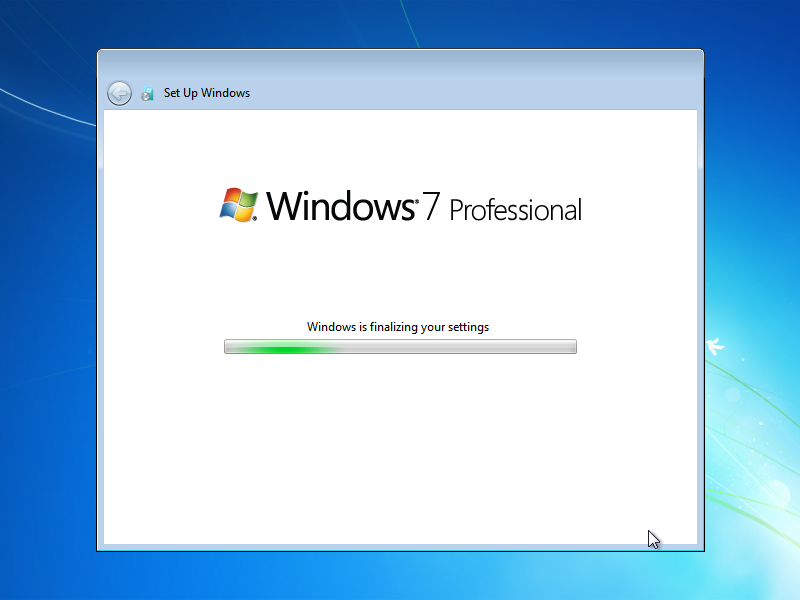
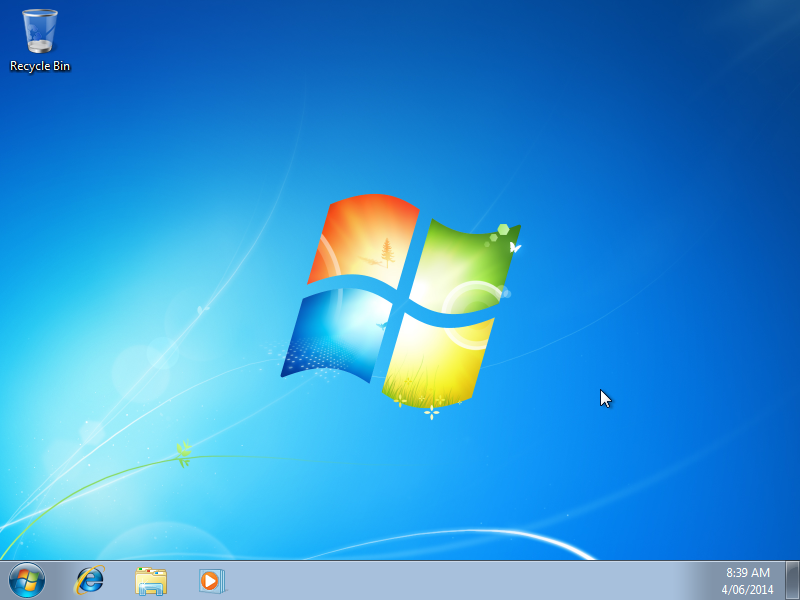
After another reboot, Windows is installed in the virtual machine:
Post-install tasks
The guest you have now will only run at standard VGA resolutions, and will probably not be networked. This section will show you how to fix that.
Network drivers
You will notice that we are launching the guest with -net nic,model=virtio. This means that we are using a virtual network card, rather than simulating a real one. You need to fetch a disk image with the latest binary drivers, which are best tracked down on linux-kvm.org via google.
Once you have the disk image in the same folder as your virtual machine, shut down and launch it with a CD:
kvm -hda windows.img --cdrom virtio-win-0.1-74.iso -vga std -localtime -net nic,model=ne2k_pci -m 2048
Under “My Computer” track down the “Device Manager”, find your network card, and tell Windows to update the drivers. You can then point it to the CDROM’s “Win7” directory (or other one, if you are installing a different guest). After the network adapter is recognised, you will be connected automatically.
Note that you are using “user-mode” networking, which means you are on a simulated subnet, and can only communicate via TCP and UDP (ie, ping will not work). This can be a little slow, but will work on a laptop host whether plugged in or running on Wi-Fi.
Remote desktop
The screen resolution and mouse sensitivity on the VM console is unlikely to match your host computer. The best way around this is not to fix with settings and drivers, but to enable remote desktop and log in via the network. This lets you use an arbitrary screen size, and match mouse speed to the host.
When run on localhost, so it is neigher laggy nor a security issue, and makes it possible to leverage all RDP features.
First, in the guest, enable remote desktop using these Microsoft instructions.
Then shut down and boot up with the extra -redir tcp:3389::3389 option:
kvm -hda windows.img -vga std -localtime -net nic,model=ne2k_pci -m 2048 -redir tcp:3389::3389
On the host, wait for the guest to boot, then use rdesktop to log in:
rdestkop localhost
One this works, you can shut down and boot with the extra -nographic option to leave remote desktop as the only way to interact with the guest:
kvm -hda windows.img -vga std -localtime -net nic,model=ne2k_pci -m 2048 -nographic -redir tcp:3389::3389
The rdesktop tool supports sound, file and printer redirection. It can also run fullscreen when launched with -f. All the details are in man rdesktop
If you end up using the guest operating system more, it is worth investigating USB-redirection for any peripherals (printers or mobile phones), running a virtual sound card, or running SAMBA on the host to share files.