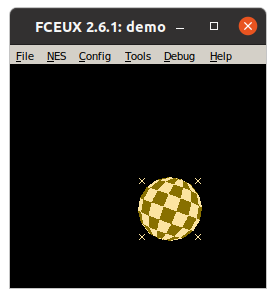
Earlier this year, I ported the Amiga bouncing ball demo to the Nintendo Entertainment System. This is a video capture from a NES emulator.
I completed this back in January, but I’m only publishing this blog post now, because I was considering entering it into a demo competition.
How it works
If you are familiar with NES development, then you will probably notice that there is nothing ground-breaking going on here. The ball is made up of 64 8x8 sprites, bouncing around the screen over a static background.
There are two different versions of the ball in sprite memory, and with some palette swapping, this can be stretched to 4 frames of animation, just enough to make the ball appear to spin.
There is enough sprite memory to extend this to 8 frames of animation without any banking tricks, but I would need to start again from scratch to achieve that.
Pre-rendered 3D
I drew the ball in Blender, with twice the number of segments required for the final image. This is a UV sphere with 8 rings, and 32 segments.
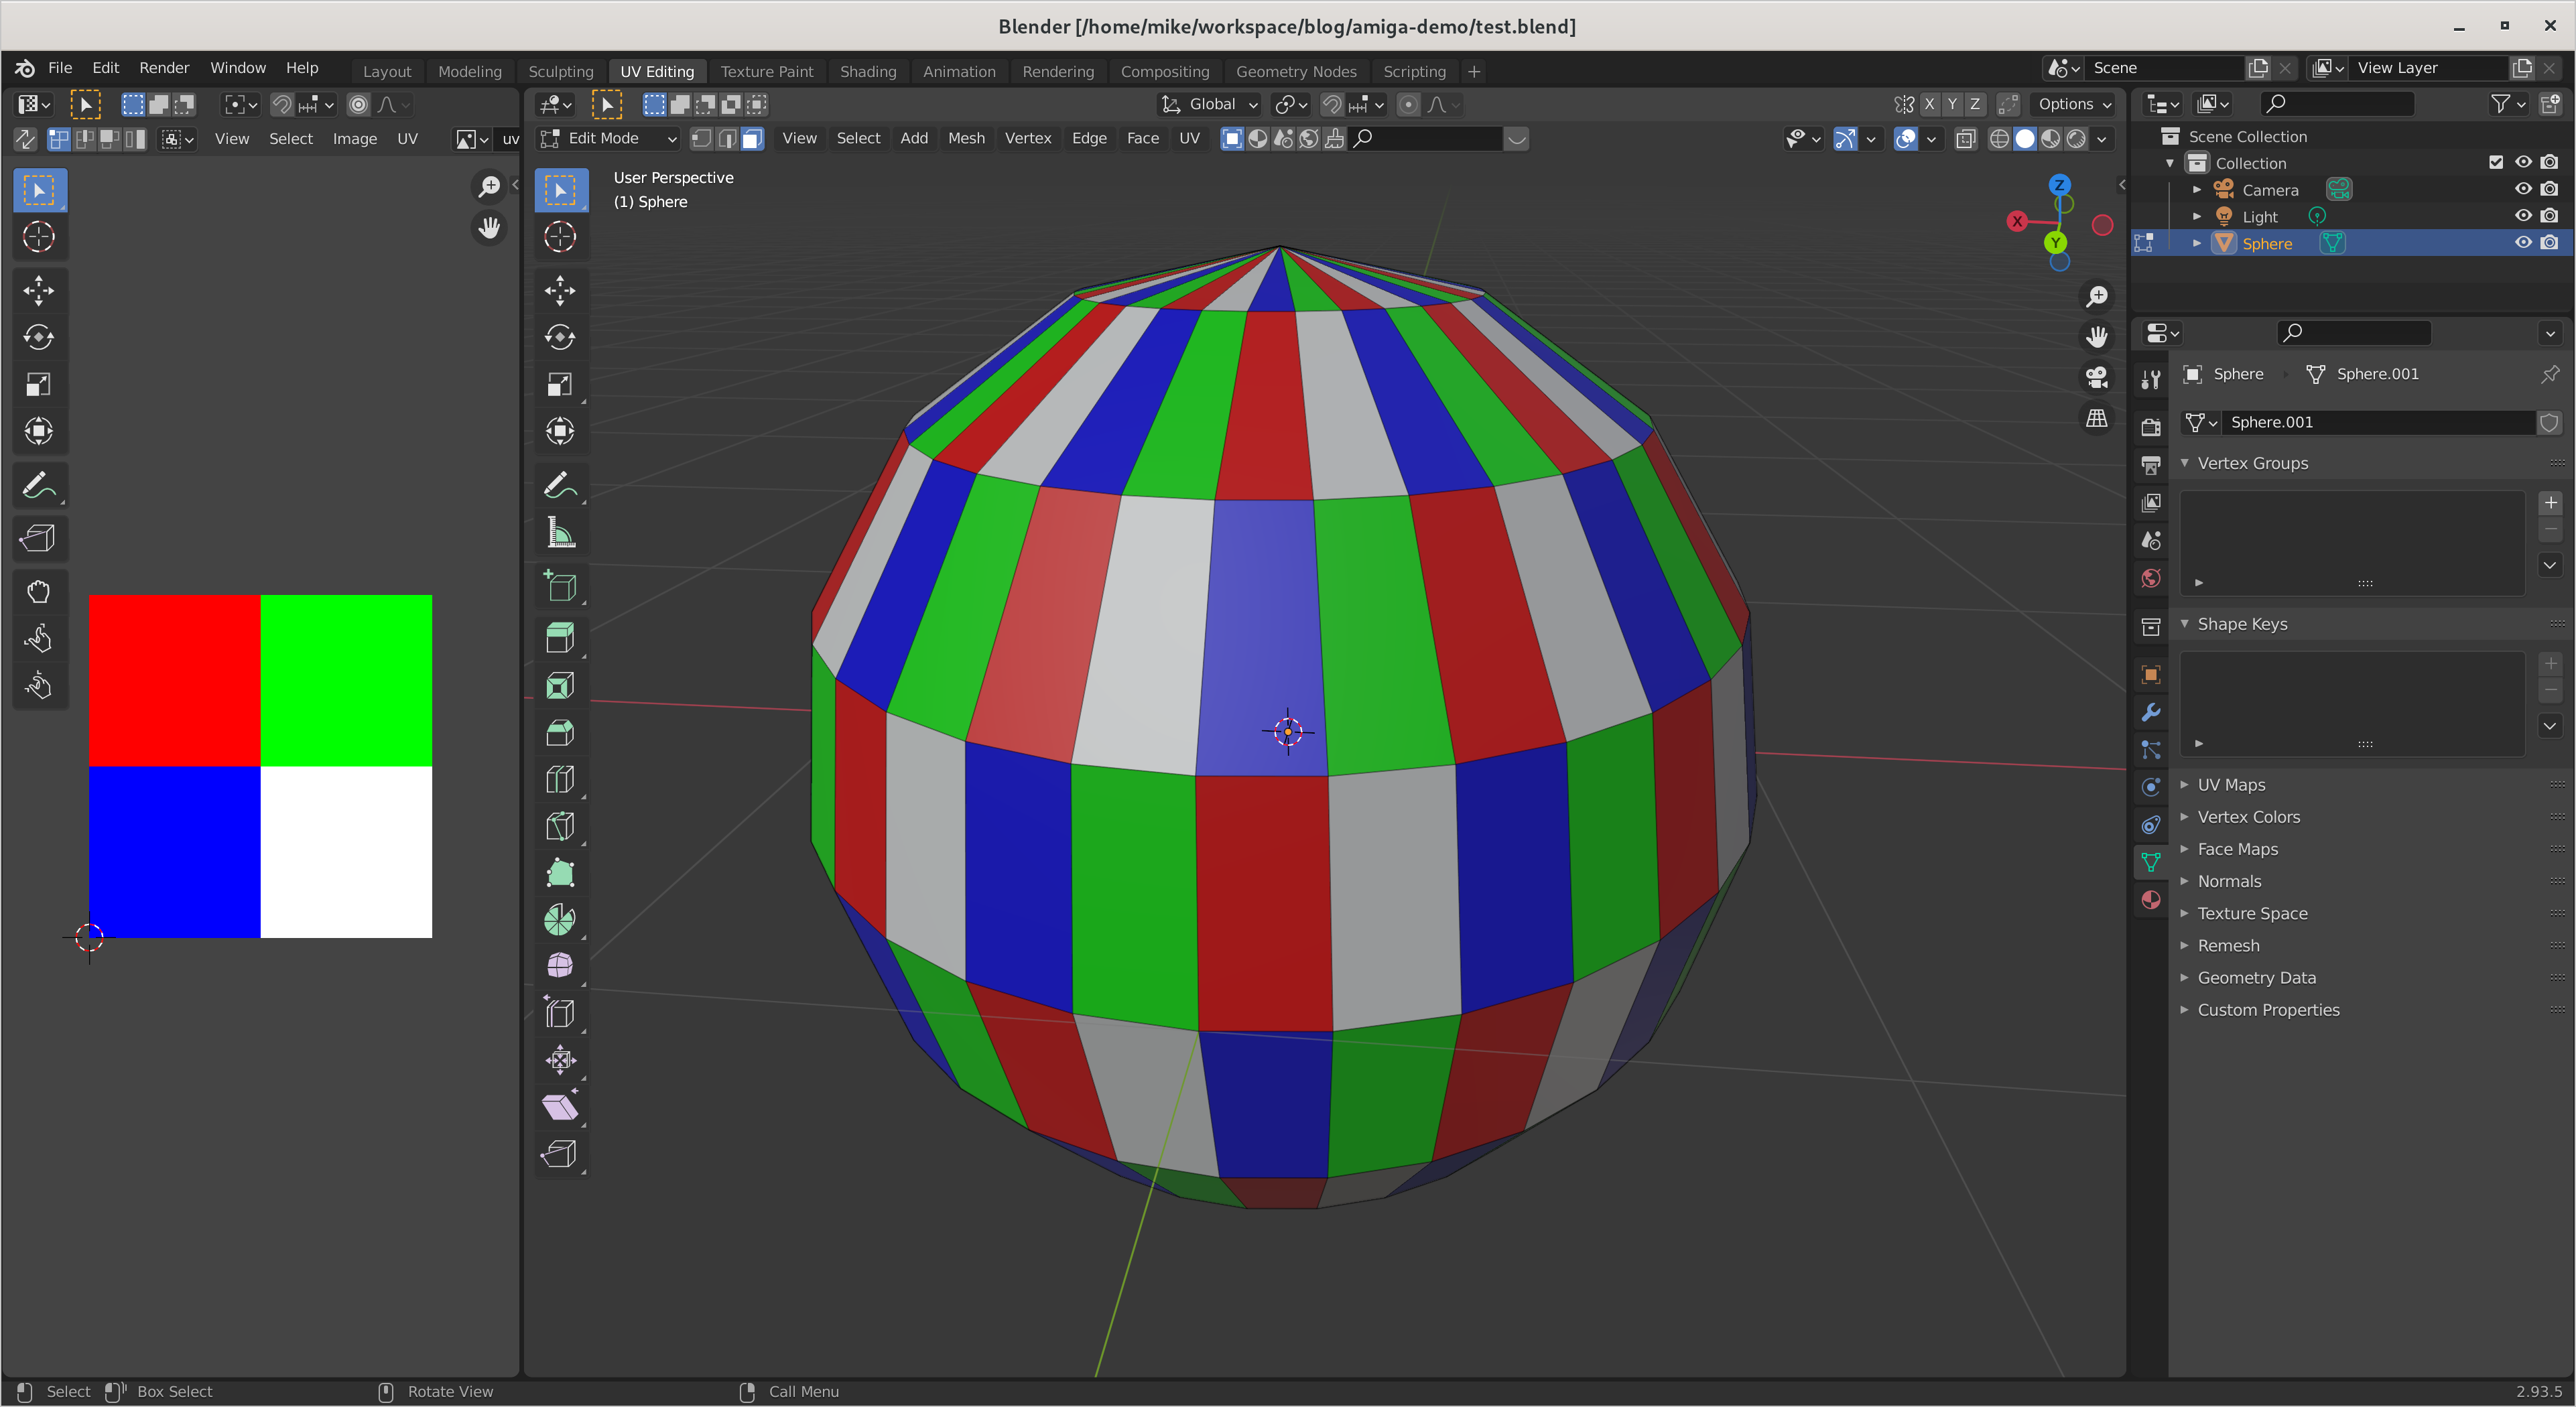
I coloured each face with one of 4 colours, then rendered it with the Workbench renderer, which I had configured to use Flat lighting, no anti-aliasing, and the texture colour.
I also tilted the ball.

This gave me a crisp, high-resolution ball with solid colours.
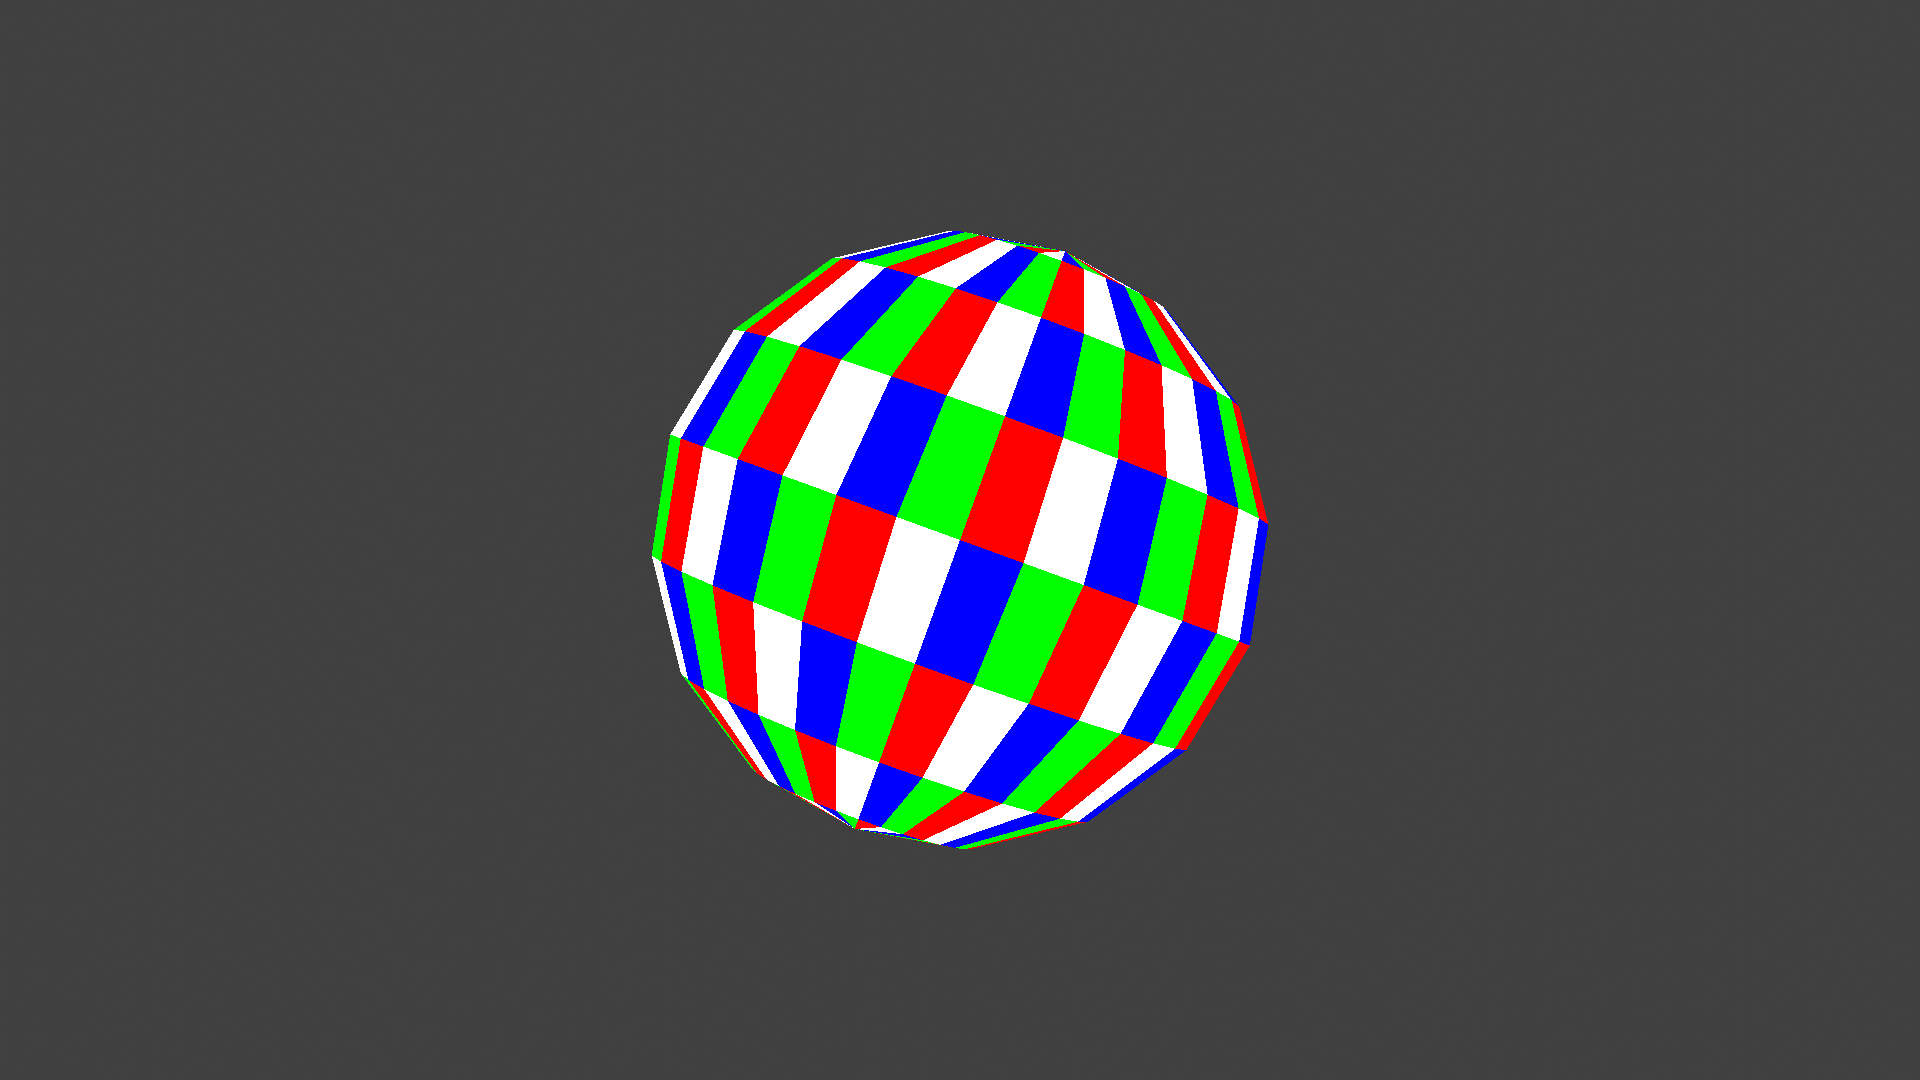
To test the idea, I processed this down to a 64x64 image on a transparent background. I need to substitute colours, so there is no antialiasing here.

I then wrote up a Python script to swap out colours to make the 4-frame pattern. Note that frames 3 and 4 are the same as frames 1 and 2, but with white and red swapped.


I ran this through ImageMagick to convert it into a GIF preview.
convert -delay 3.5 -loop 0 *.png animation.gif

The result appeared workable, so I went about making the same animation in a NES rom.
NES implmentation
On the NES, it’s not possible to create the spinning ball effect with palette changes only, because it would require four colours plus transparency. To overcome this, I split the image into two frames, each stored as two colours plus transparency, which is possible.
![]()
To start the code, I checked out a fresh copy of Brad Smith’s NES example project, then deleted things that I didn’t need.
When working with sprites on the NES, it is typical to store object attributes in RAM, then perform a DMA operation once per frame to copy this over to the Picture Processing Unit (PPU). For this project, I wanted to try setting up two different copies of the object attribute memory in RAM - one for each of the two rotations.
This should allow me to set any of the four frames by choosing between two possible colour palettes, and two possible DMA source addresses. This worked, and the first milestone was a spinning ball.
Switching between two DMA sources did not save much effort in the end, because I still needed quite a lot of code to set the X/Y positions of 64 sprites each frame. I set up some assembler macros to help with this.
Physics and sound
I have made one NES game before, and I was not happy with the physics. For this project, I wanted to do a bit better.
For the X position, I use a fixed speed, and simple collision detection with left/right boundaries. The animation frame is calculated from the X position, so the ball changes rotation depending on which direction it is moving, just like the Amiga demo.
The Y location of the ball is a simple loop, and follows the absolute value of a sine wave. I pre-computed this with some Python.
My last project also had no sound, so I read up on the NES APU, and added some noise when the ball changes direction.
Development setup
Since my last NES project, I have improved my development setup quite a bit. As always, I am using the ca65 assembler on Linux.
Previously, I was using a text editor. I have since moved to a custom 6502 assembly plugin on PyCharm, which allows me to quickly jump to definitions/usages. I developed this for my other 65C02 and 65C816 projects, which you can read about on this blog.
When I click run, I’ve set up the project to assemble a NES ROM, then launch with fceux, which has debugging features.
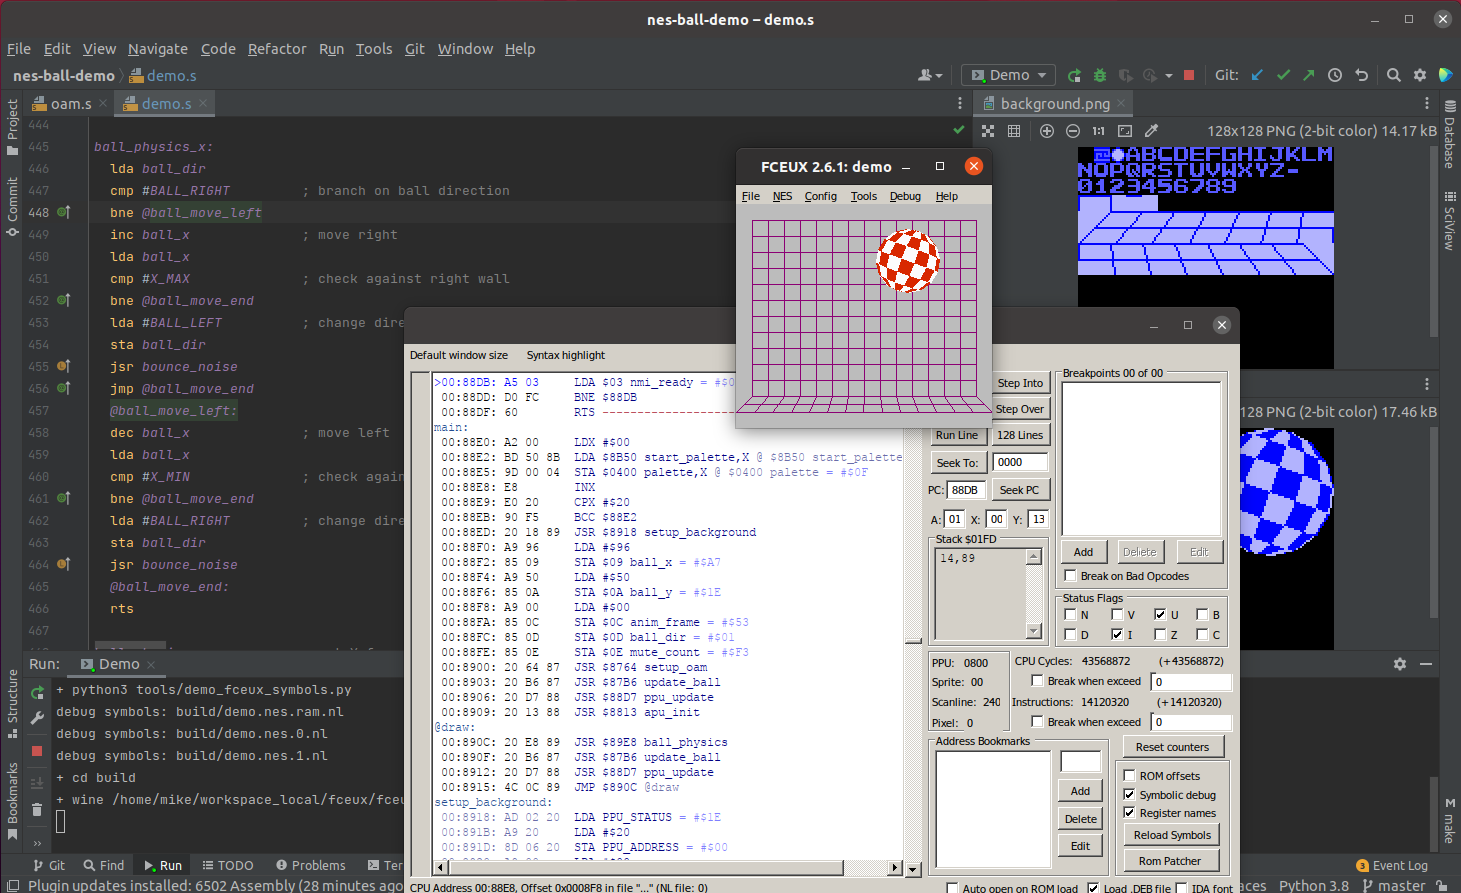
The debug features were previously only available on Windows builds of fceux, so when I made this demo, I was running the emulator via WINE. This has been added to the Linux builds as of v2.5.0, so I’ll most likely switch to that for my next project.
Wrap-up
I learn something new every time I write code for the NES, and it’s a lot of fun to make simple demos for these old systems. It’s also refreshing to create something standalone which I can explain through screenshots, instead of pages of assembly code.
For those who do want to read pages of assembly code, though, this project is up on GitHub at mike42/nes-ball-demo.