I recently wanted to connect some devices for a temporary setup, where a wireless LTE modem would provide Internet access. Unfortunately, one of the devices was not close enough to pick up the signal with its USB WiFi dongle.

Because the modem does not have a LAN port, the usual “run a cable” solution was out. There’s a few other options, from range extenders, to getting better modem, or just upgrading to a “real” USB WiFi dongle. Before purchasing new hardware, I decided to try re-purposing an old Netgear WNR2200 as a wireless client and 4 port switch.
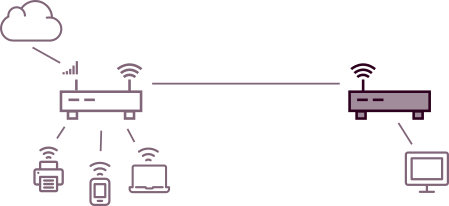
In this setup, the LTE modem does the heavy lifting, with all of the wireless clients using it for LAN and Internet access. In the next room, the Netgear router is placed close enough to pick up the signal, and an Ethernet cable runs to the PC, beyond the reach of WiFi.
Deciding to re-flash
Replacing firmware is worth investigating when the hardware is capable, but you aren’t given the option to configure it the way you want.
The Netgear WNR2200 is a low end wireless router, and the vendor firmware does not support joining a WiFi network as a client.
It also pays to update your research. OpenWrt added support for this router a few days after I bought it, but I hadn’t looked it up again.
Uploading firmware
My main resource was this page on the OpenWRT Wiki. Firmware is organised by wireless chipset, then by router model.
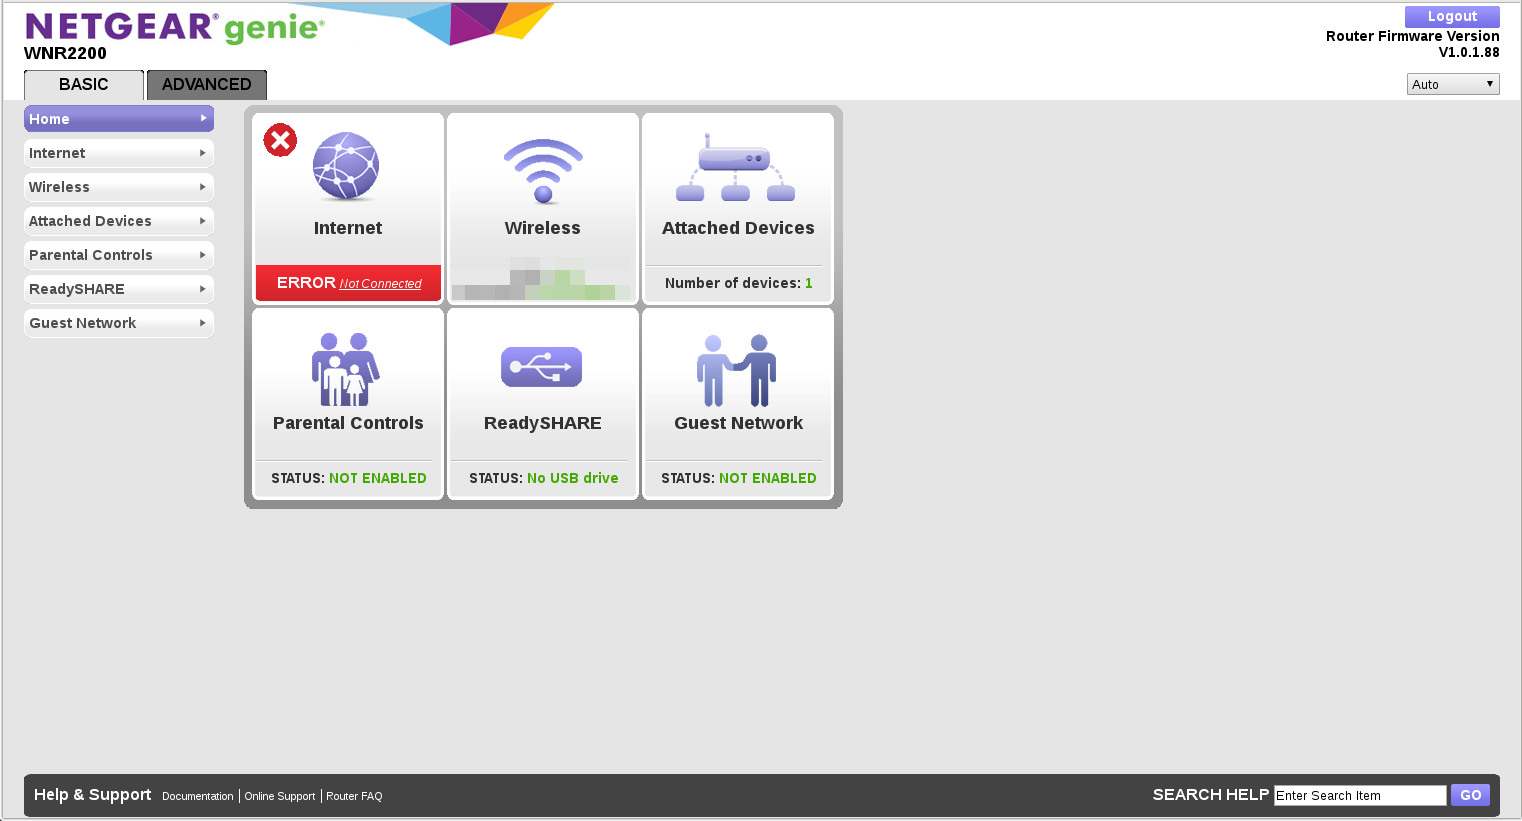
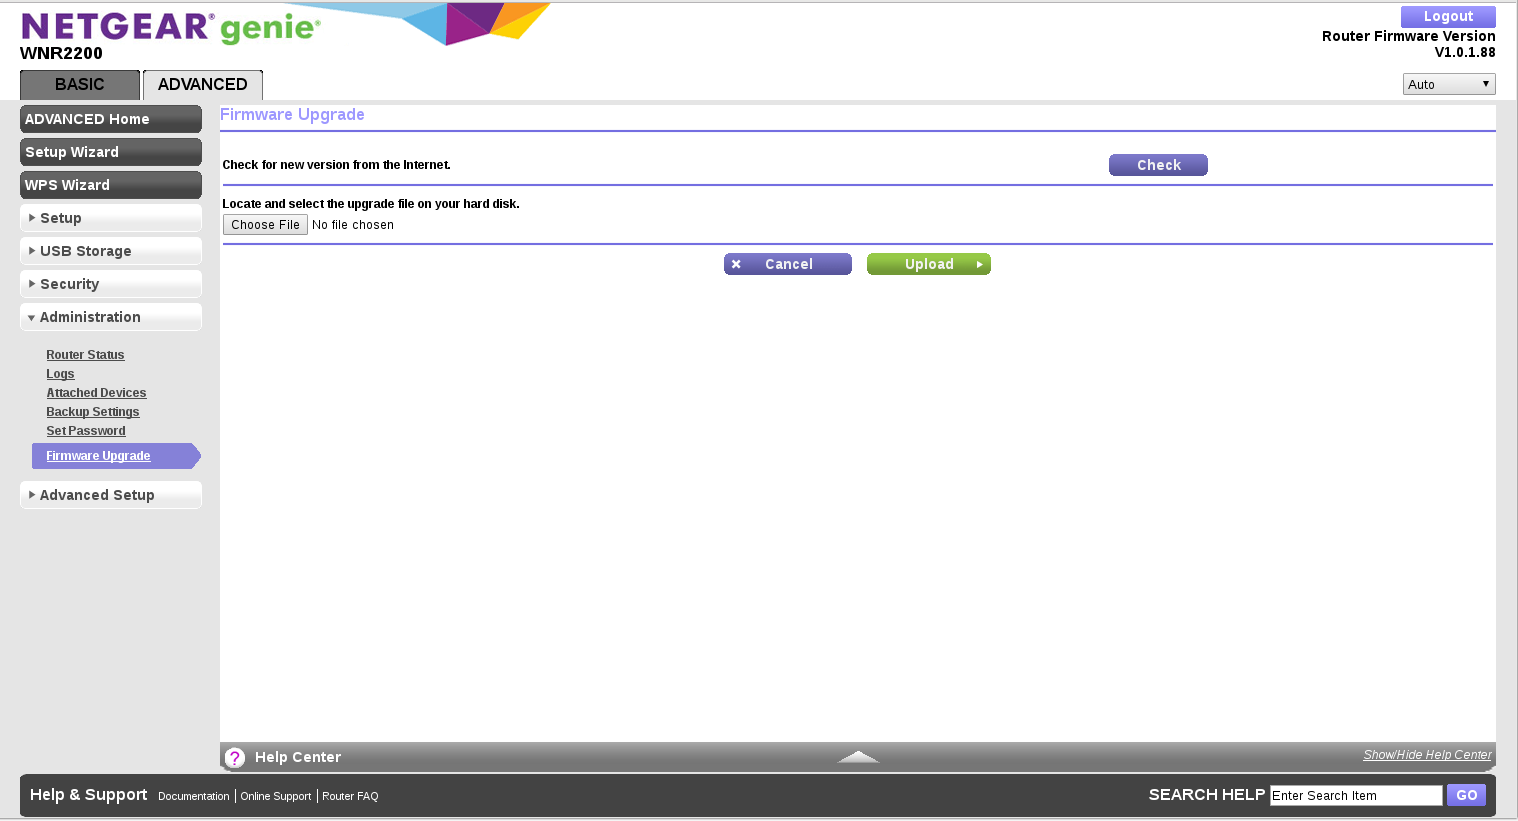
The file I used to update my router was named openwrt-15.05.1-ar71xx-generic-wnr2200-squashfs-factory.img.
This is simply uploaded on the Adminisration → Firmware Upgrade screen:
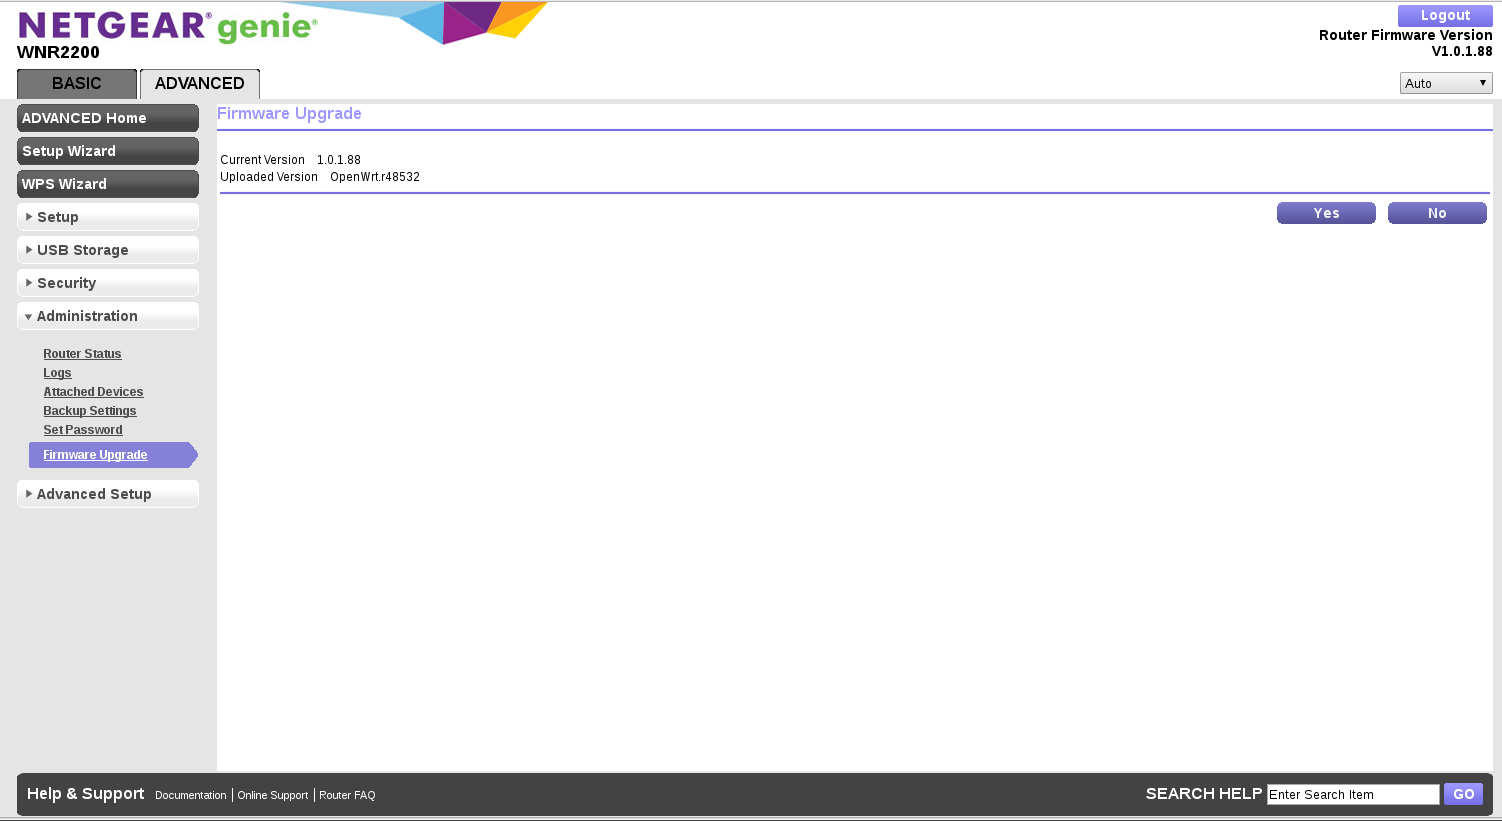
First impressions
The first thing I noticed was that I lost WiFi, and that the page I had bookmarked for logging in was no longer valid!

This makes sense, of course. The configuration will not be carried across from the vendor firmware, and a different web administration tool is being used.
The Linux userspace is very rich compared with vendor firmware. It has things like dmesg, SSH, ifconfig, ping, and even a networked package manager.
Configuration checklist
I performed all configuration through the web in this setup. The “LuCi” interface allows setting the WiFi chip into “Client” mode, and then searching and joining a network. Once this was done, I assigned it as the “WAN” interface, so that it occupied a single IP address on the WiFi network, and providing a NAT and wired, four port switch.
There are more advanced, bridged setups that are possible. You should investigate this if you want one network, so that things like printer auto-discovery and internal SSH work consistently. I was only interested in sharing the Internet connection, which is why the setup was so simple.
What didn’t work
USB, but I didn’t spend long on this either. I was considering using USB to connect the modem to the Netgear router. The Wiki suggests that this is now possible, but after installing some packages for “USB tethering” and rebooting, I had no luck. Typing lsusb, only the “root hub” was listed, and the device was not getting any power.
This was necessary for the setup, so I just abandoned it. The vendor firmware couldn’t use the USB port for networking either, so no real loss.