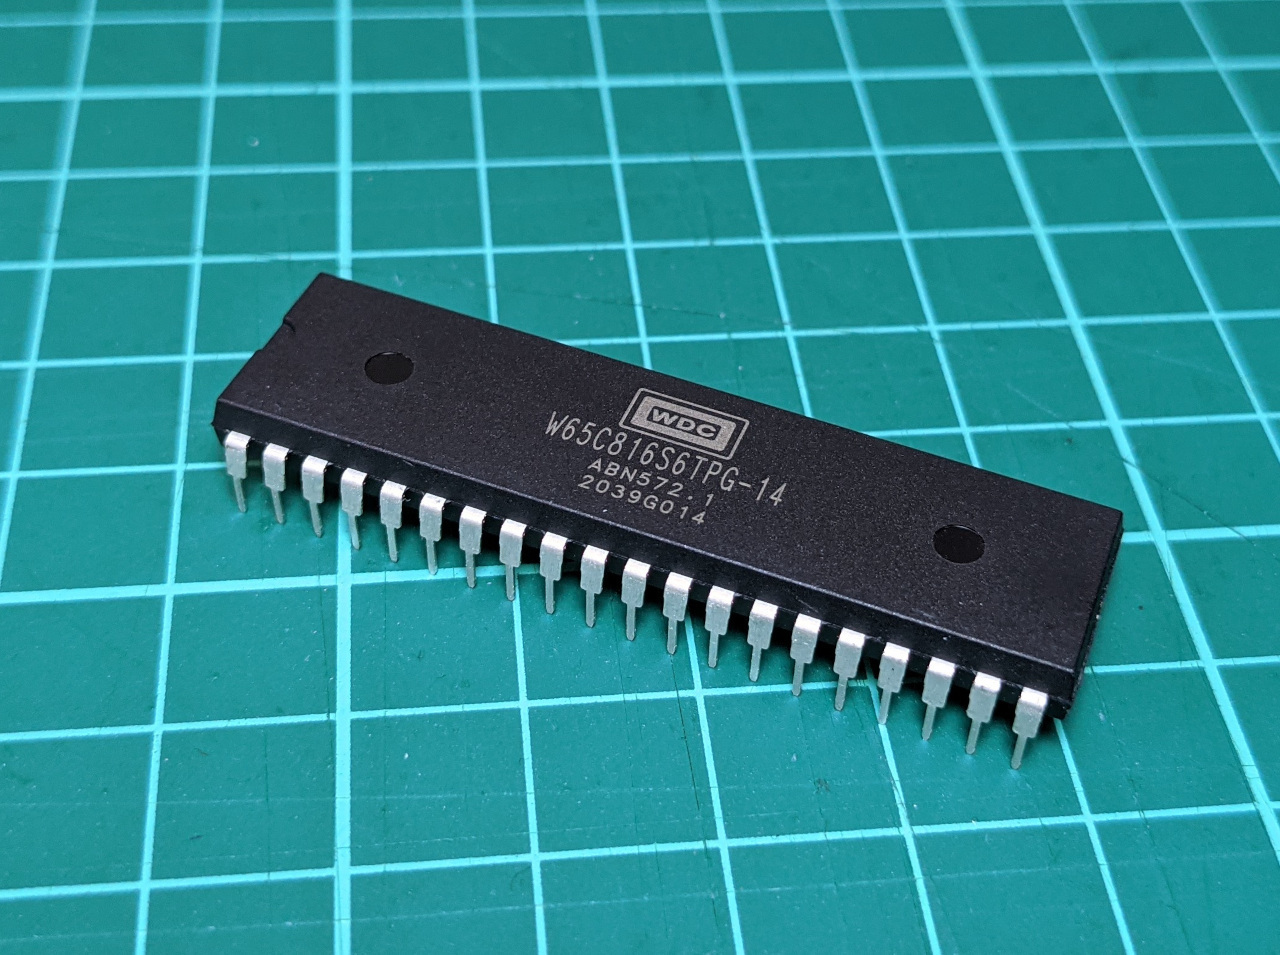
The 65C816 is an interesting processor from the 1980’s. I recently wired one up on a breadboard, and I’ll be blogging here about my attempts to build something useful with it.

How I got here
I spent a couple of months last year designing and building a computer based on the 65C02, an old 8 bit processor. I wanted to create a hardware platform for running 6502 assembly programs. This was successful, and I learned a lot about how computers work while building and programming it.
This has got me interested in the 65C816, which is a later extension of the same architecture. The only well-known systems which used it were the Super Nintendo and Apple IIGS. From a programmer’s point of view, this chip seems far more capable than its pre-decessor, though developer tools are a bit scarce.
New project goals
My plan is to build a modern computer which uses the 65C816 CPU, so that I can really learn how it works.
Over a few revisions, I am aiming to build up to a system with a serial connection for simple text I/O, a modest clock speed, and 1 megabyte of static RAM.
I’ve researched some existing designs, and settled on two simple constraints to give this project its own character.
- Use only in-production parts.
- Don’t use an FPGA or microcontroller to bootstrap the system.
This will ensure that I am learning what it takes to build a computer around this processor, and not just offloading the tricky parts to more powerful device with better tooling. I also hope this increases the accessibility of the design, since anybody could build it without needing to obtain obscure retro parts.
I am not avoiding programmable logic entirely though. Where classic designs often used custom chips, I will be using ATF22V10 PLD’s. I will also leave the door open adding video output via a microcontroller-based terminal emulator in the future.
Lastly, I’m selecting parts with a view to converting everything from 5 volts to 3.3 volts part-way through the project, which will open up many possibilities.
Other than the Apple IIGS and Super Nintendo, there are three hobbyist designs which I’m using for inspiration:
- BCS Technology’s proof of concept W65C816S computers.
- Gordon Henderson’s Ruby ‘816 project.
- Adrien Kohlbecker’s 65C816 project.
A quick note about open source
It’s never been a stated goal of this blog, but wherever possible, I use open source tools, and produce open source software. I expect that to be difficult for this project. The 65C816 not widely used, and most hobbyist code for the CPU is licensed as source-available freeware, with restrictions on commercial use.
I would like to be able to release my code under an OSI-approved open source license, and have the option of incorporating copyleft code later on. Unfortunately for me, it seems I will need to write a lot of low-level code from scratch to get this kind of licensing certainty. I will be working primarily in assembly language, though C code would be very useful, so I will certainly be spending some time investigating compiler options along the way.
A smoke test
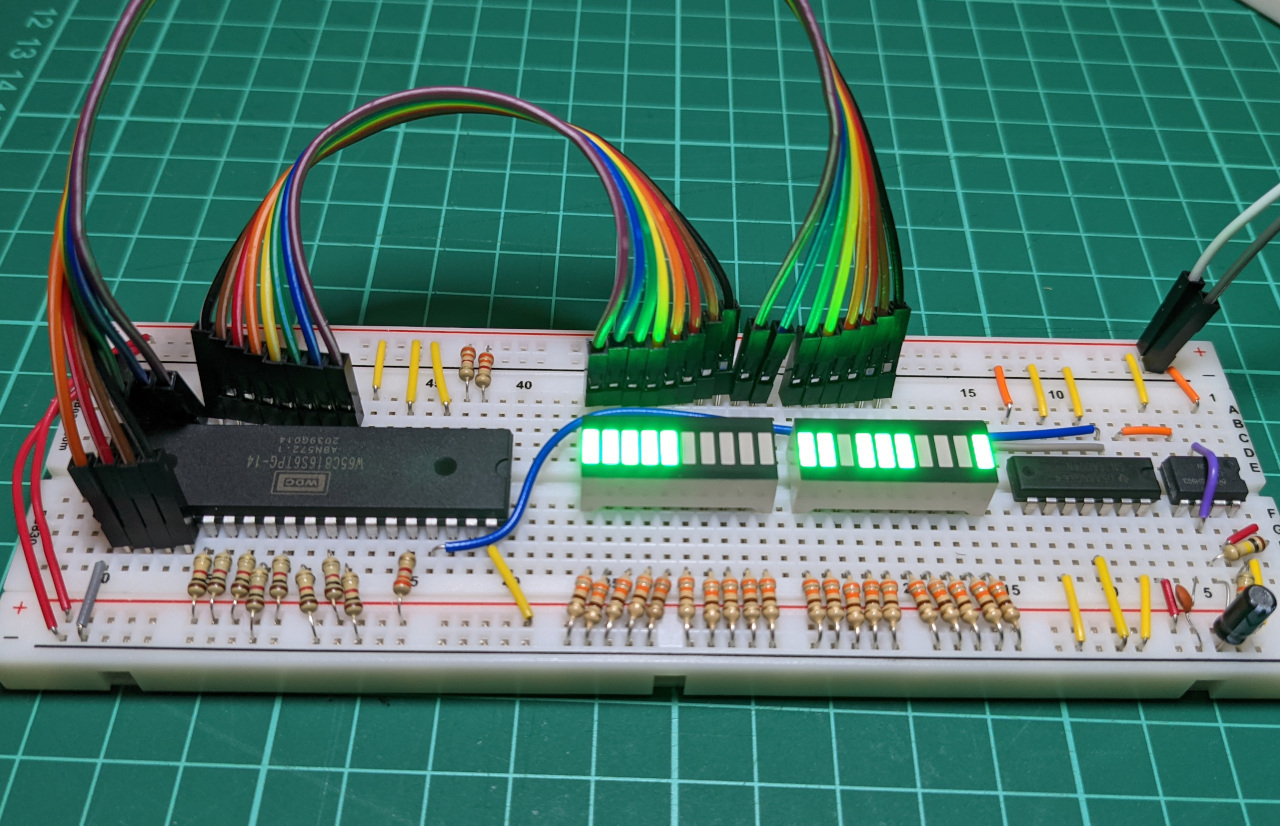
This is the first iteration of the design, which will live for now on a series of solderless breadboards.
This is simply a 65C816 processor, being fed a hard-coded NOP (no-operation) command. When it runs, the lights show the address bus counting upwards, as the CPU program counter increases.

The RDY, ABORTB, and BE inputs are connected to +5v through resistors, while RESB, NMIB, IRQB are connected to +5v directly. The NOP opcode is fed to the CPU over the data bus, by making the pattern 11101010 (0xEA) with 1k resistors. The schematic for this is below.
The clock is an LM555 timer, fed through a 74AC04 inverter, because the rise and fall times on a 555 are not fast enough. The clock speed is 6.9Hz (that is not a typo), since R1 is 10 kΩ, and R2 is 100 kΩ, and the capacitor is 1 µF.
Next steps
This is going to be a long project, which I will develop incrementally. The next step will be adding ROM, RAM, glue logic and a 65C22 I/O chip.
I am also testing alternatives to the 65C51N UART chip, which I found quite limited when I used it for my last project.